Urad Dal Rice | Ulundhanchoru | Rice Recipe | Ulundhu Sadham | Ulundhu Choru |

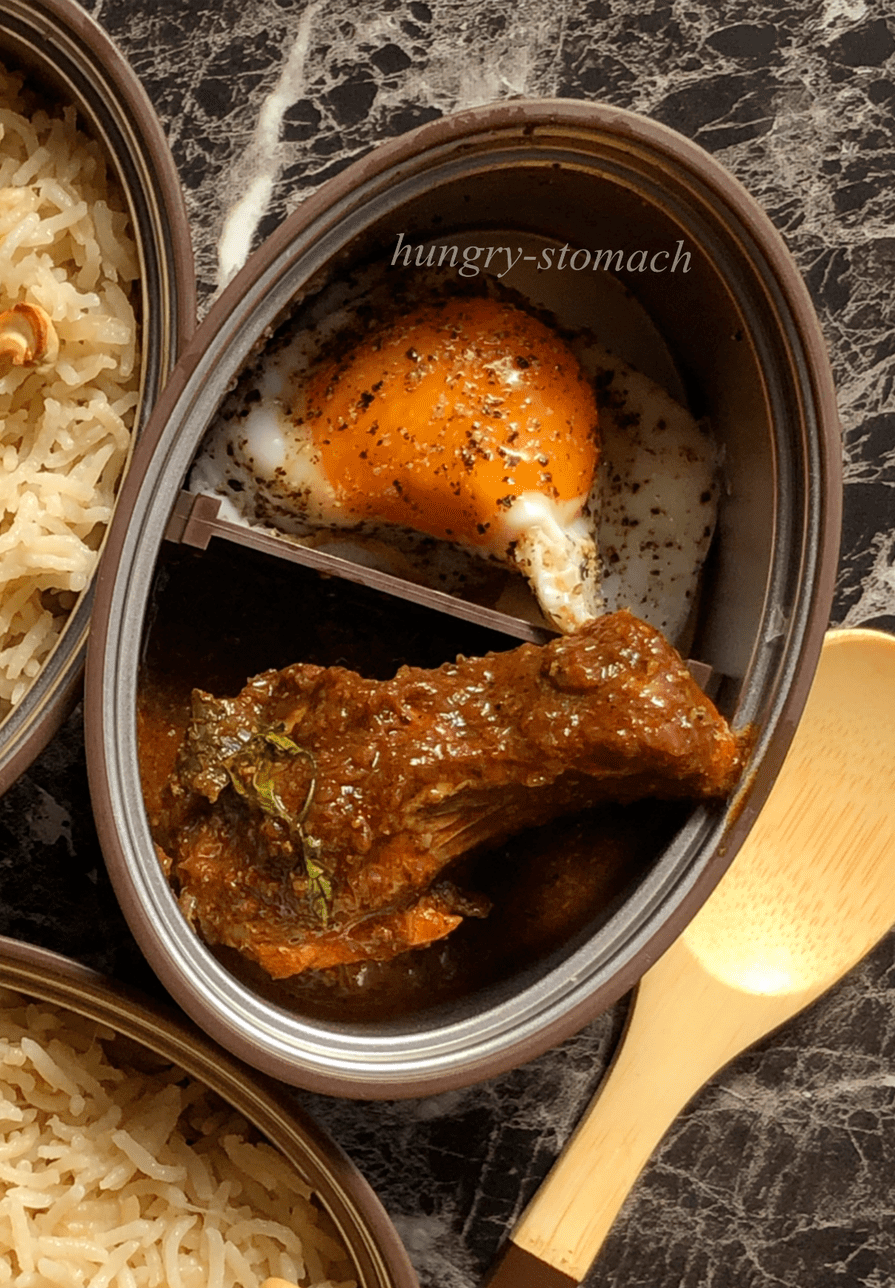
Perfectly cooked Rice flavored with urad dal and Fenugreek. Enjoy these aromatic Ulundhanchoru (Urad dal Rice) with mutton curry or any curry or lentil.

This particular recipe is a popular South Indian dish from Tirunelveli where Black Lentil (Urad Dal) is combined with rice to make a hearty dish.

Minimally spiced, easy to put together with few ingredients, its a complete protein meal. The simplicity of this dish makes this a winner in my eyes.

My mom would always make Ulundhanchoru for a non-veg treat at home, so I always prefer this rice over plain rice on such days. So this recipe has been in my repertoire and makes for a great lunch box option along with non-veg curries or just as it is, along with a vegetarian side dish.

While you can use Whole Urad Dal, split or skinned for this recipe – I would recommend using whole black lentil for absorption of the nutrients & the taste. As I haven’t been able to get whole black urad dal here in Japan, I’ve made it with skinned ones. But I highly recommend trying it out with whole ones. Oh..and add a sprig of curry leaves while sautéing this Rice and you will love the aroma of it.

Ulundhanchoru is so much more flavorful. Goes well with any side dish, but eating it with Mutton Curry gives an optimal boost. The vegetarians serve it with Ellu Thuvaiyal (Sesame Chutney) which is also an adorable combination. Here are some of the other recipes which pairs well with this rice,

Kerala Chicken Curry

Pepper Chicken

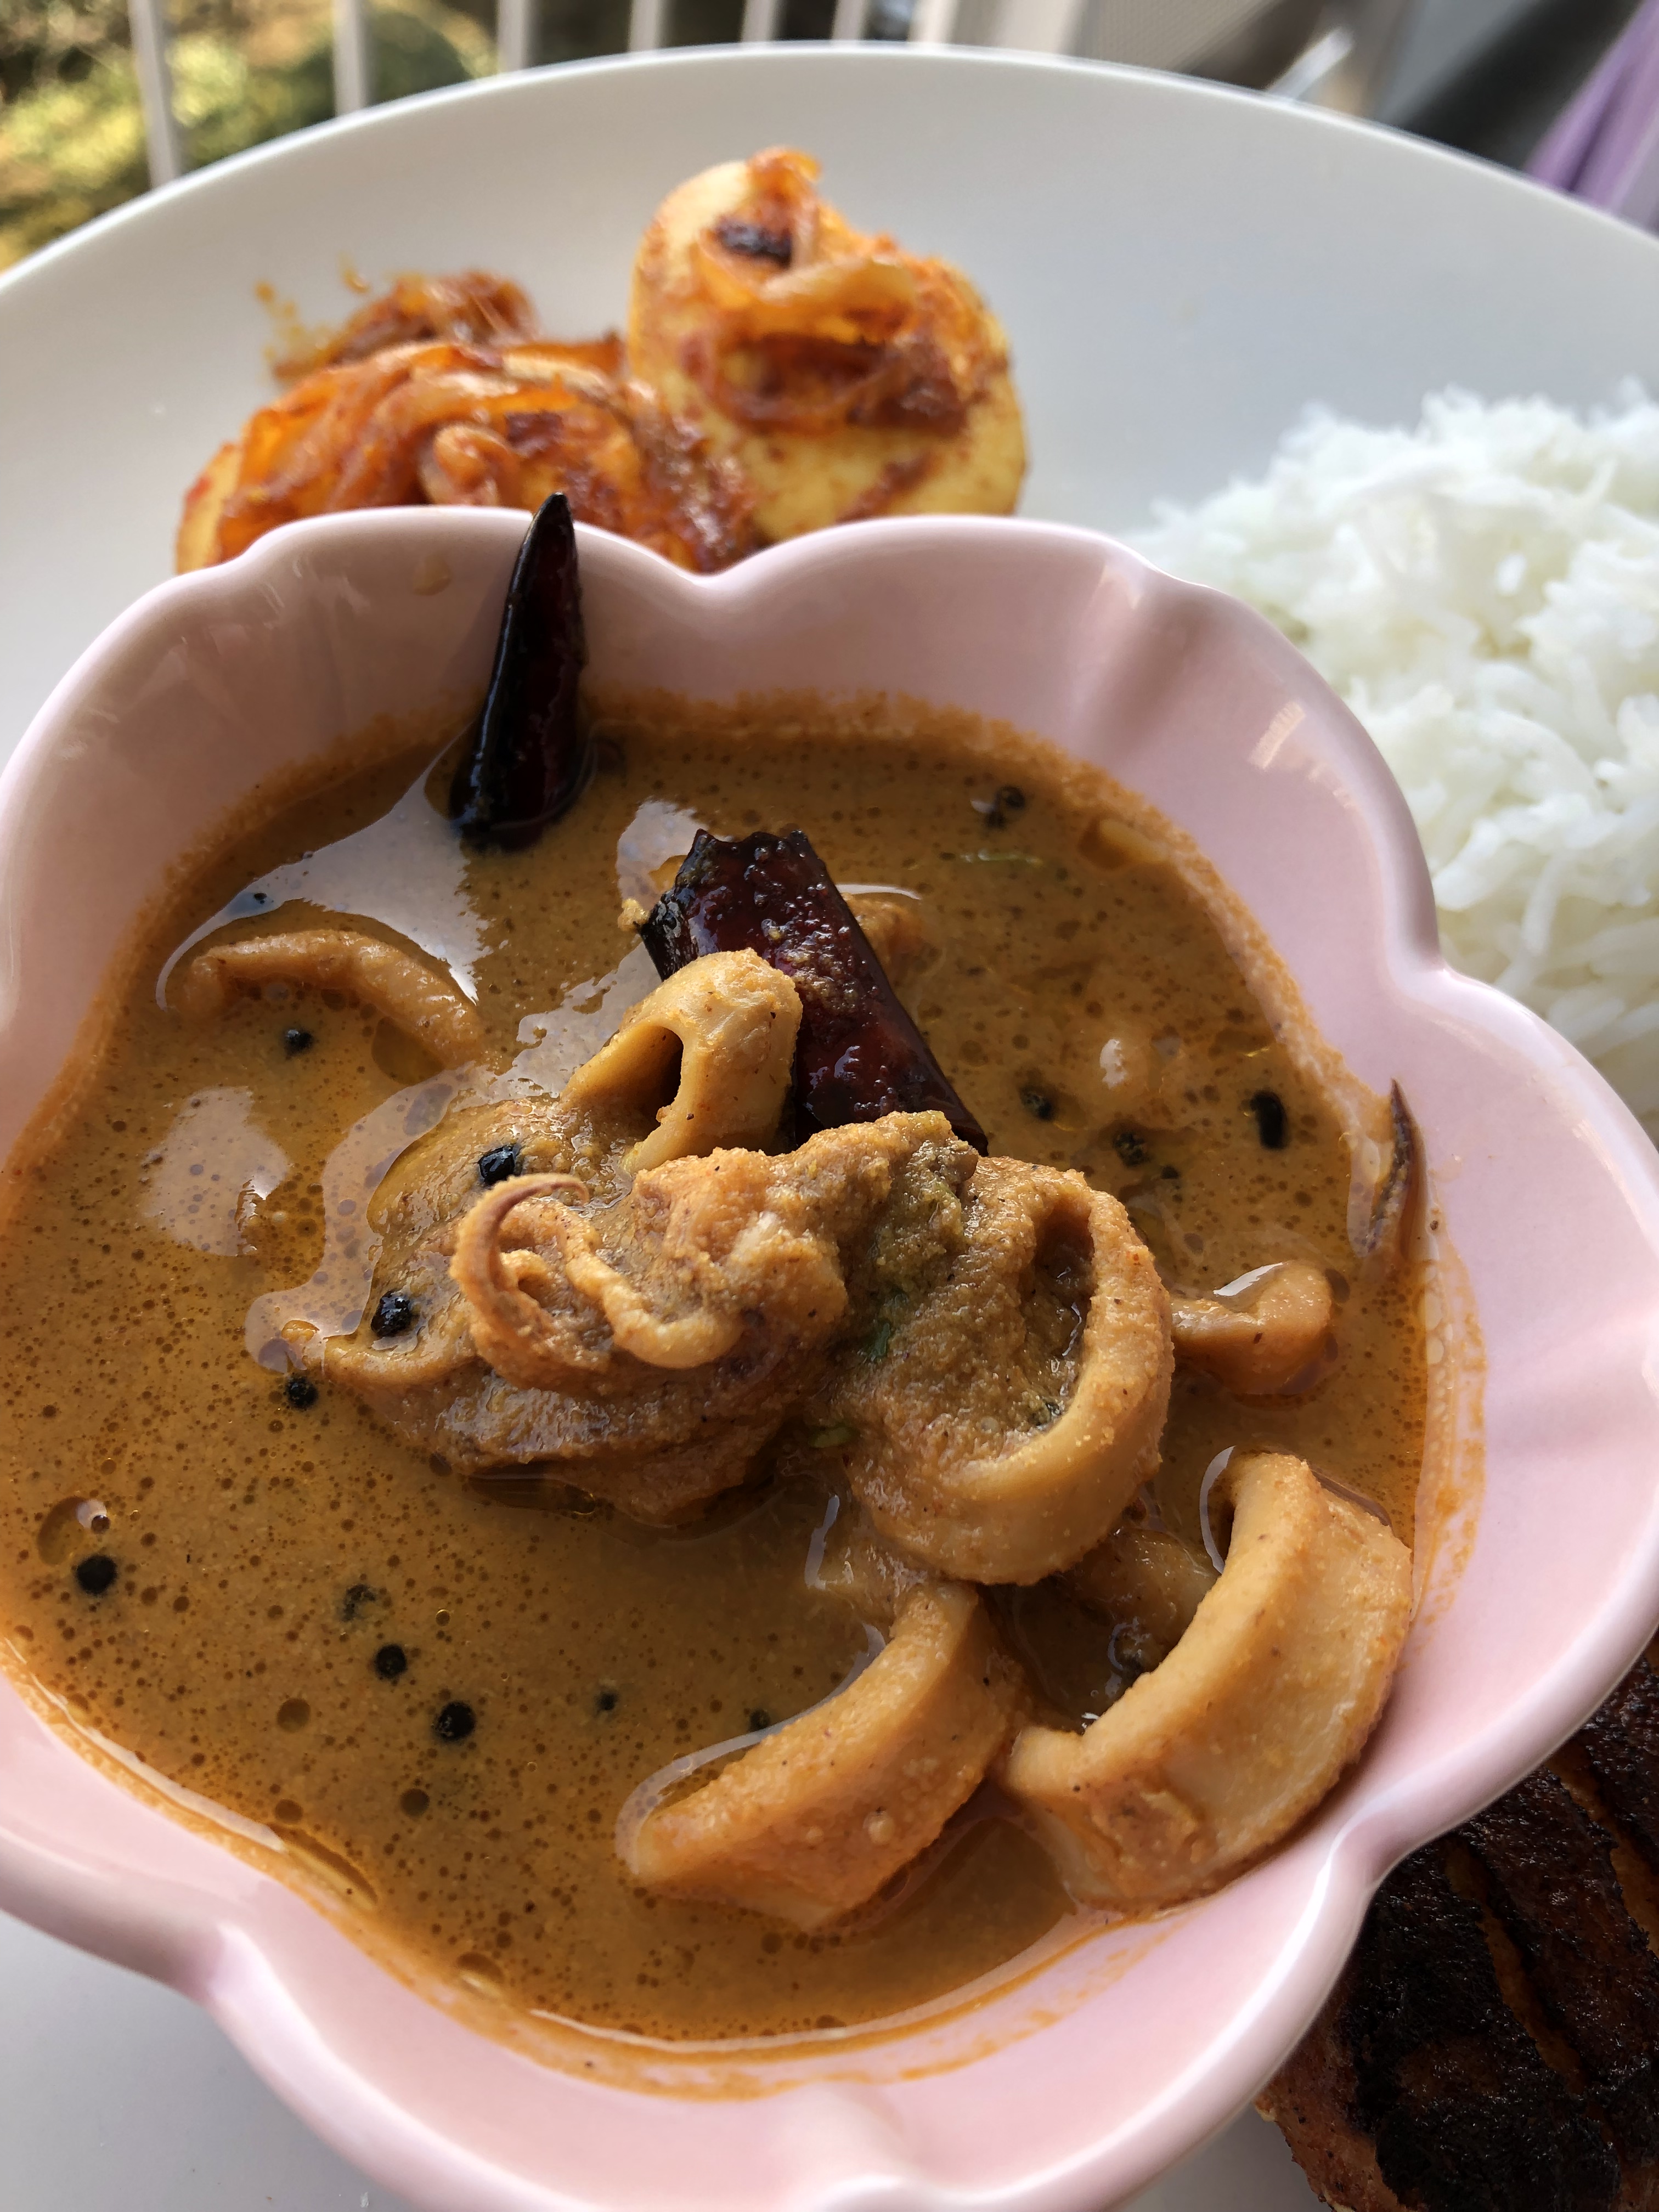
Squid Curry / Kanava Kuzhambu

Chettinad Egg Curry

Prawns Masala

Perfect for all those times when you are lack on time. Or when you just want to make nutritious. Or even when you want to make something special. It fits all the needs. And that’s what simplicity of this dish is all about 🙂 🙂 I know it sounds too much but trust me, this whole thing would take you just 20 minutes to put together.

Let’s start making these yummilicious Ulundhanchoru…


Ingredients

  • 1 cup, Rice (any variety)
  • 3/4 cup, Urad Dal
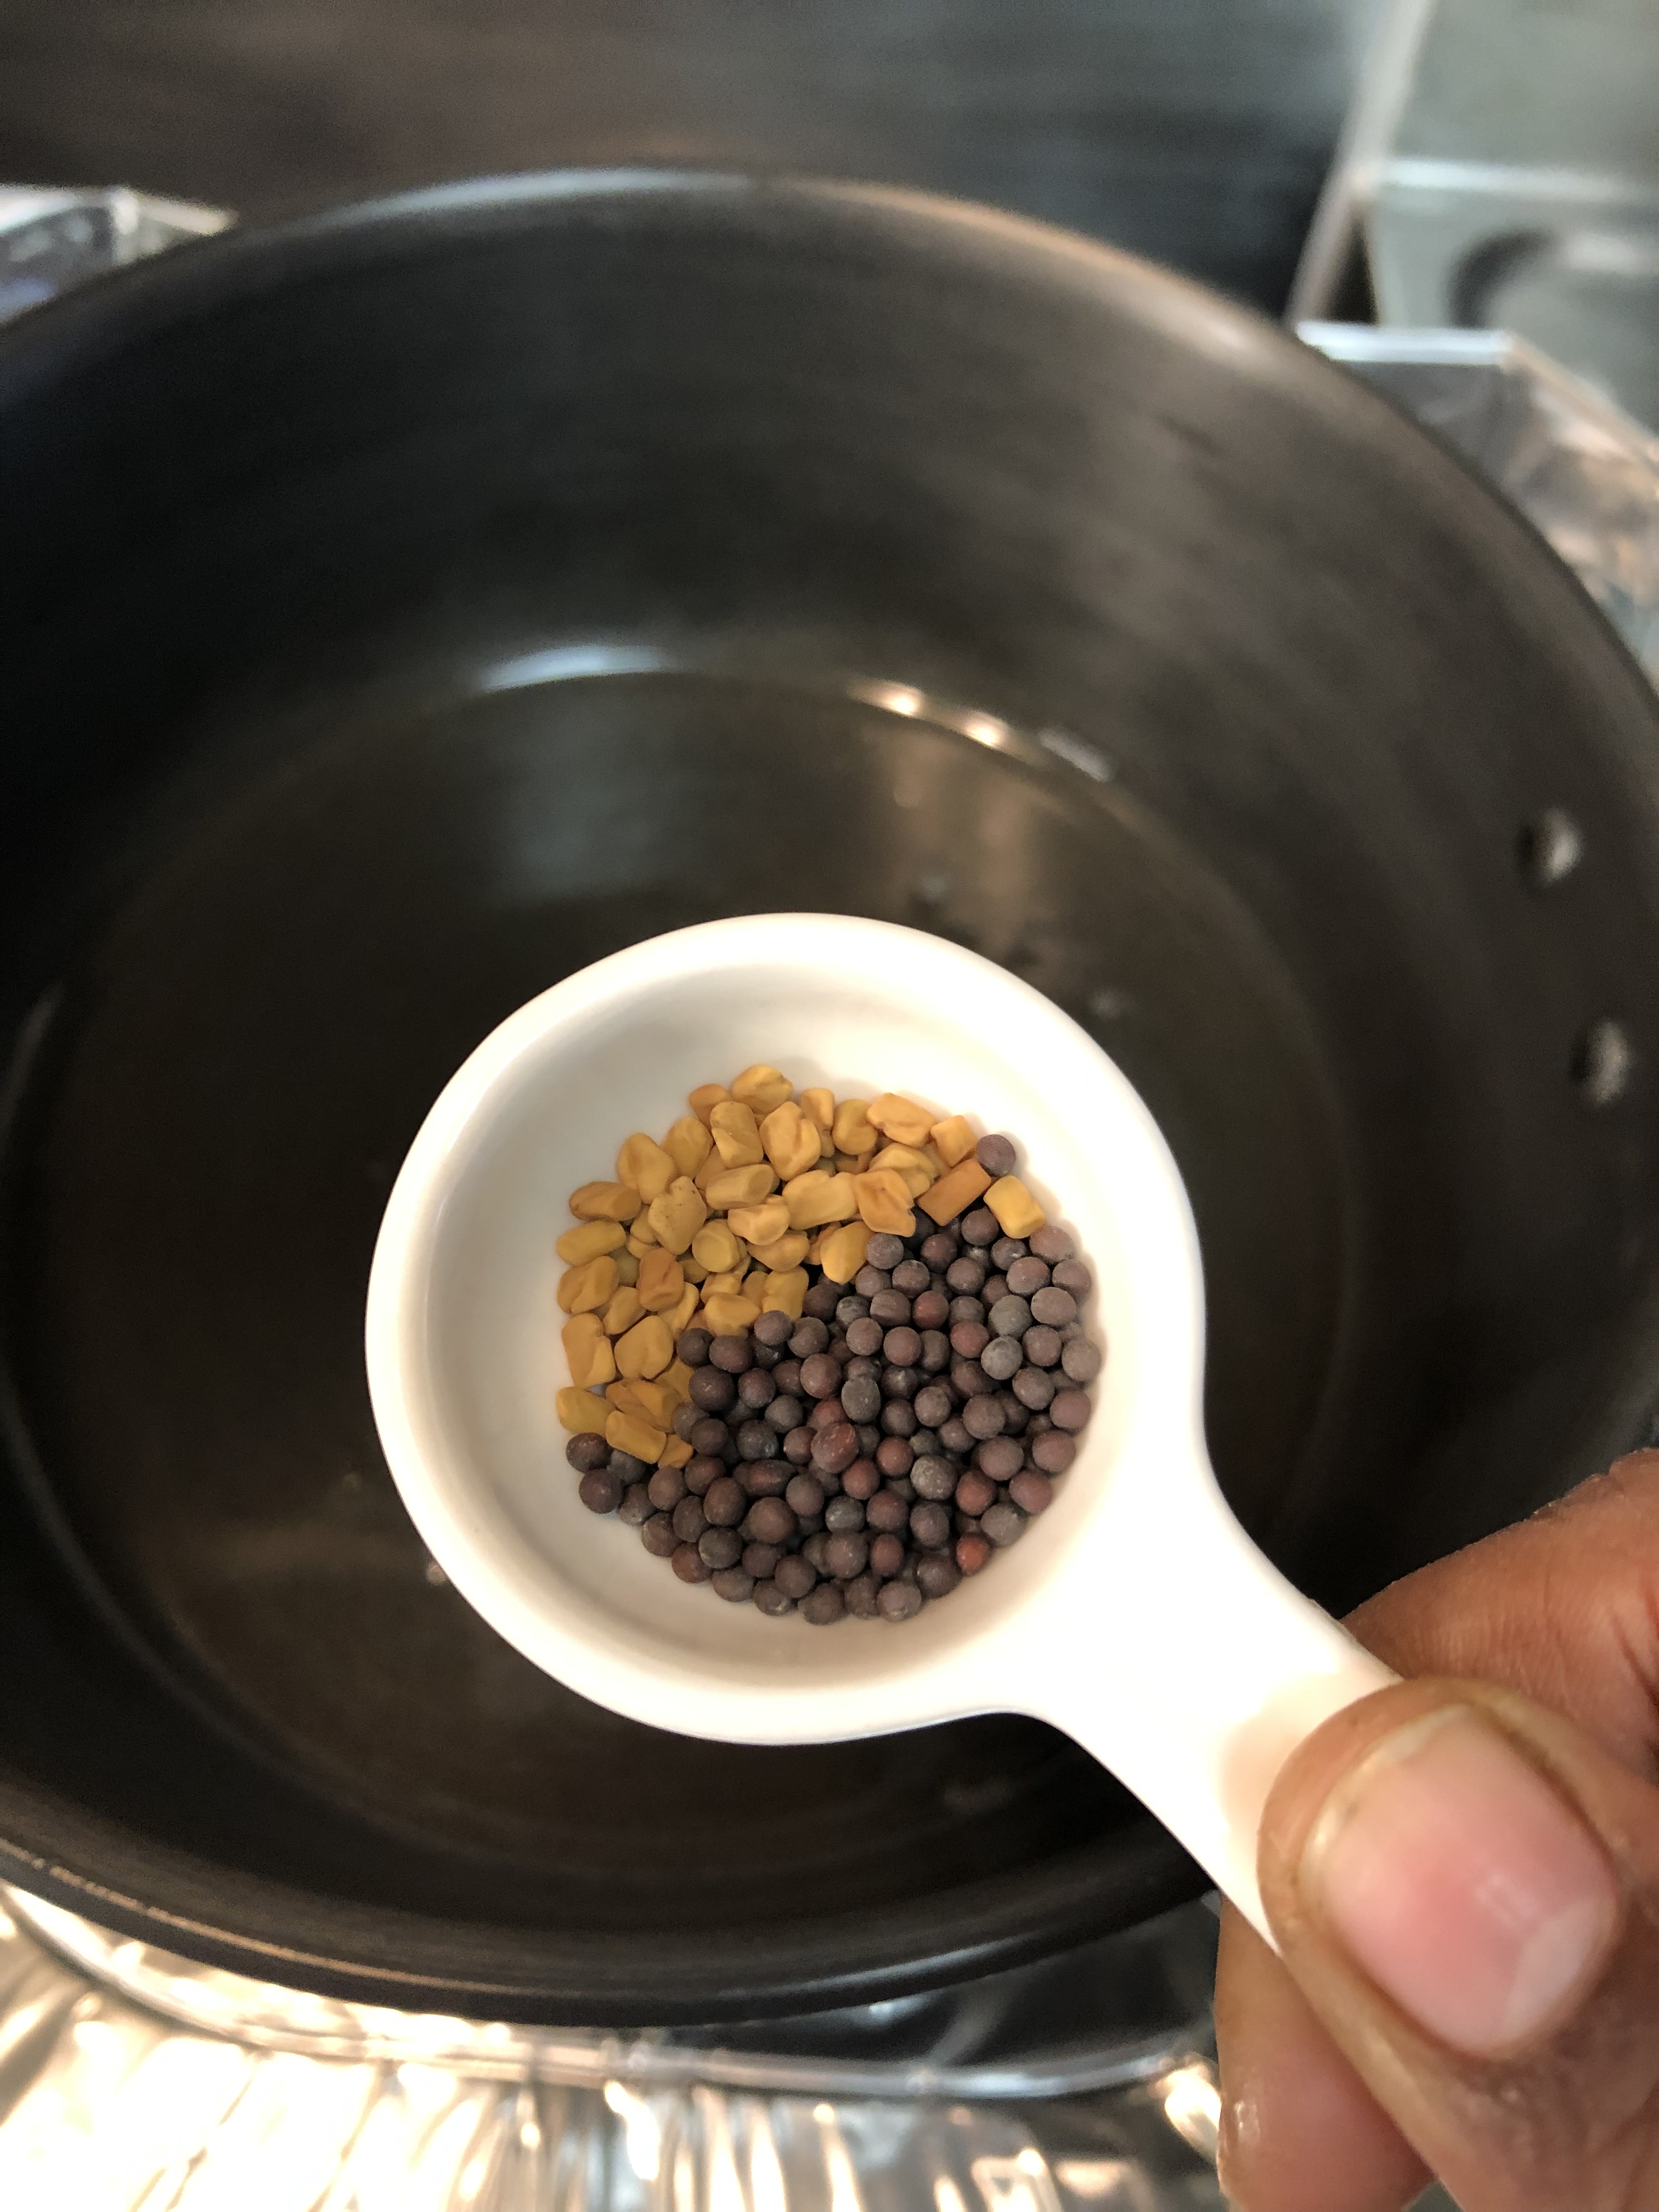
  • 1 tsp Mustard Seeds
  • 1 tbsp Fenugreek Seeds
  • A sprig of Curry leaves
  • Salt
  • 3 1/2 cups, Coconut Milk (Thin)
  • 1 tbsp, Coconut Oil

Cooking Instructions

  1. Rinse rice and dal together and set aside.
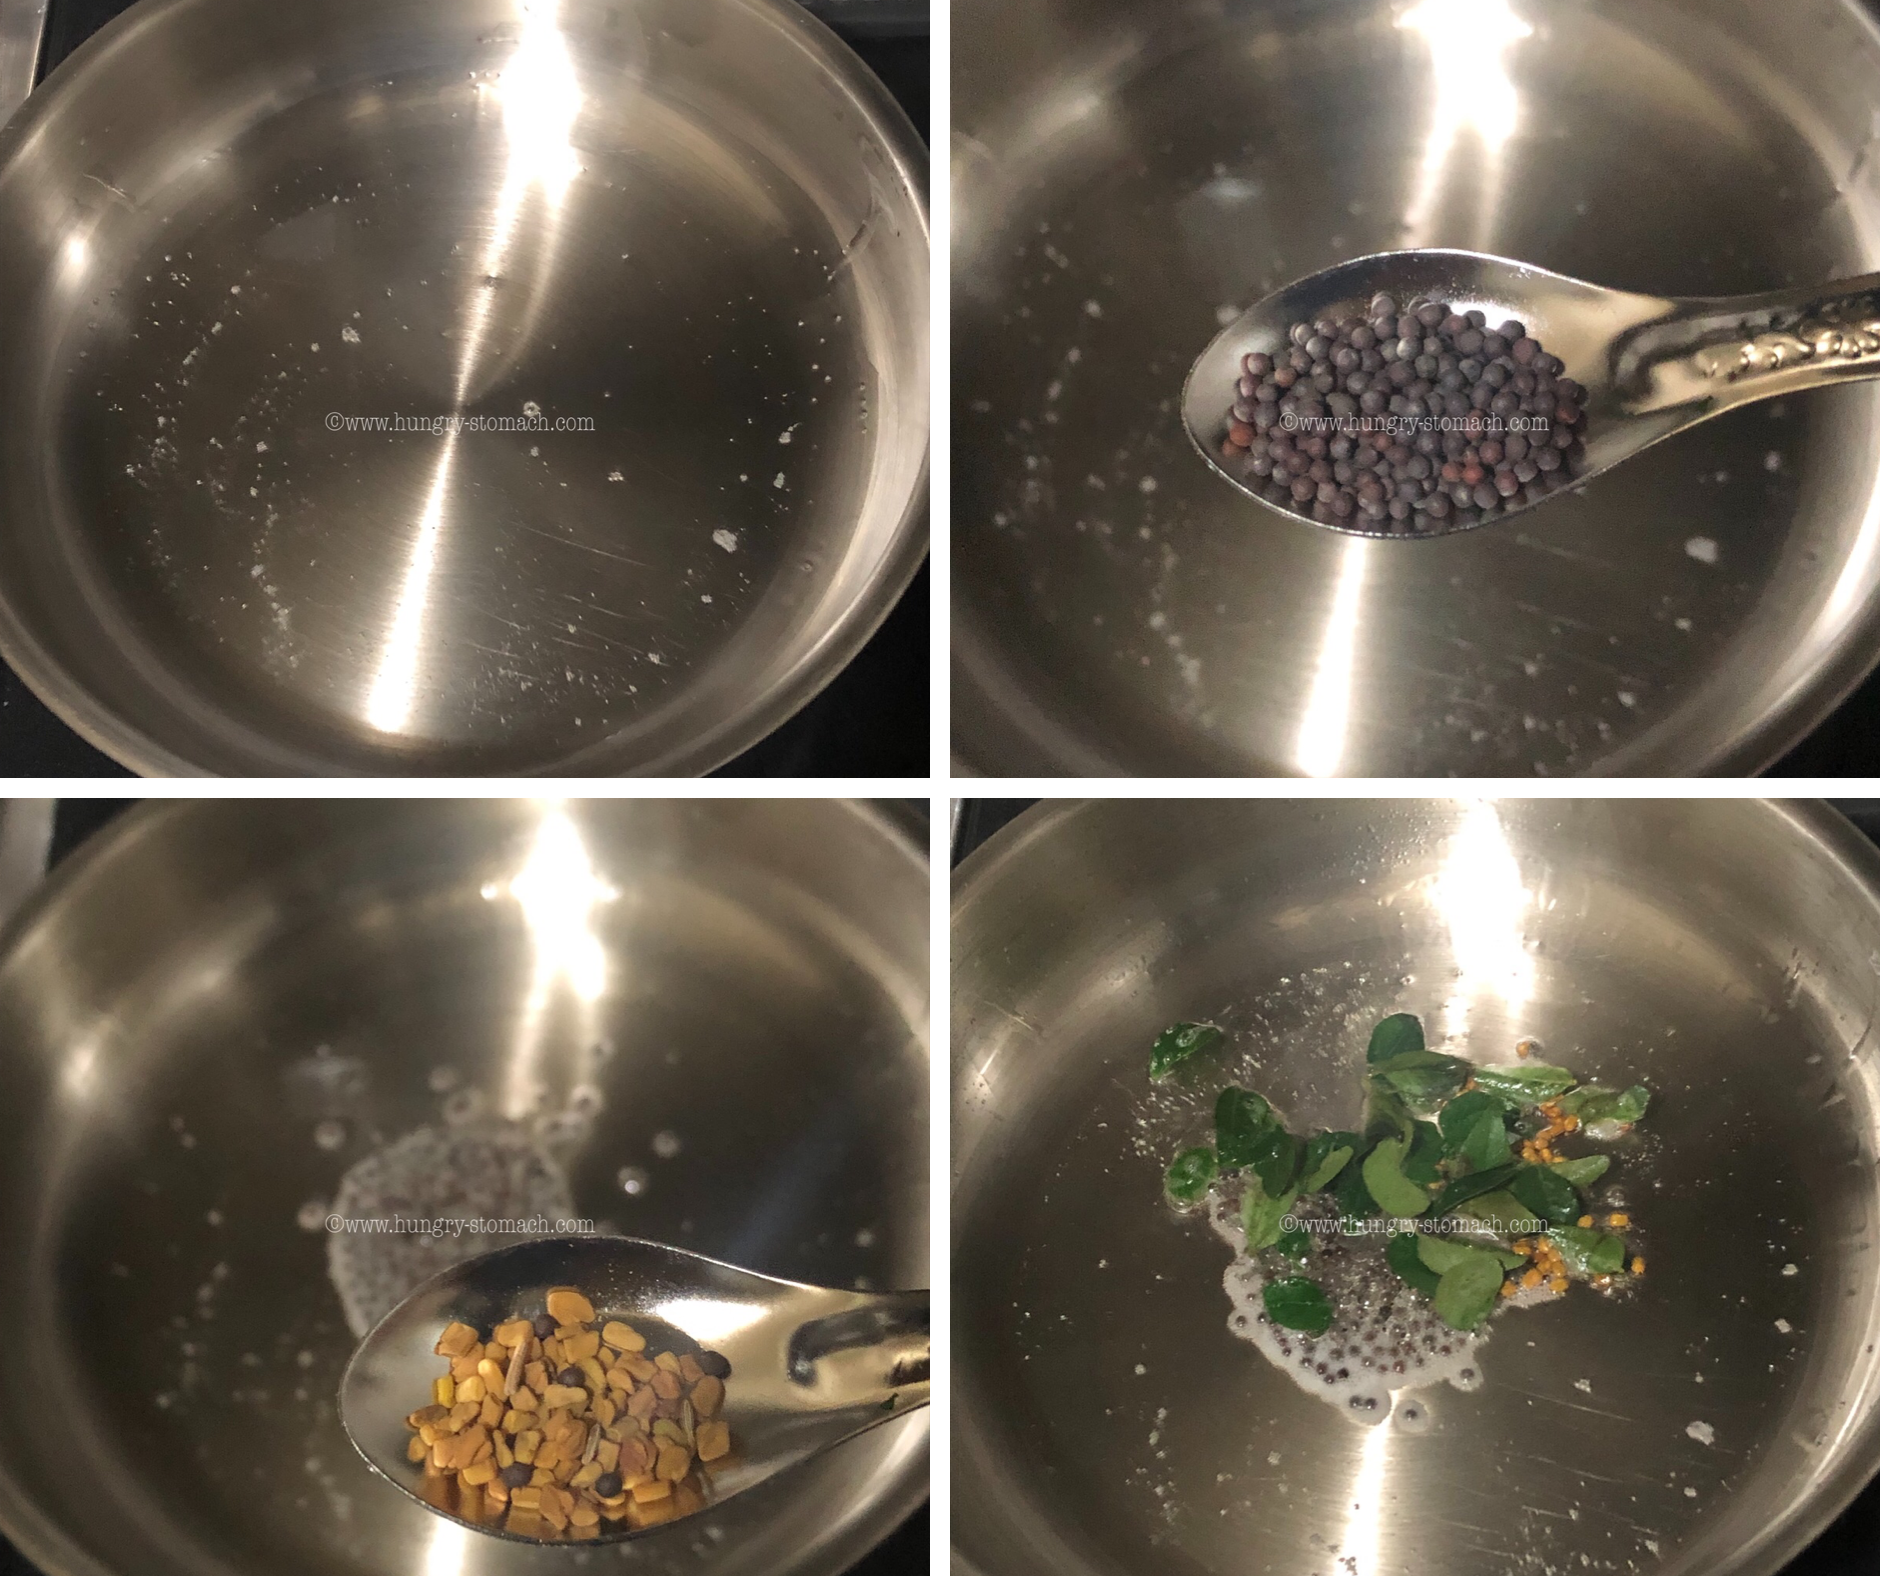
  2. In a pan or pressure cooker, add a tbsp of coconut oil. When hot, temper with mustard, fenugreek and curry leaves.
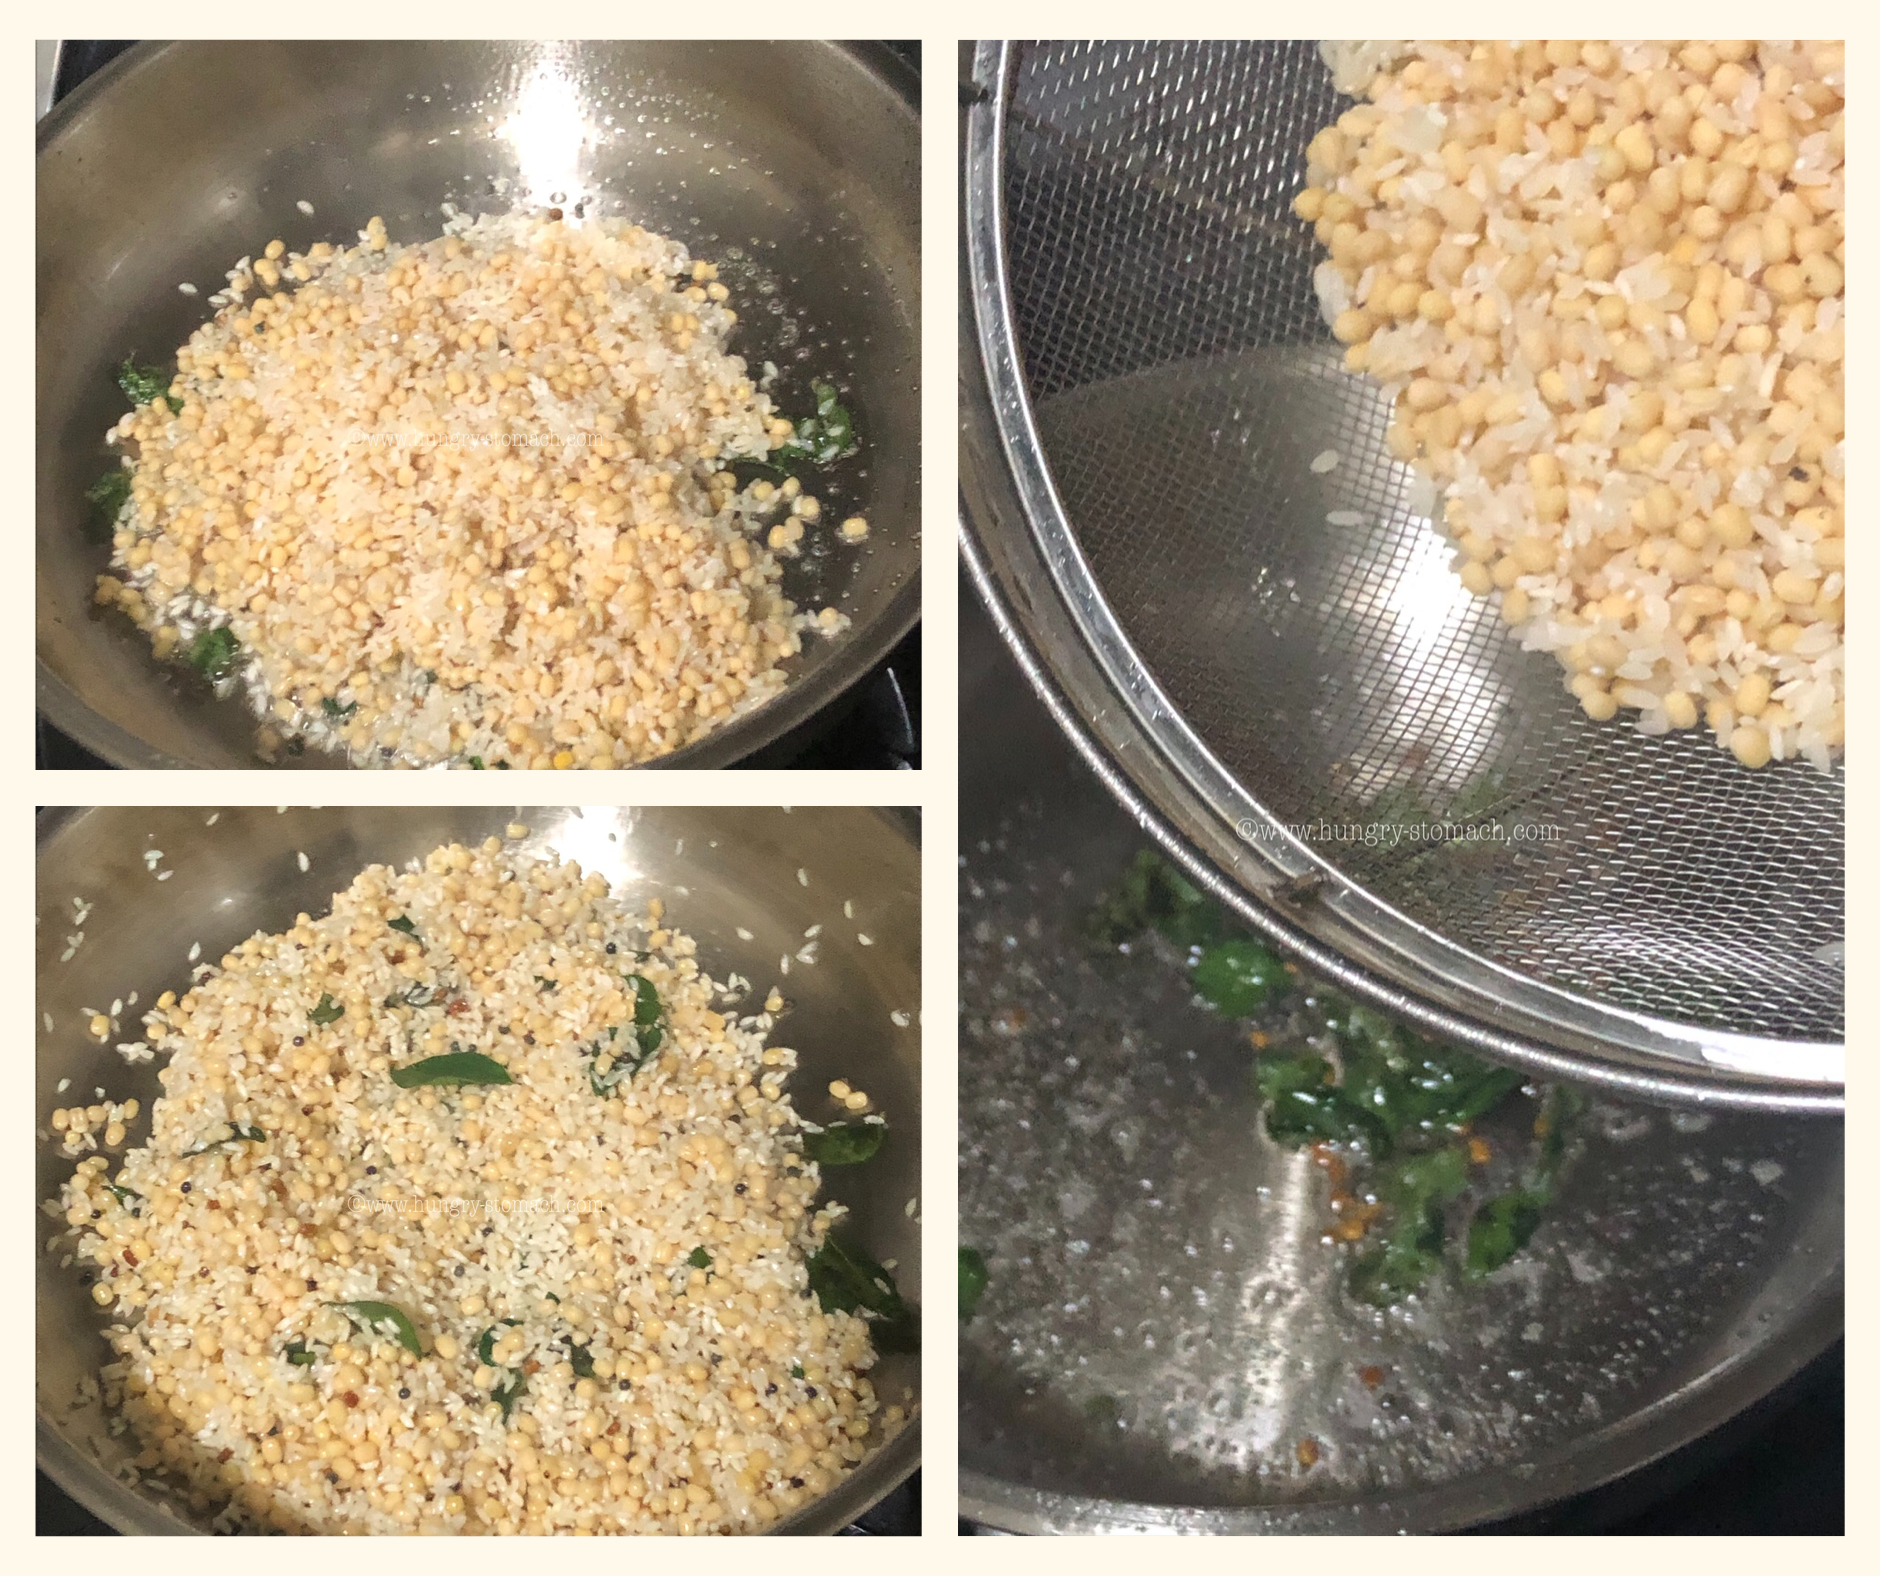
  3. Add the rice and dal mixture and fry until nice aroma wafts, almost a minute.
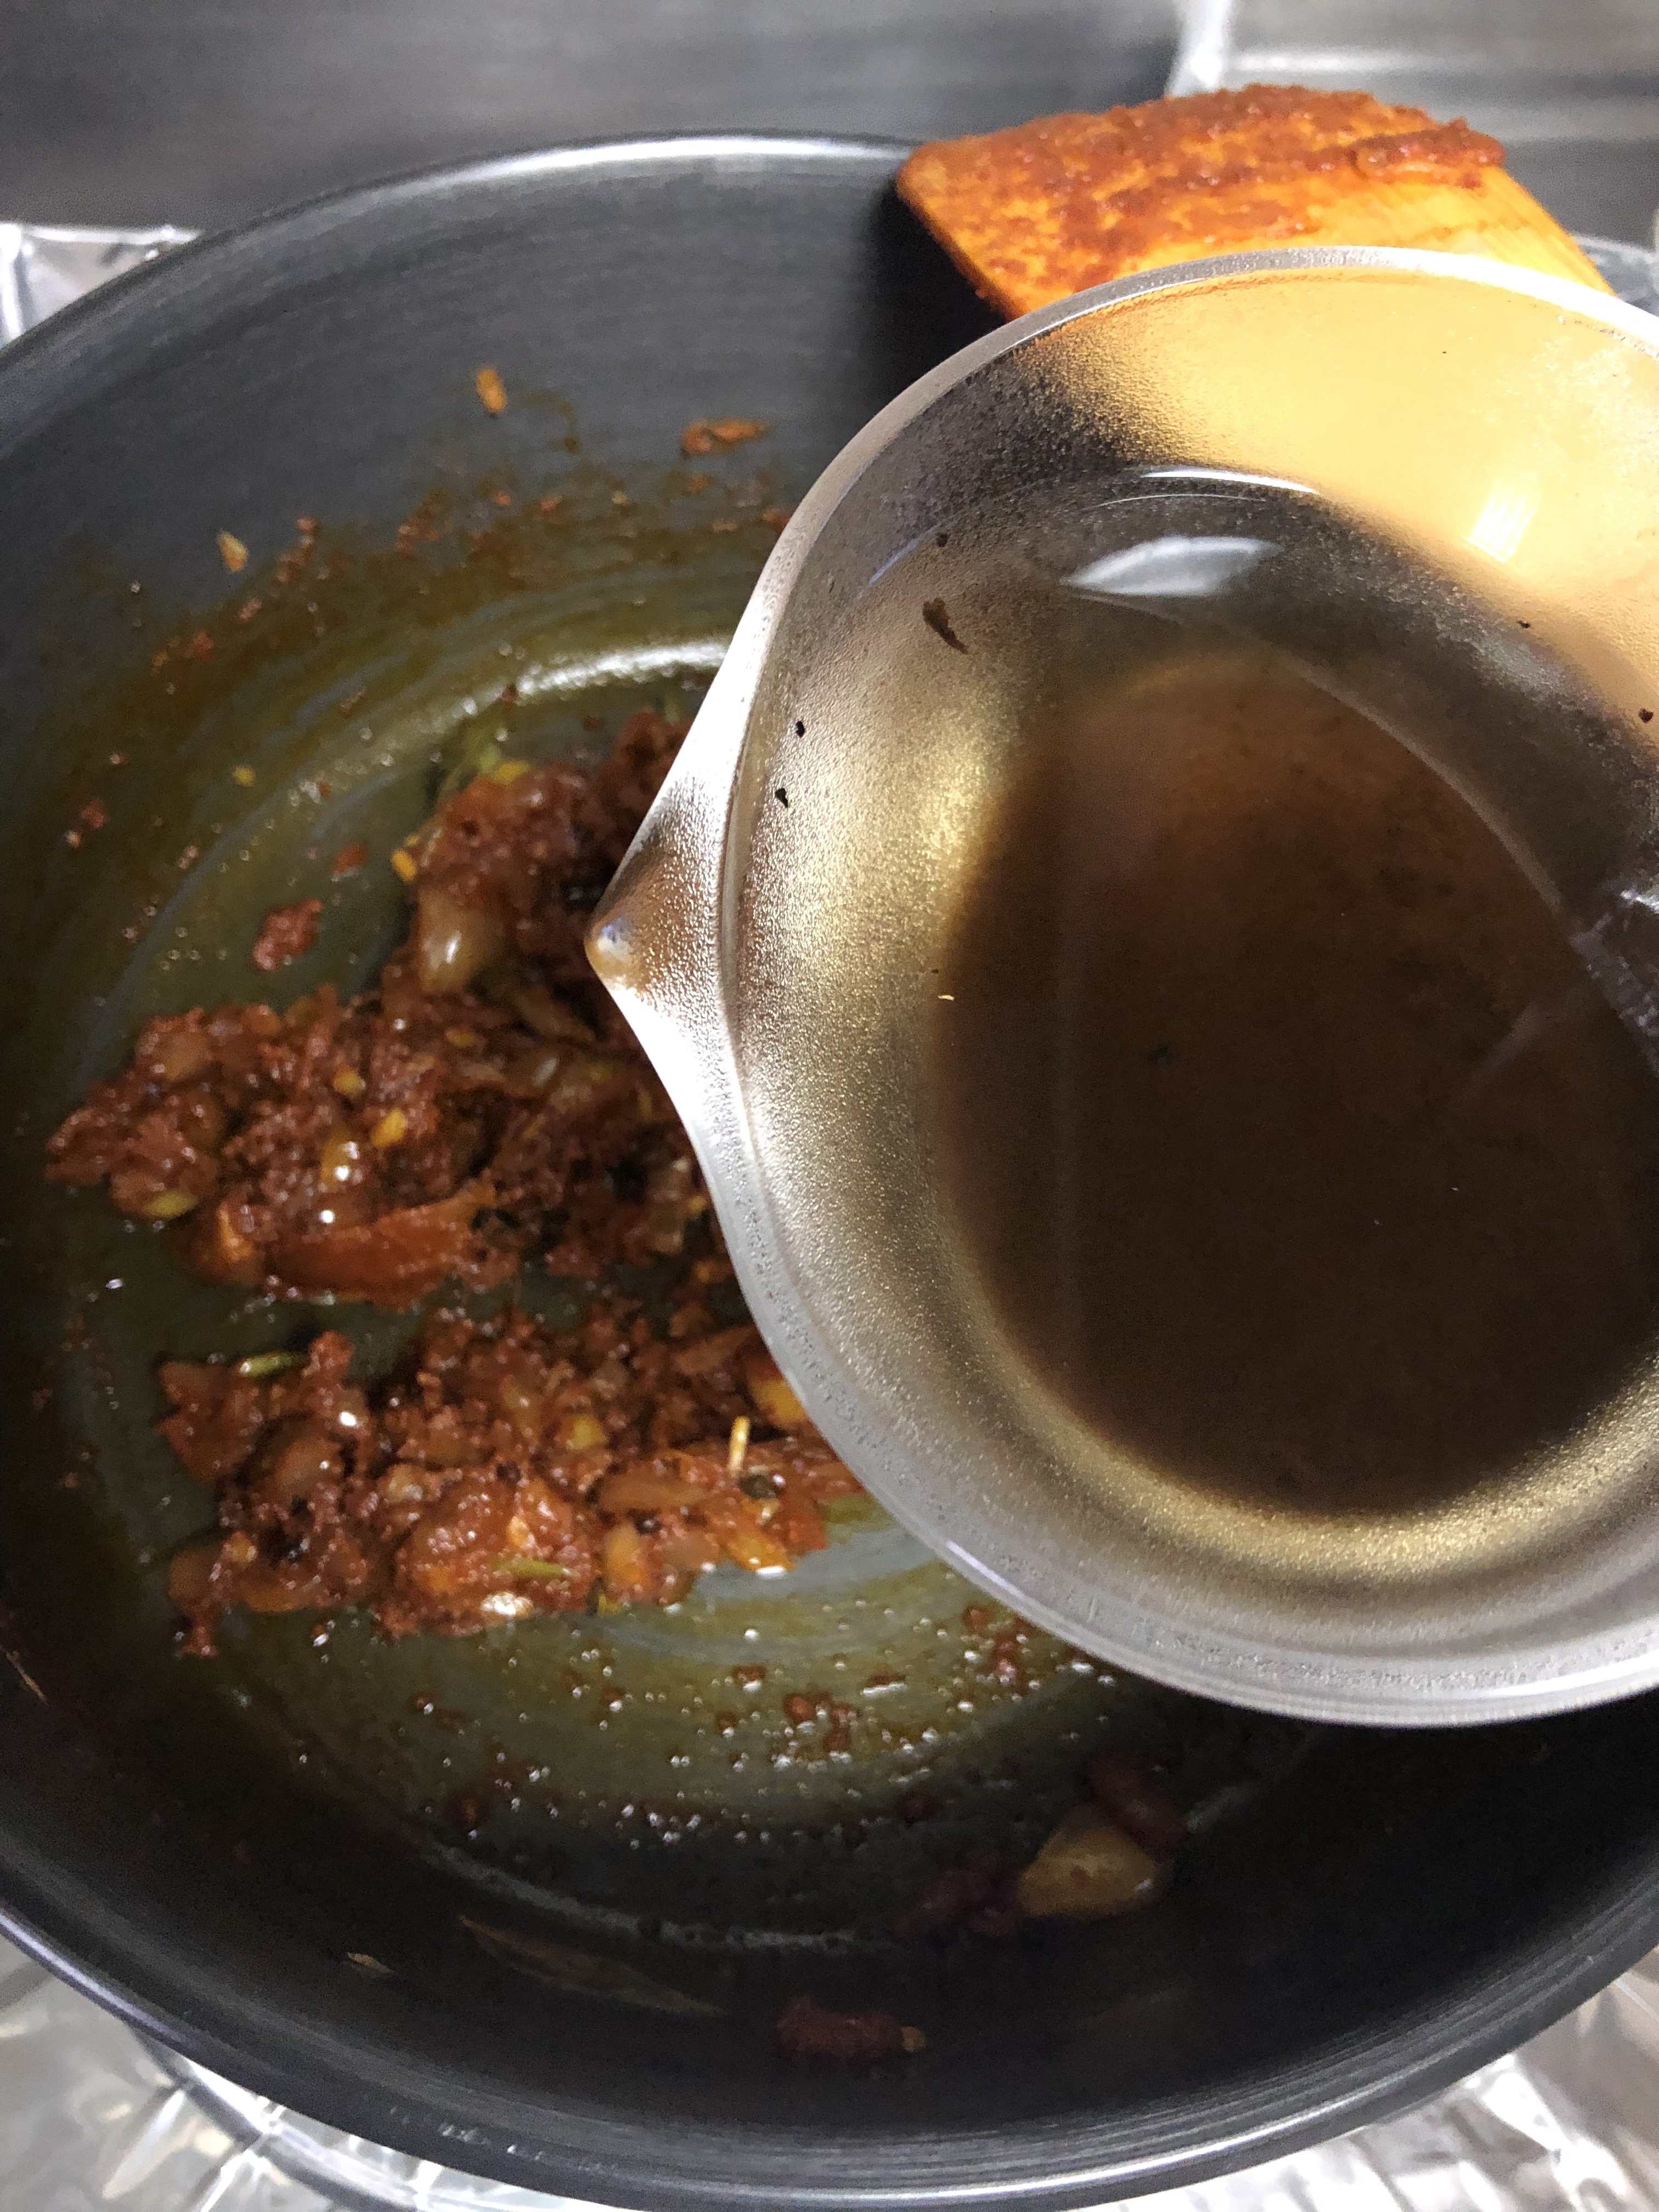
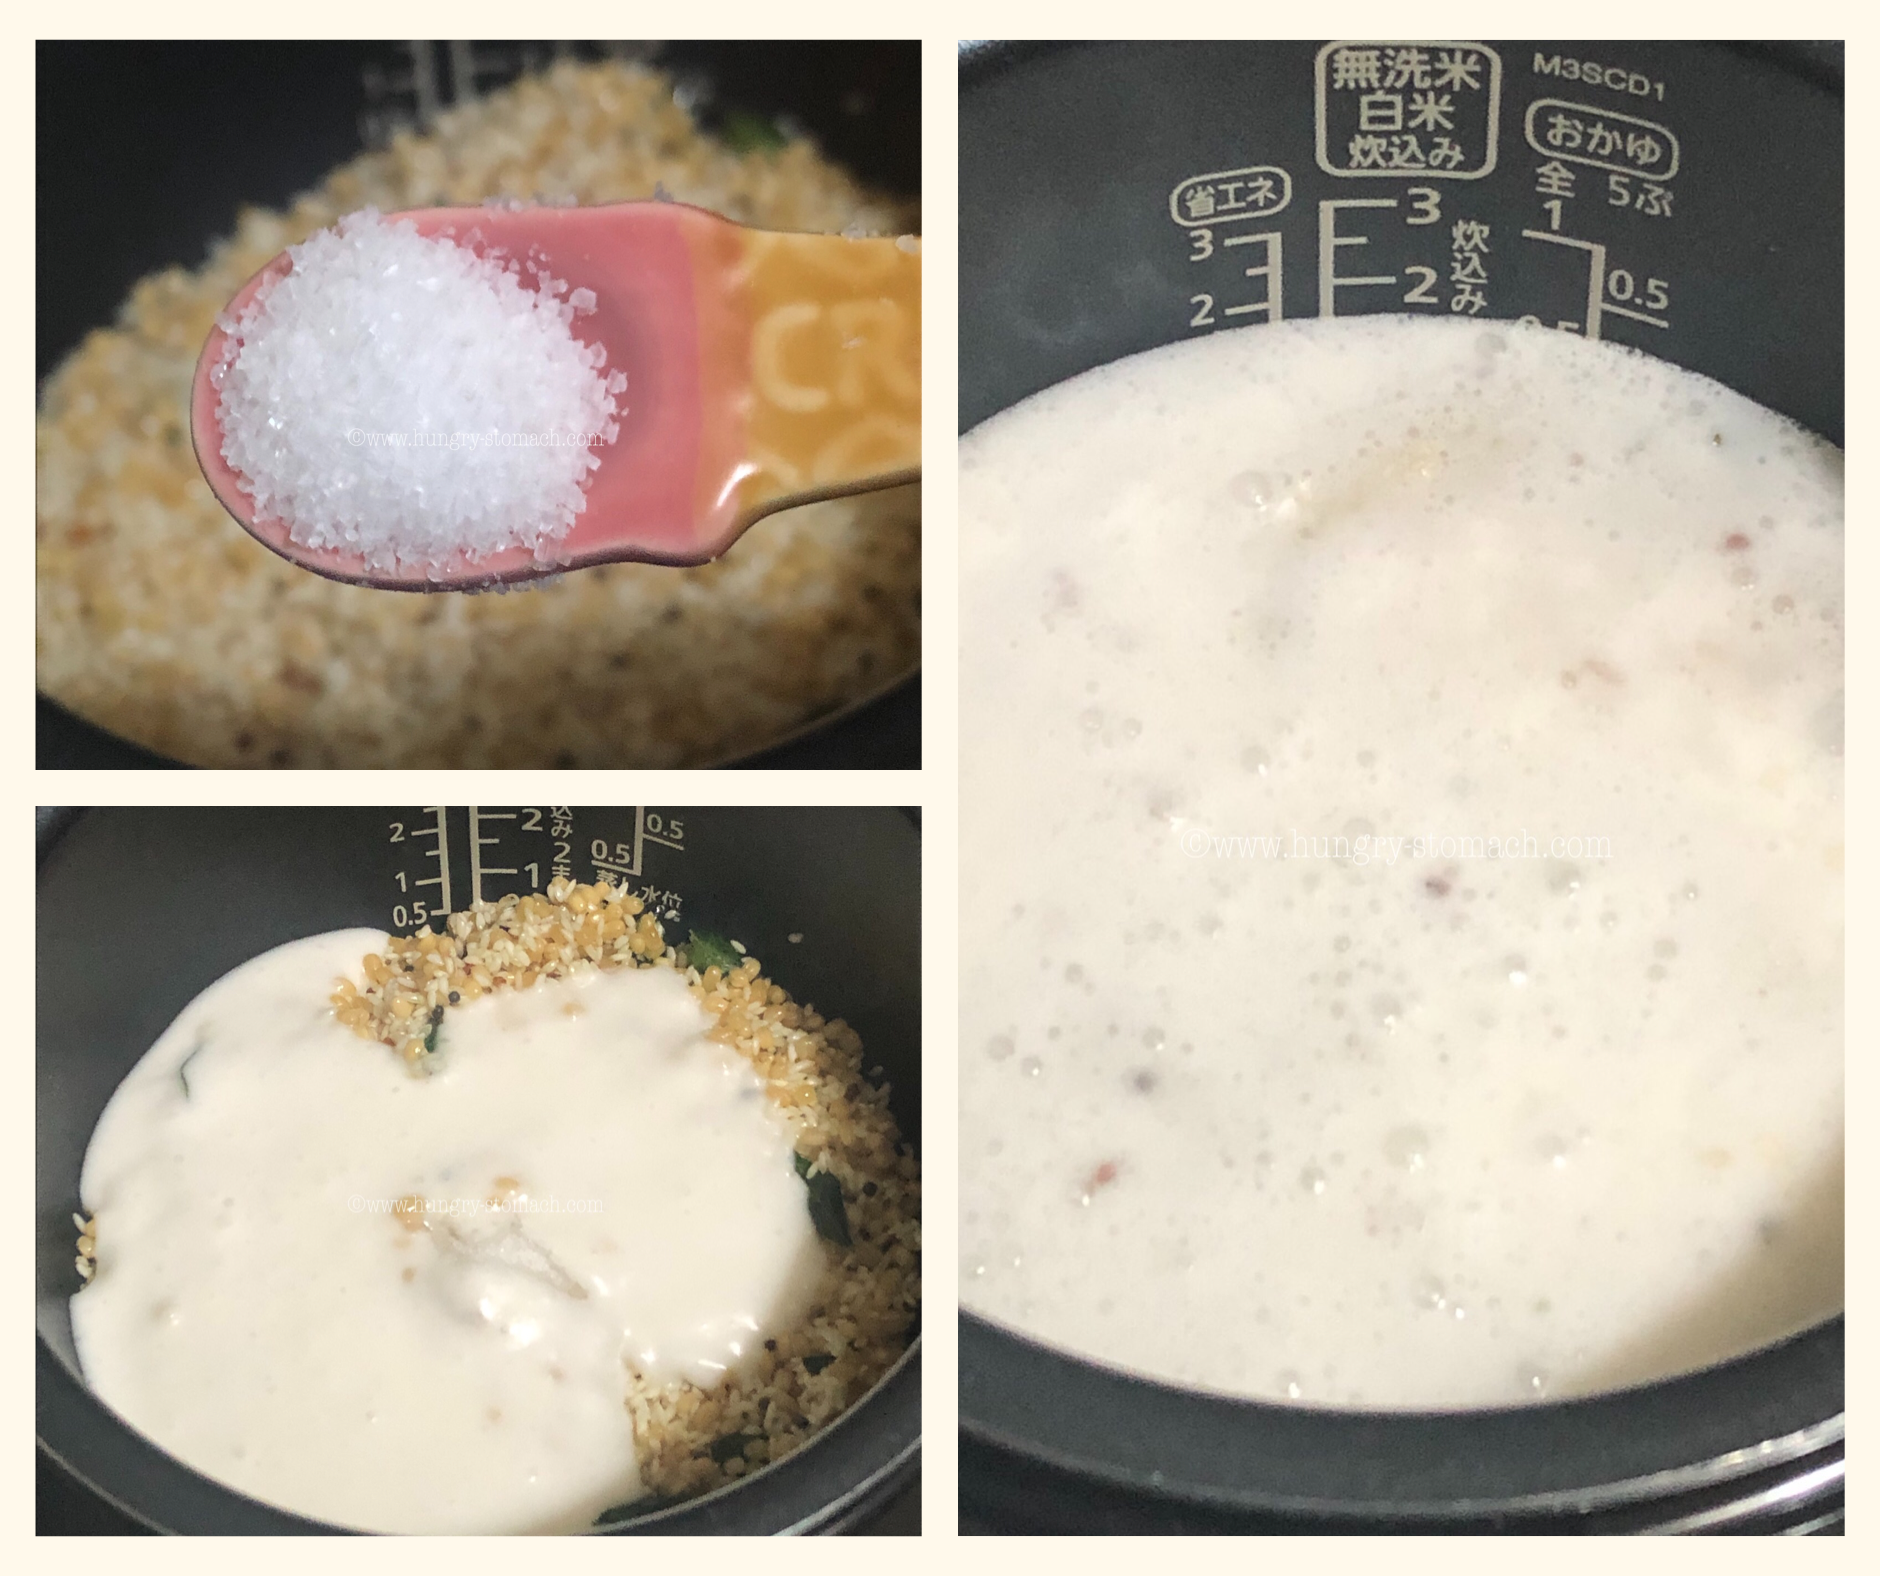
  4. Season with Salt. Add in 3 1/2 cups of thin coconut milk (1:2 ratio), you may add more if you like a mushier rice.
  5. Pressure cook for two whistles. (I’ve used an electric rice cooker today).
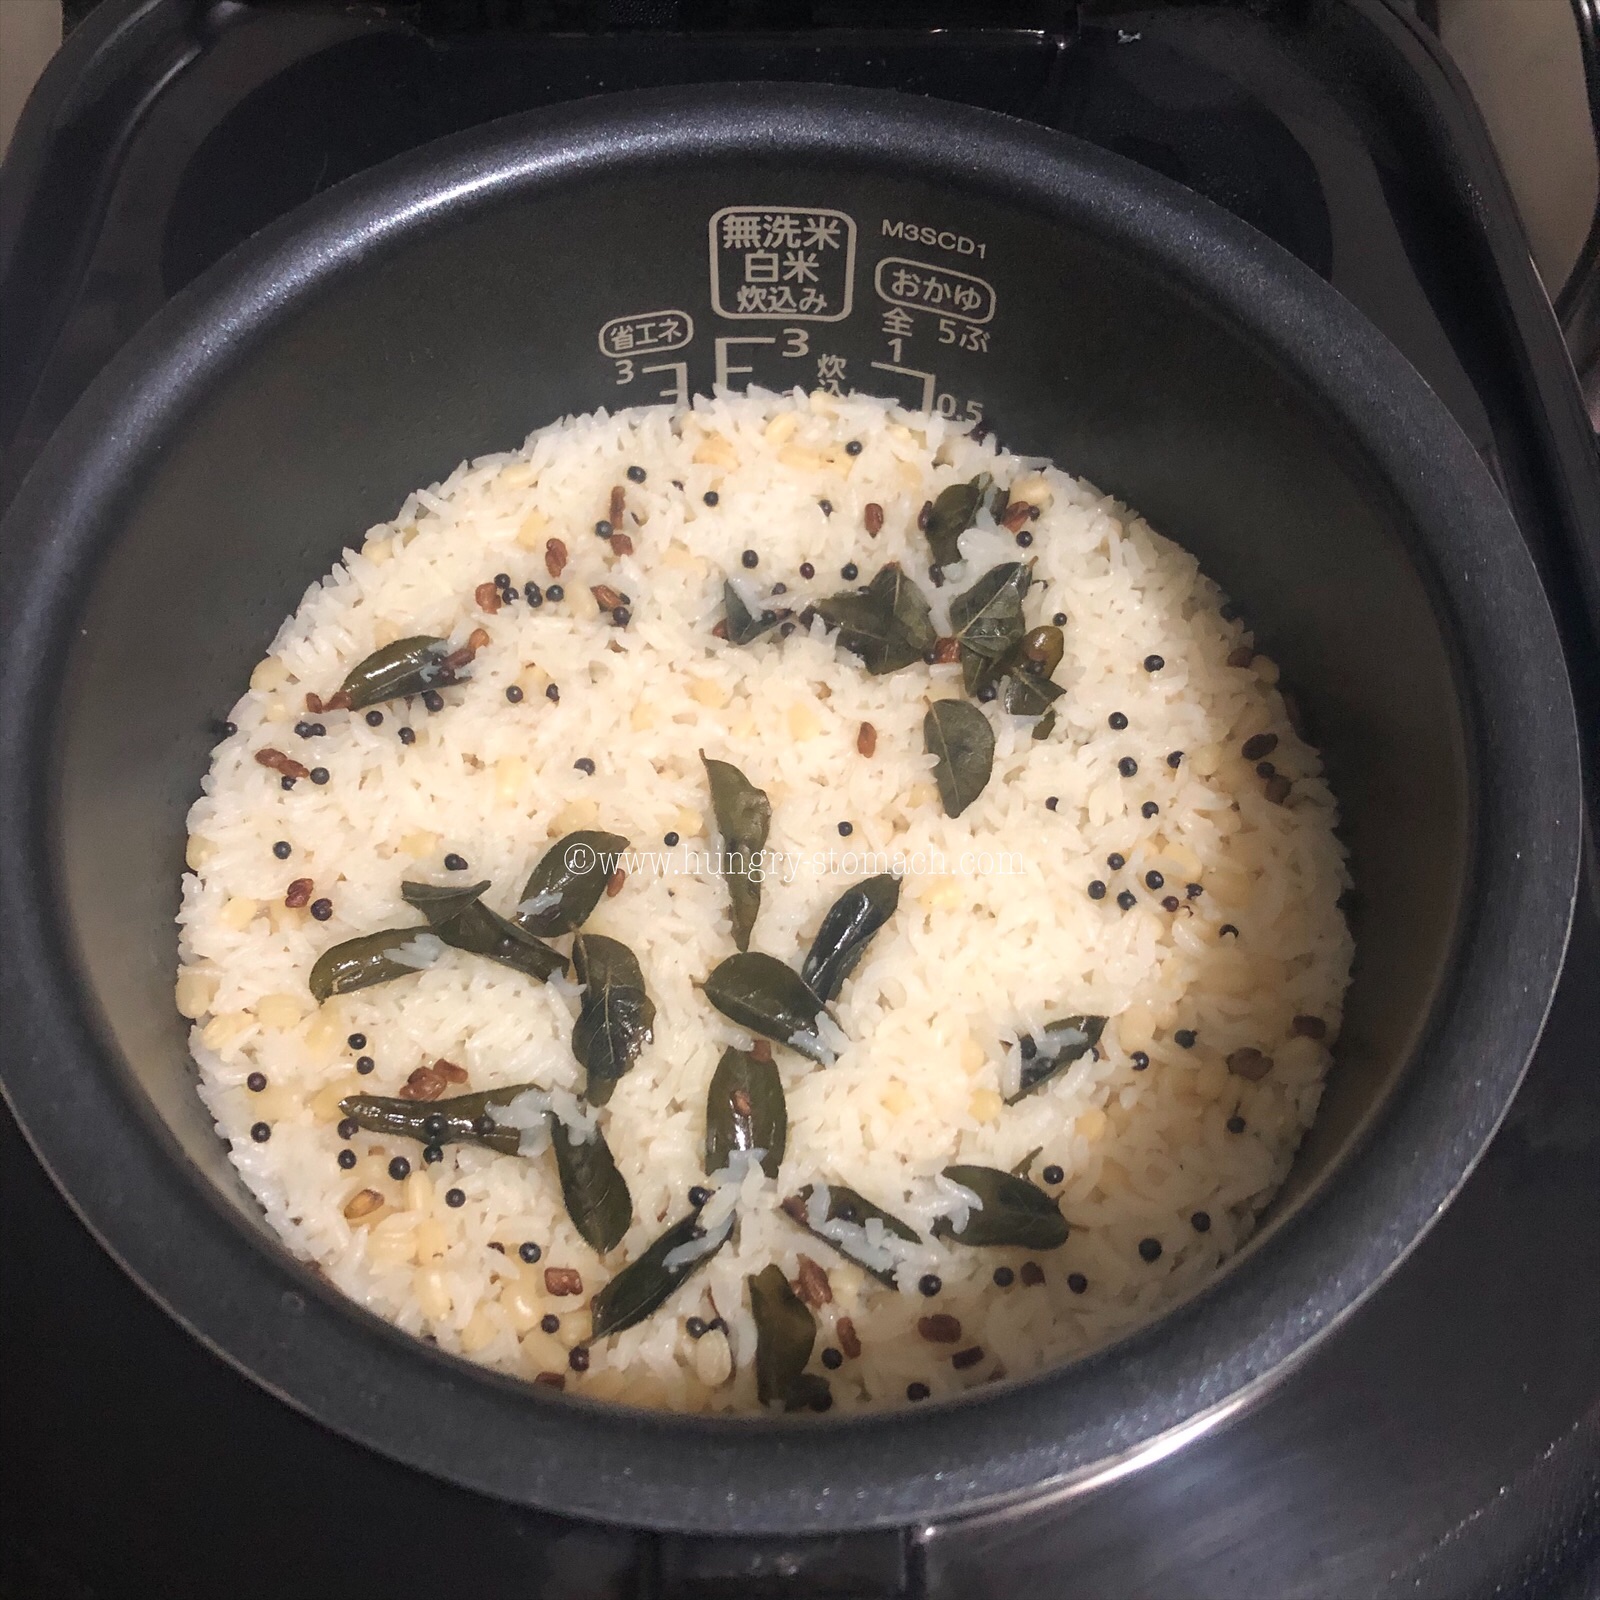
  6. Once done, serve hot with curry of your choice.


Special Notes:

  • Coconut oil gives a nice flavour to the curry. If you’re not comfortable with the flavour, feel free to use any vegetable oil.
  • Coconut milk makes the rice richer. Can be cooked with water alone.
  • Seasoning with fenugreek and curry leaves elevates the taste. But add in moderation as it turns bitter when sautéed until brown.


If you like this recipe, Do not forget to leave a comment at the end of the post.

Did you make this recipe? If yes, do let me know how it turned out in the comments below. Do share a picture on instagram with hashtag #CookedFromHungrystomach and tag us @hungry.stomach.japan

Chettinad Fish Curry |Chettinad Meen Kuzhambu | Chettinad Meen Kuzhambu with Coconut |

Although in many parts of coastal regions in South India, you’ll discover a variety of seafood especially prawns, mussels, crab and squid, fish curry holds the pioneer status in almost all regions.

With a variety of spices and ingredients like tamarind and coconut, there is a lot of scope to try various varieties of fish curries from various places.

My hubby likes all kind of fish preparations that I make. I tried this fish curry when I was craving for fish kuzhambu but not in a mood to roast coconut for my usual Varutharacha Meen Curry. It turned out super good and he loved it for the rich tangy taste.

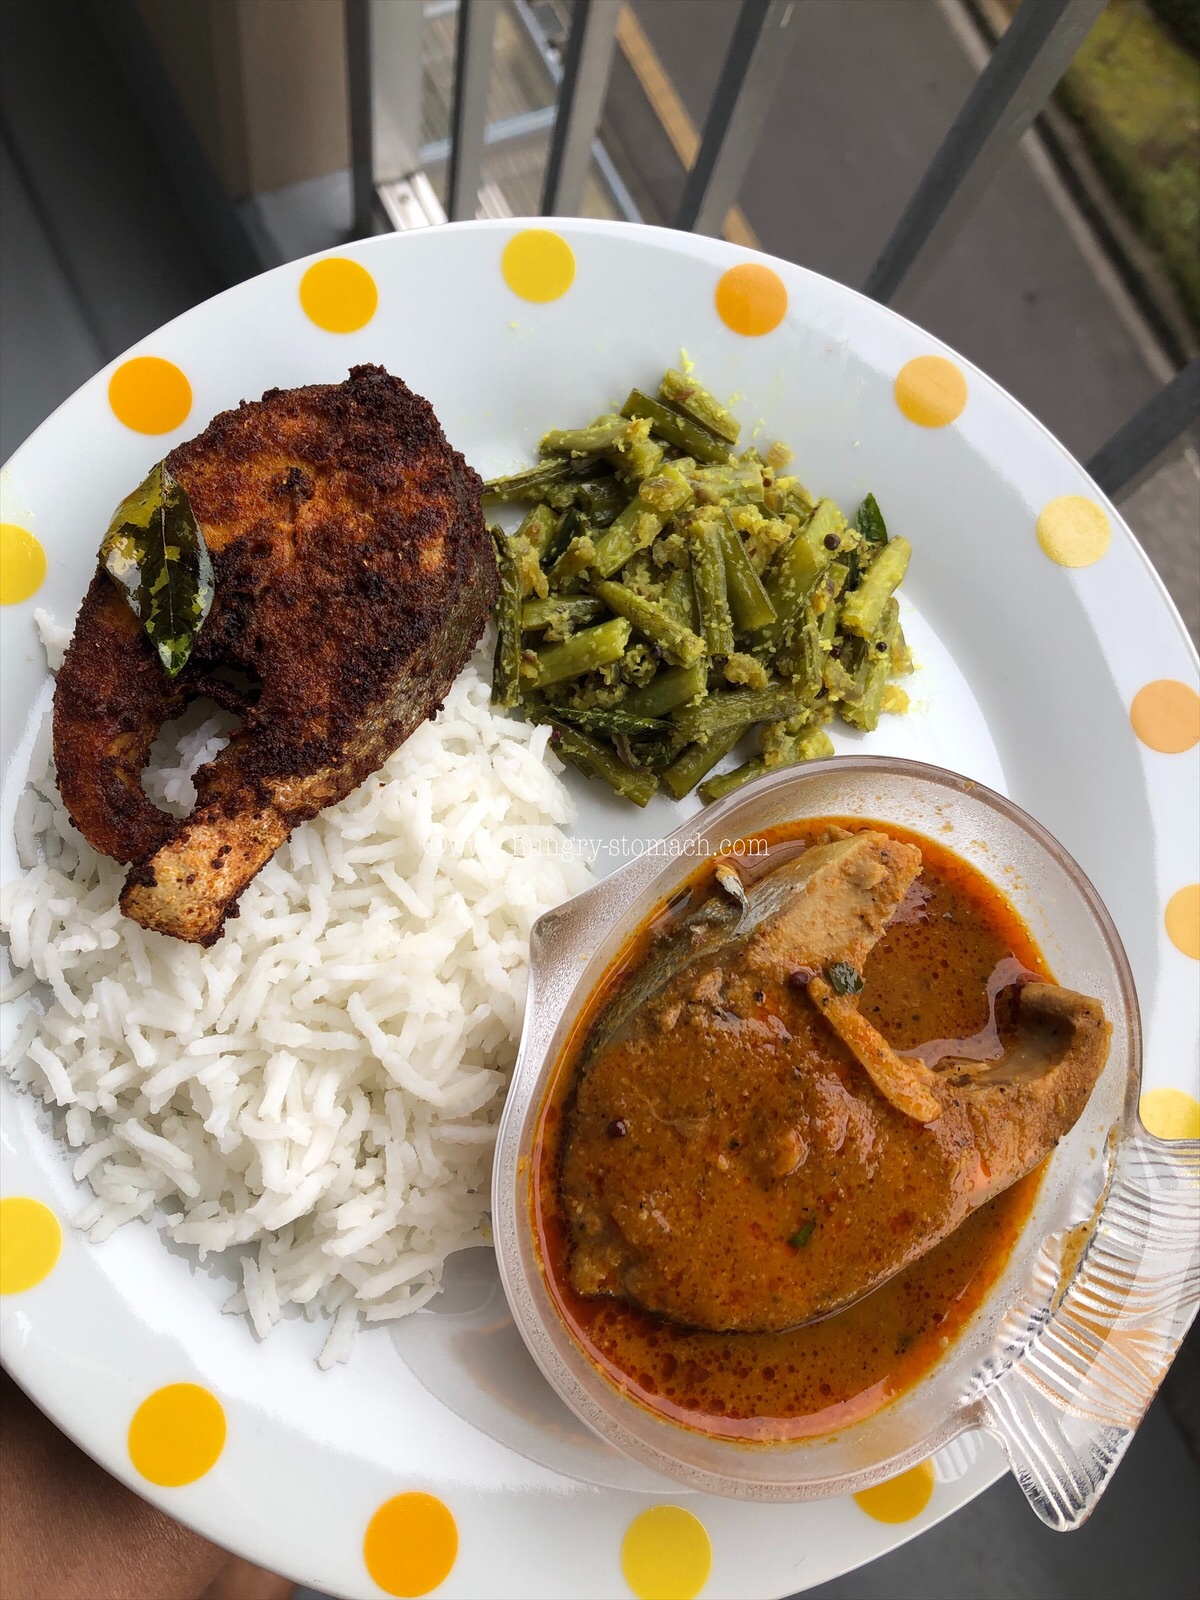
This is a Chettinad Fish recipe that you can make easily at home without much fuss. Freshly ground masala paste gives an excellent aroma to this gravy. Any type of fish can be prepared with this recipe – mackerel or seer or pomfret.

If you want to stick to the most authentic version of any fish curries, you will be compelled to use an earthenware pot or claypot (Manchatti). It gives more taste and flavor to fish curry. Try to make this in an earthenware pot and feel the magic.

Here’s the recipe of chettinad fish curry which you can relish with rice…

Check out my other fish recipes:

Kanyakumari Style Varutharacha Fish Curry

Home Style Fish Curry

Kottayam Style Meen Vevichathu

Squid Curry / Kanava Kuzhambu


Author: Nathiya Adiseshan

Preparation Time: 10 minutes

Cooking Time: 20 minutes

Serves: 2-3 

Ingredients

For the masala paste:

  • 1 tbsp, Oil
  • 5 cloves, Garlic
  • 15 Shallots, chopped
  • 1 tsp Peppercorns
  • 1 tsp Cumin seeds
  • A sprig Curry leaves
  • 1 Tomato, small, chopped
  • 1 tbsp Redchilli Powder
  • 2 tbsp Coriander Powder
  • 1/4 tspTurmeric Powder
  • Tamarind, lemon sized
  • 1/4 cup, Coconut

For the gravy:

  • 500 gms Fish
  • 1 tbsp Oil
  • 1 tsp Mustard Seeds
  • 1/2 tsp Fenugreek Seeds
  • 5 cloves Garlic
  • A sprig Curry leaves
  • 10 Shallots, chopped
  • Salt
  • Coriander leaves

Cooking Instructions:-

For the masala paste:

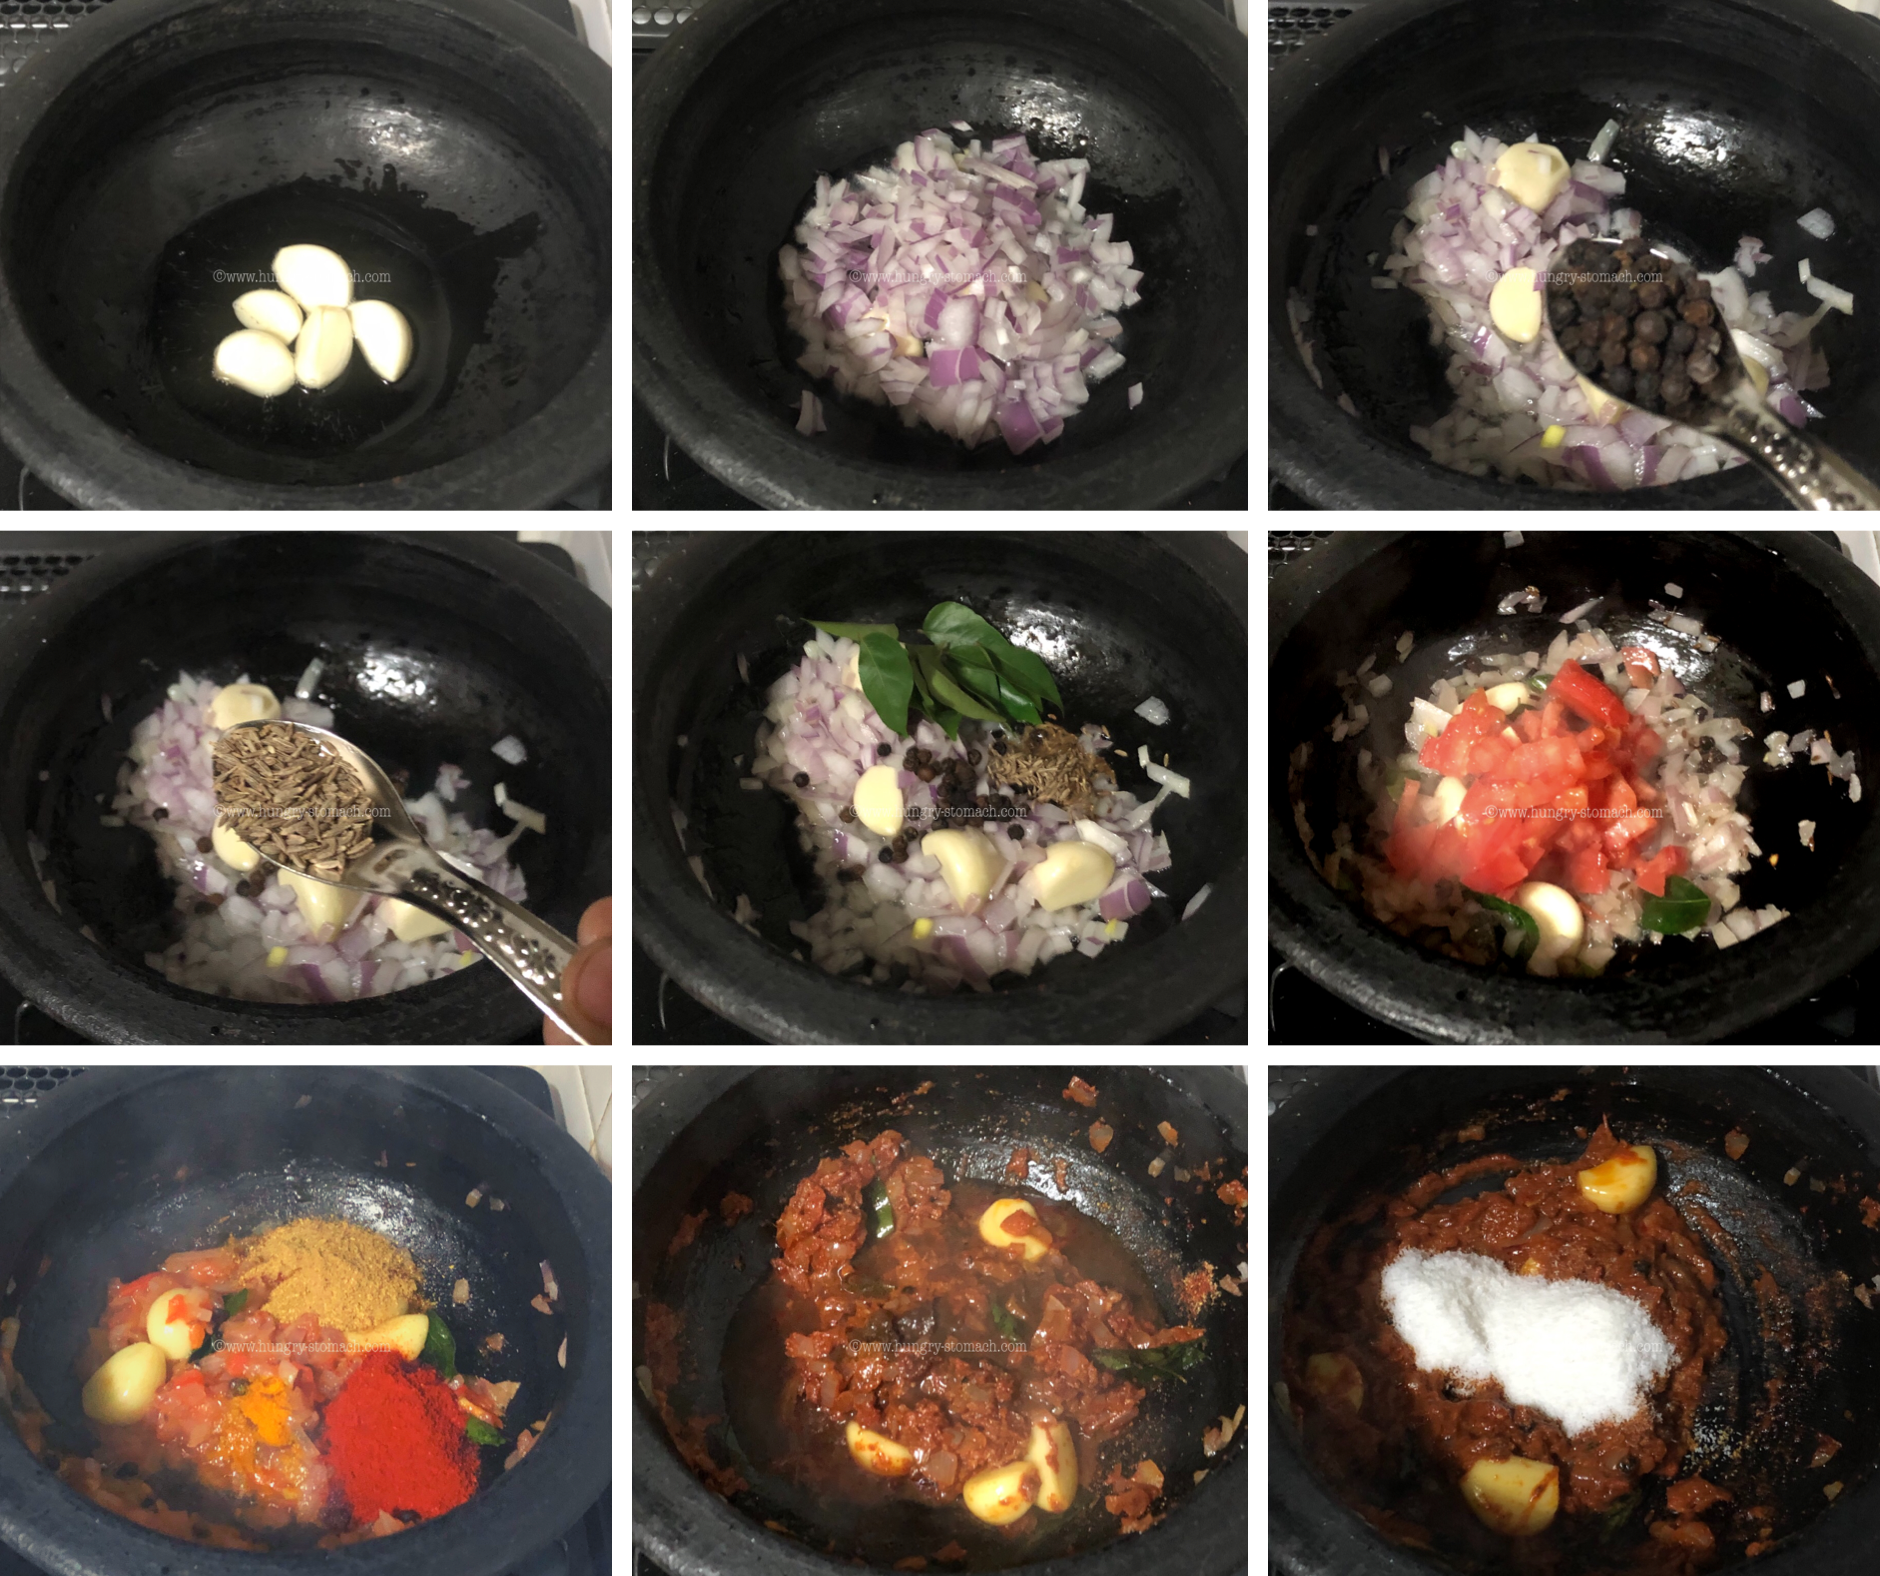
  1. Heat oil in a earthernware kadai. Add in garlic, shallots, peppercorns,cumin seeds, curry leaves and saute until shallots turn translucent. Add in tomatoes and spice powders & saute until rawsmell goes away. Now add in tamarind juice & grated coconut and saute for 30 sec.
  1. Once the mixture is cooled, take that in blender and grind it smooth with little water.

For the gravy:

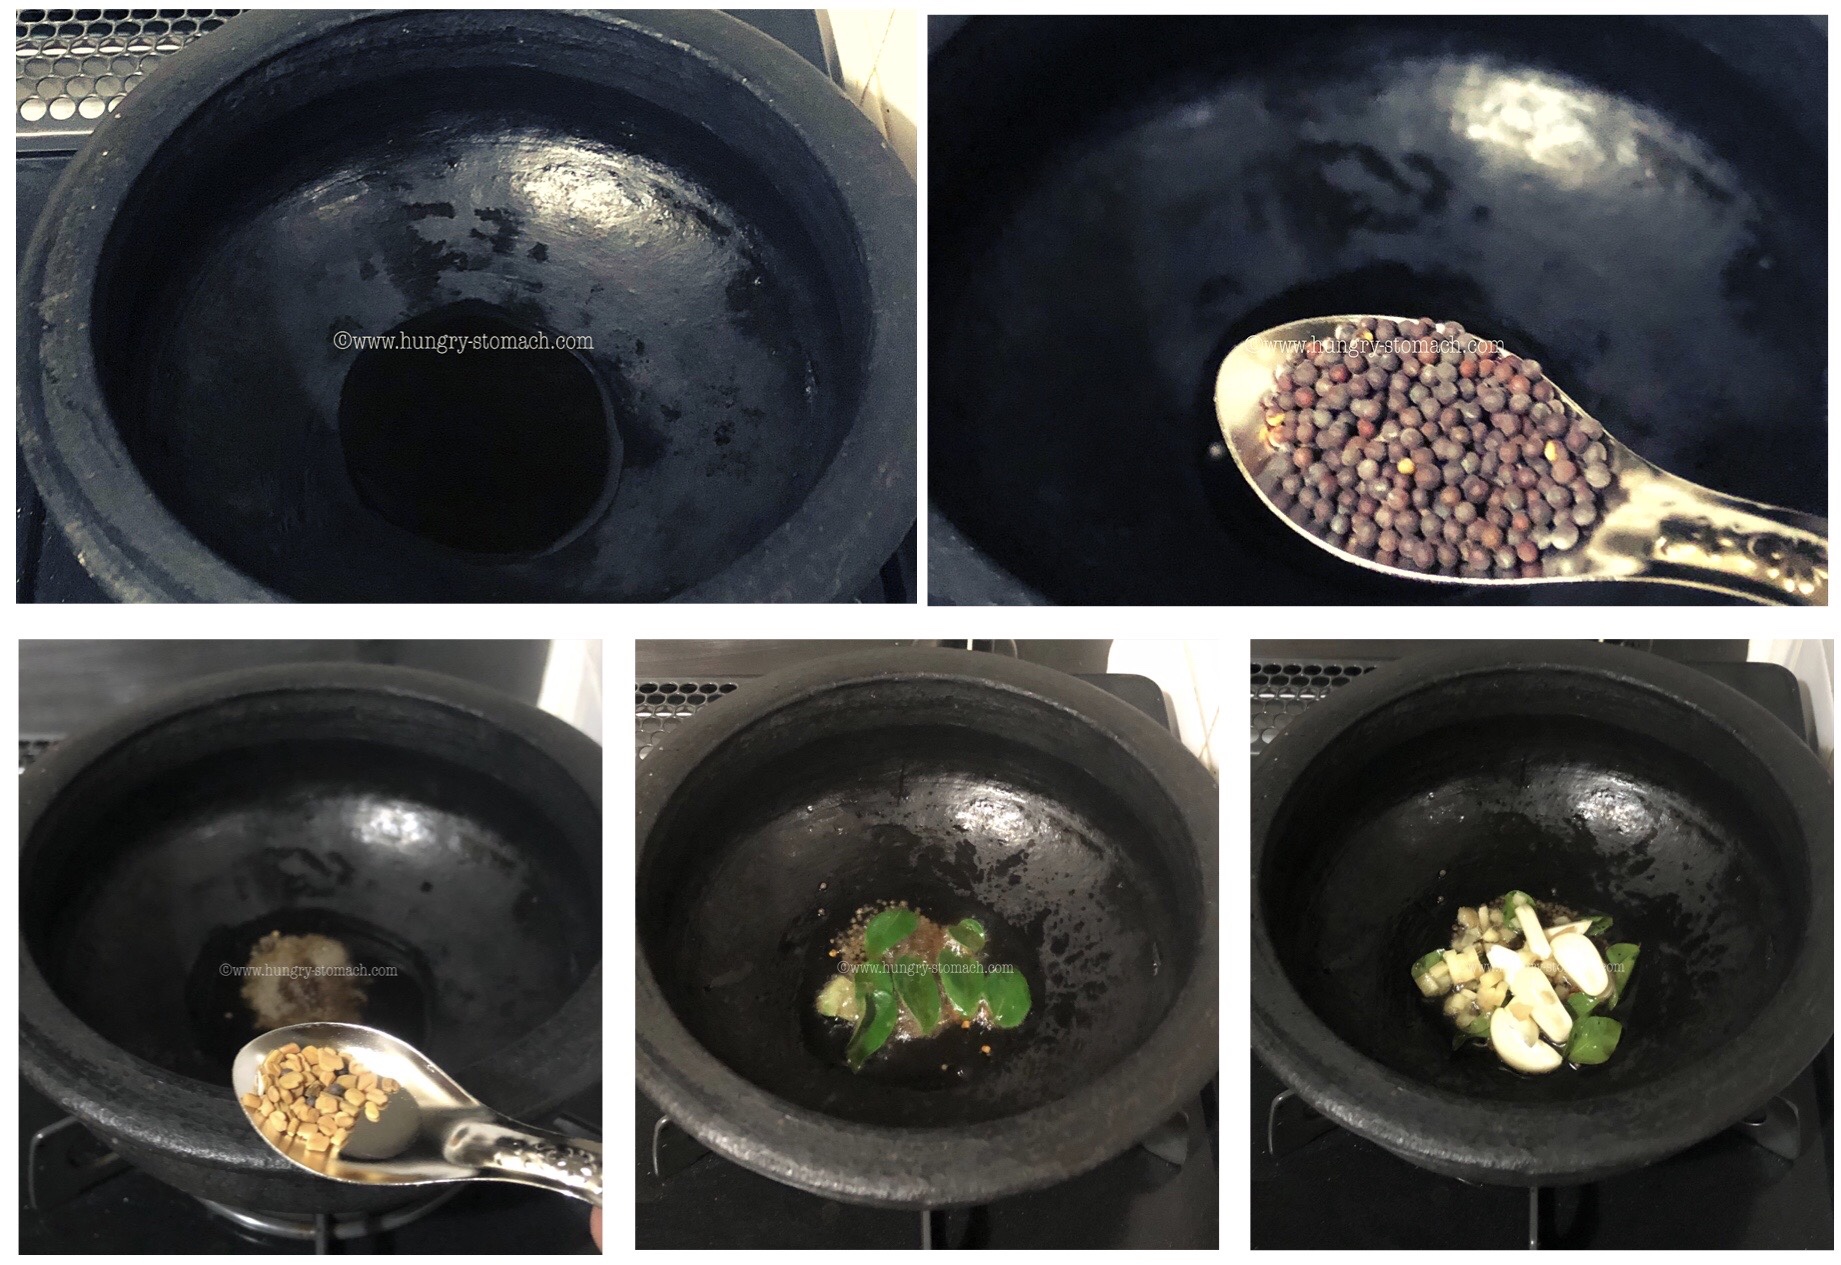
  1. In the same earthenware kadai, heat oil. Temper with mustard seeds, fenugreek seeks, garlic and curry leaves.
  2. Add in sliced shallots/onions. And fry until golden. (This step is optional, it gives an crunch for the smooth gravy).
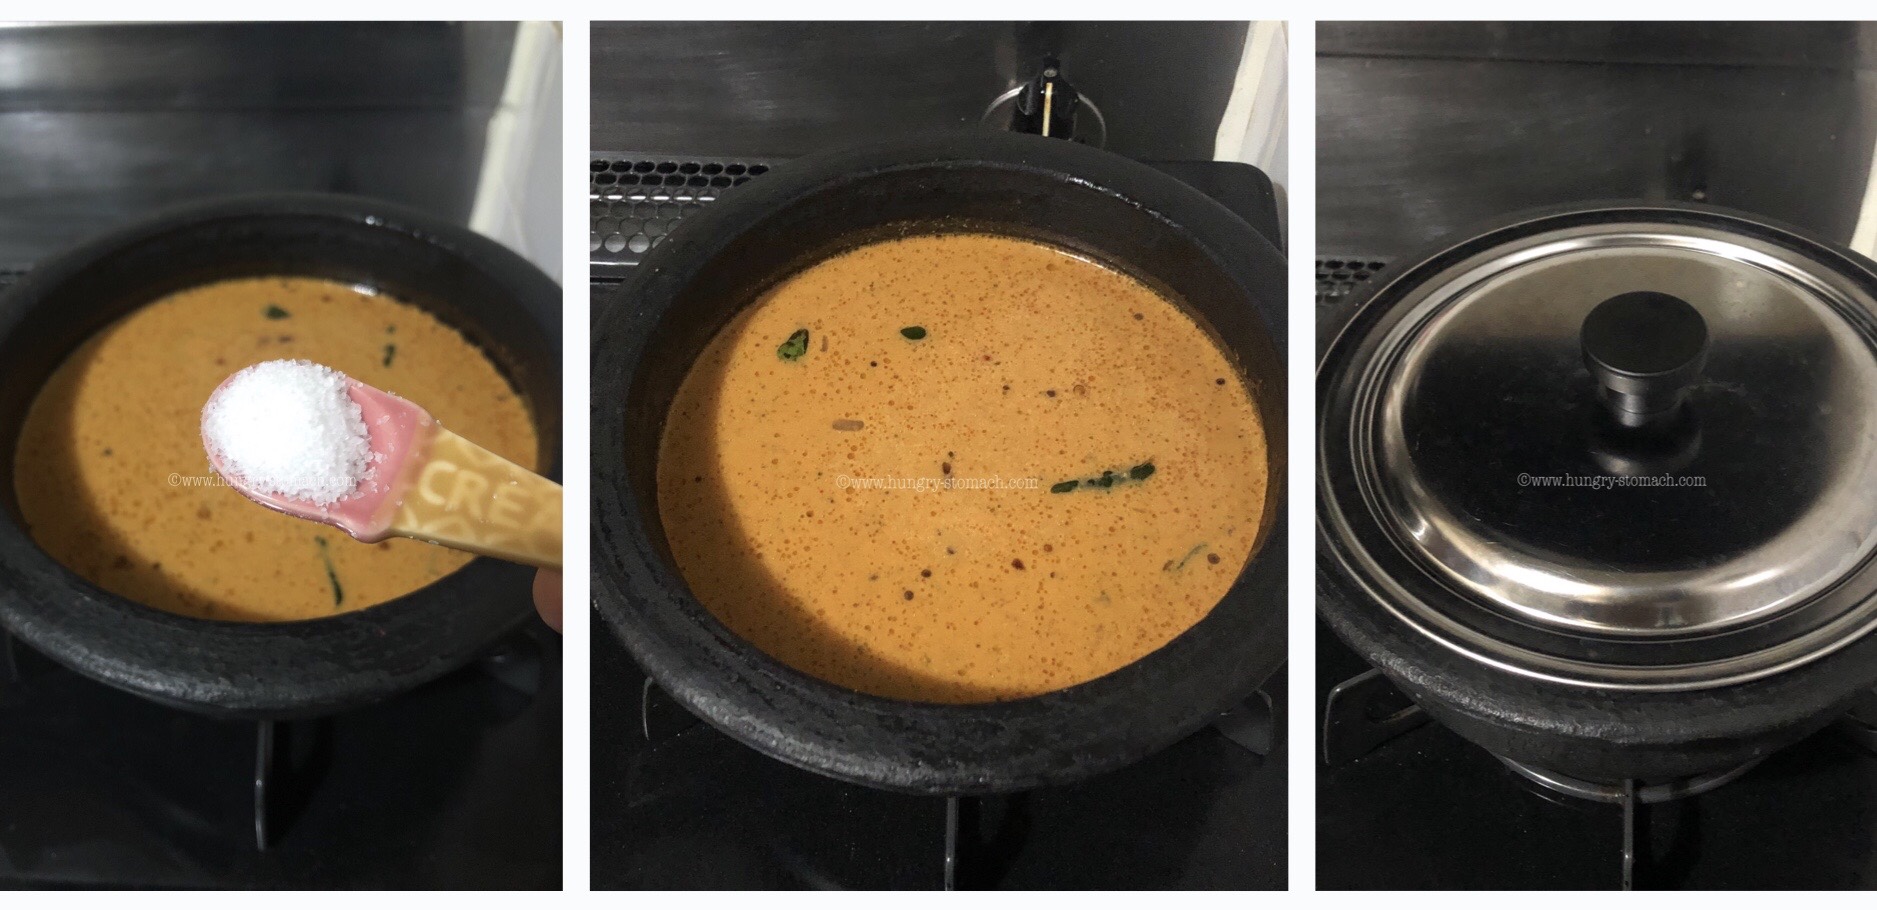
  3. Add in the ground masala paste & 1/4 cup water and adjust the thickness accordingly.
  4. Season with salt, cover with a lid & allow it to boil for 10-15 mins.
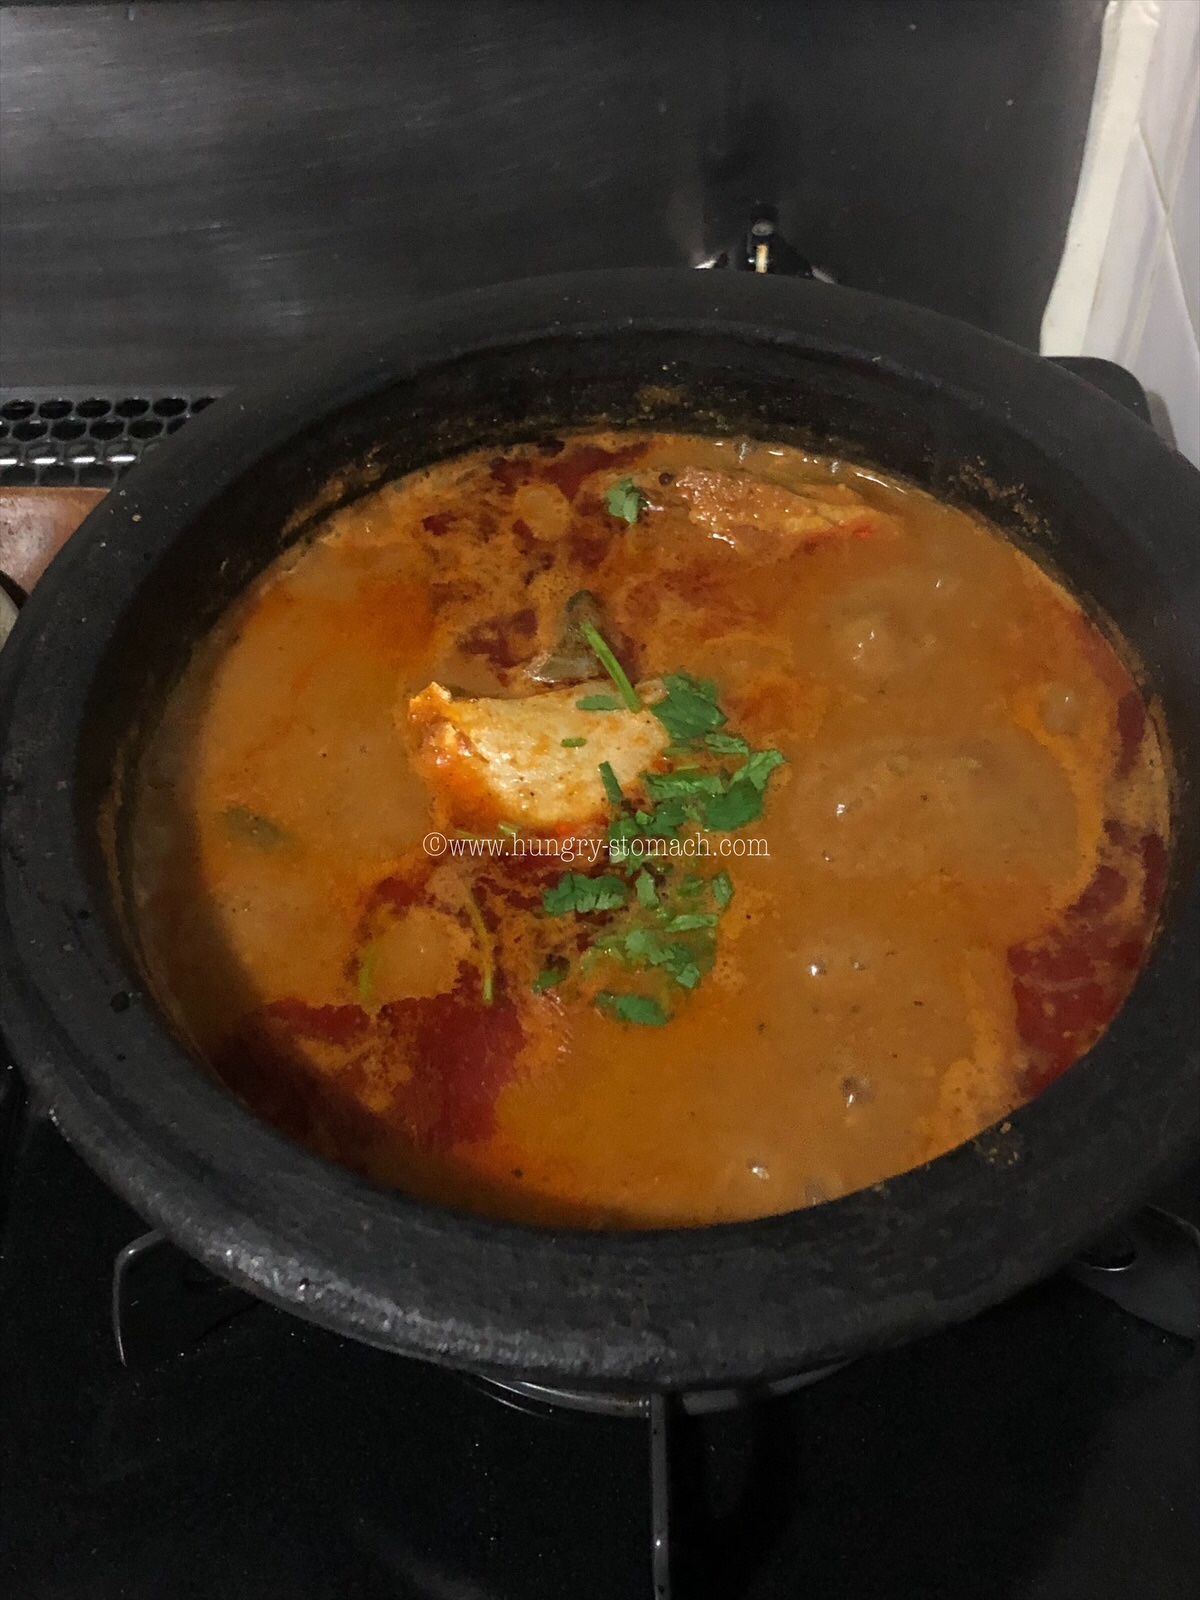
  5. Once the oil specks appears on top, add in the fish pieces.
  6. Simmer this for 8 to 10 mins till the fish is done.
  7. Garnish with coriander leaves. Let the curry rest for atleast an hour before you serve.
  8. Serve with rice.


Special Notes:

  • Do not spoon the fish while cooking as the fish tends to break, just swirl the pot instead.
  • Stays good in an earthenware pot for a day. And also for two to three days in fridge.
  • Tastes heavenly the next day.

Thai Green Chicken Curry | Thai Green Curry | Homemade Thai Green Curry Paste | Green Curry Recipe | Authentic Thai Green Curry

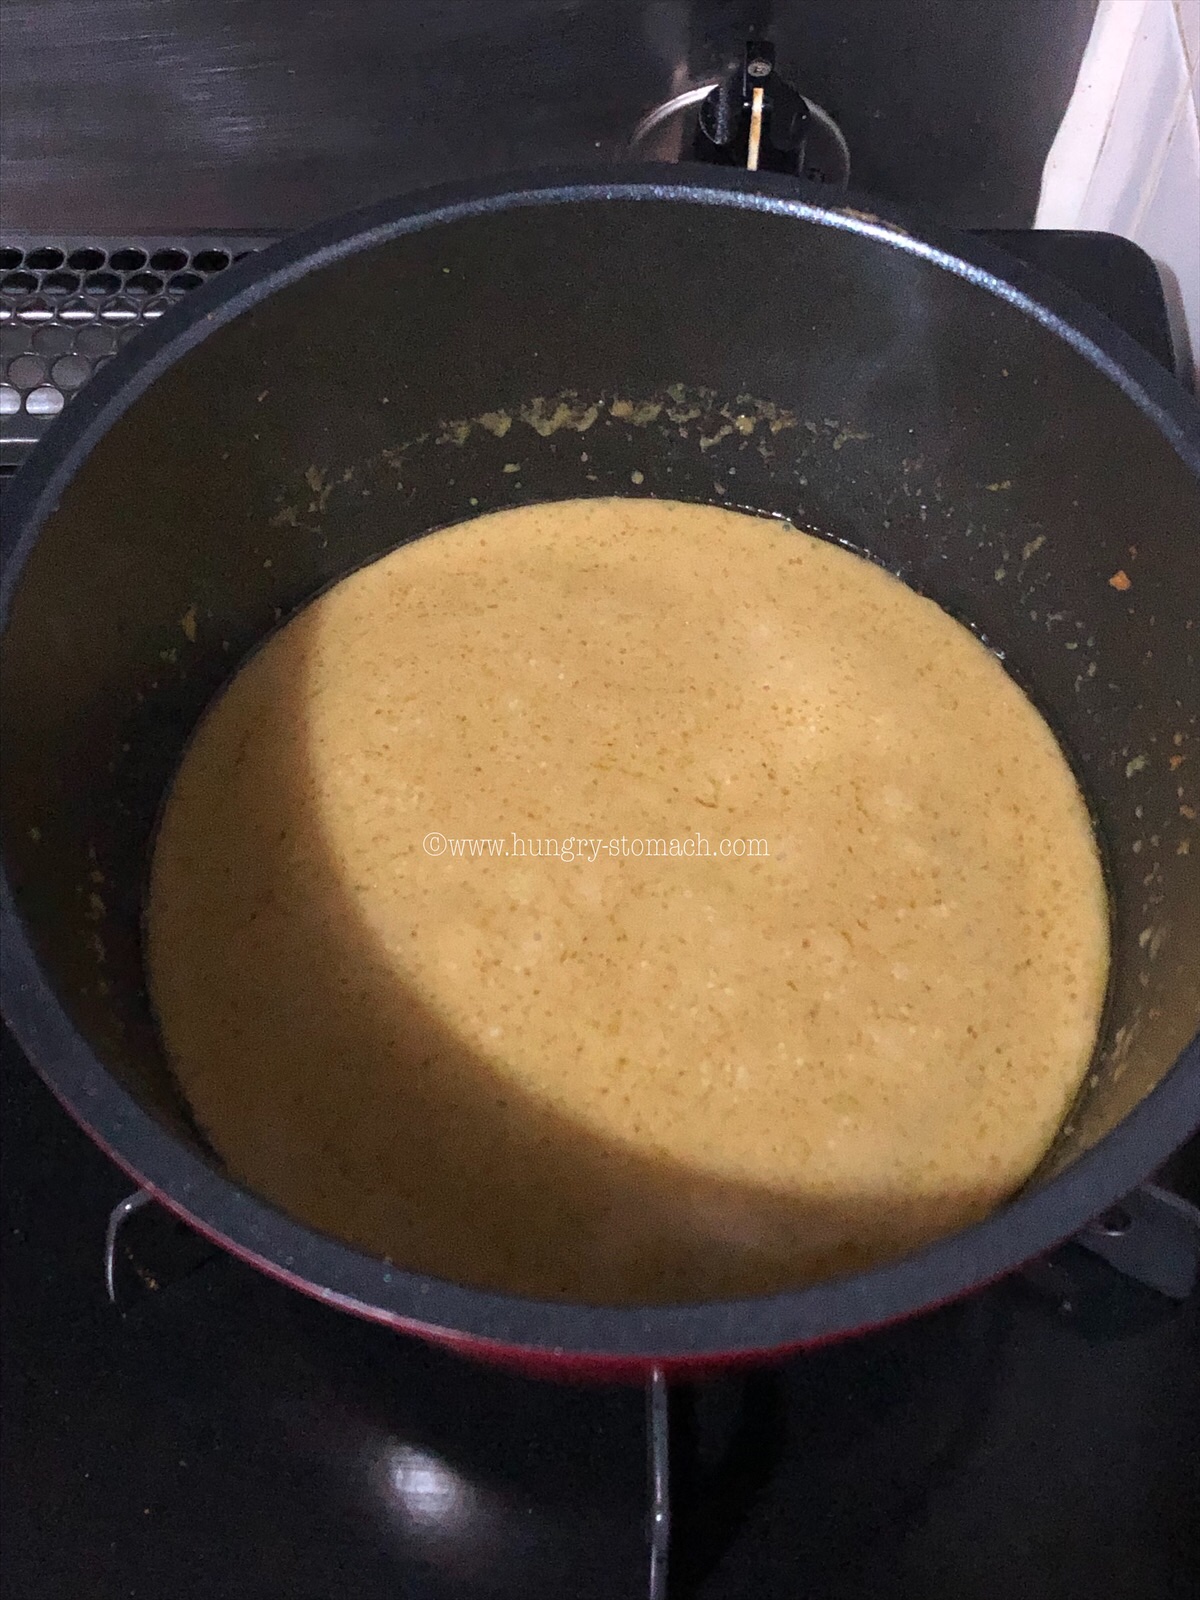
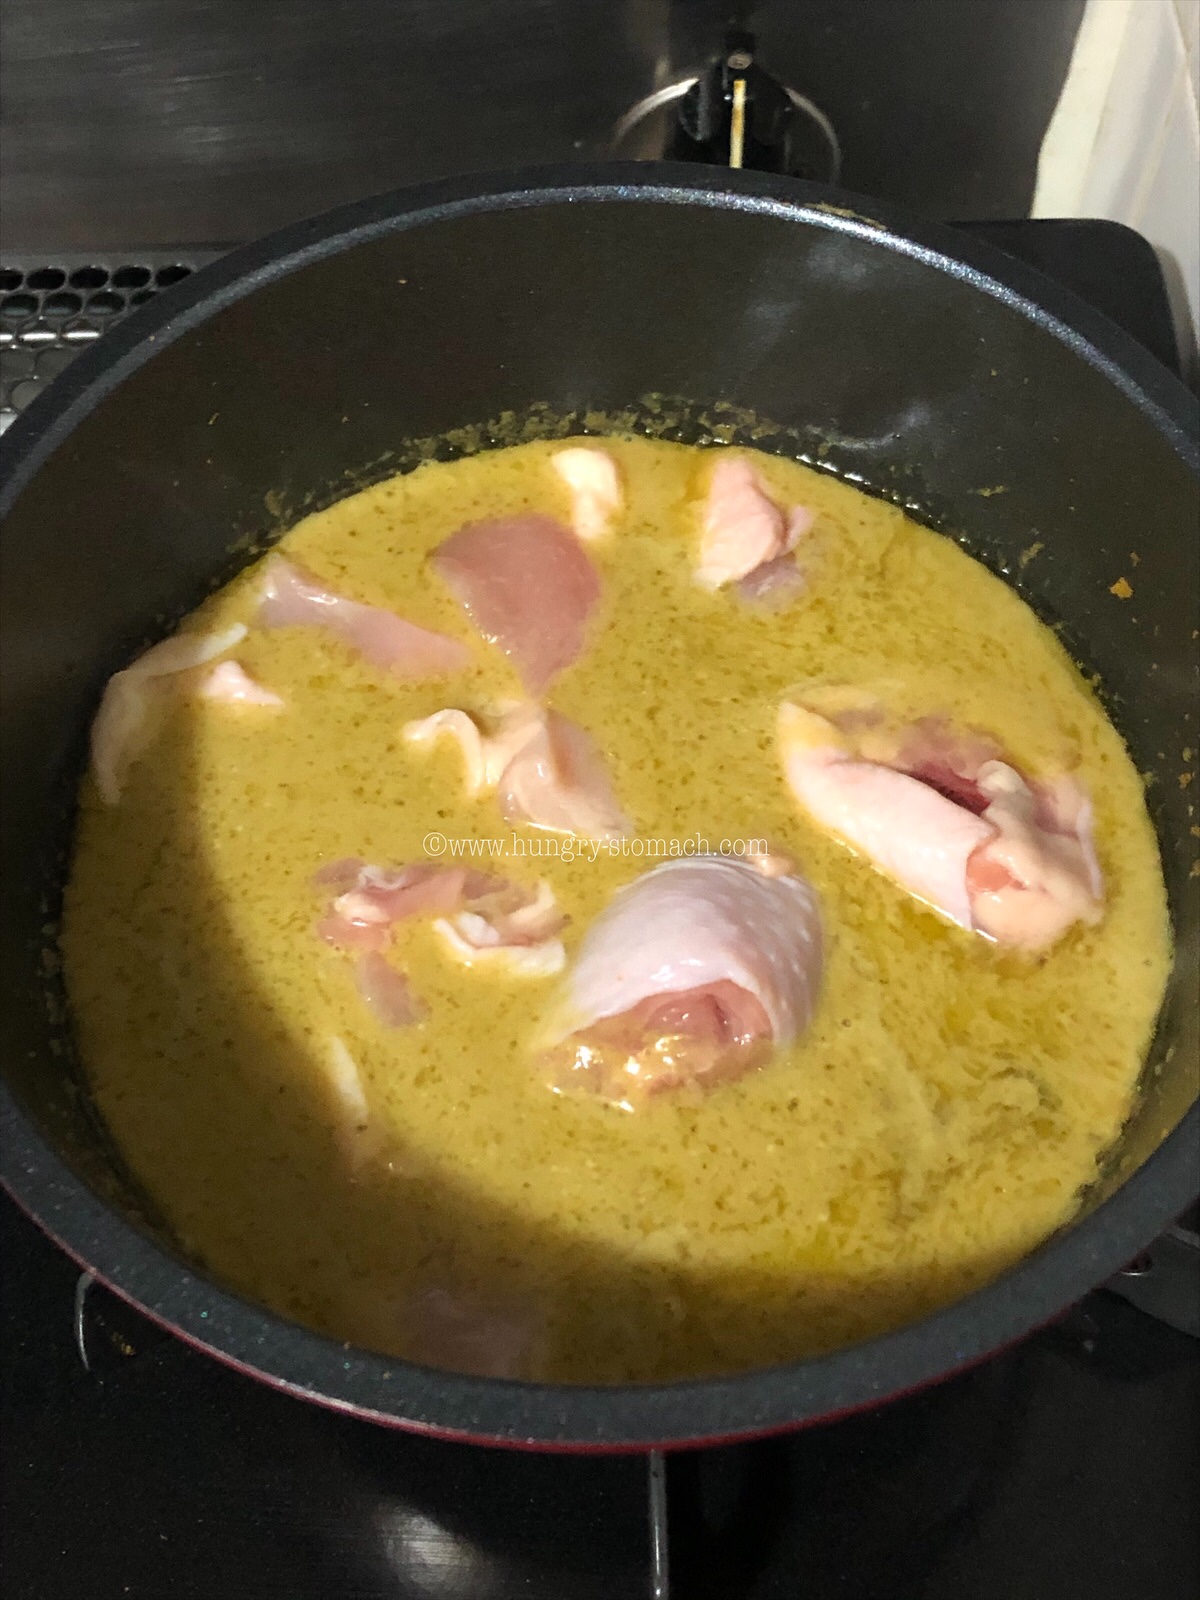
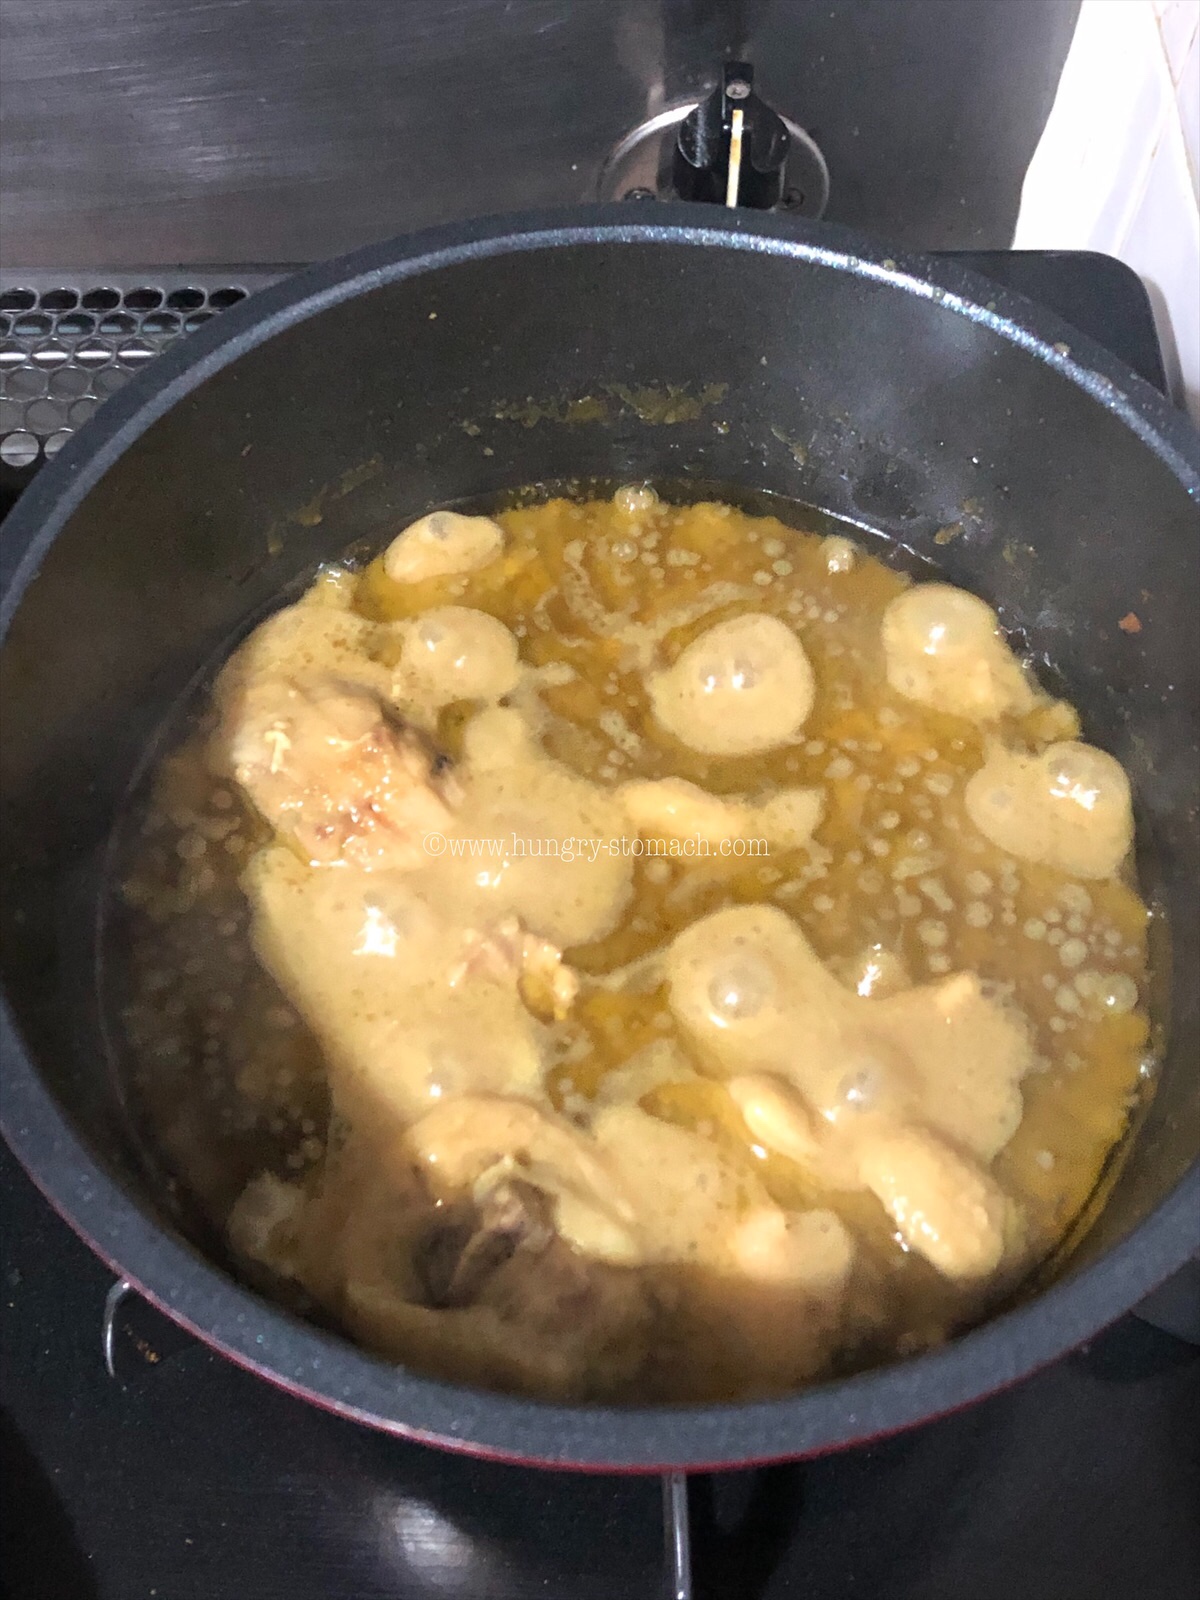
I’ve learned so many simple yet flavourful recipes during my trip to Thailand & Indonesia last summer. This Thai Green Curry Chicken recipe features chunks of tender chicken simmered in coconutmilk along with a flavourful curry paste. Unlike most green curry recipes, this one doesn’t call for readymade curry paste – instead, everything is homemade fresh, resulting in the best possible taste.

I cycled to Kaldi Coffee Farm here in Tokyo , Japan to gather all the ingredients needed for a simple Thai meal. Do pay a little more for sugar free coconut milk so as to avoid “crackling the milk”.

The secret lies in making amazing Thai Green curry is to use plenty of aromatics (keffir lime, galangal, ginger and garlic), full-fat coconut milk for richness, and little bit of palm sugar, which add loads of intricate flavours.

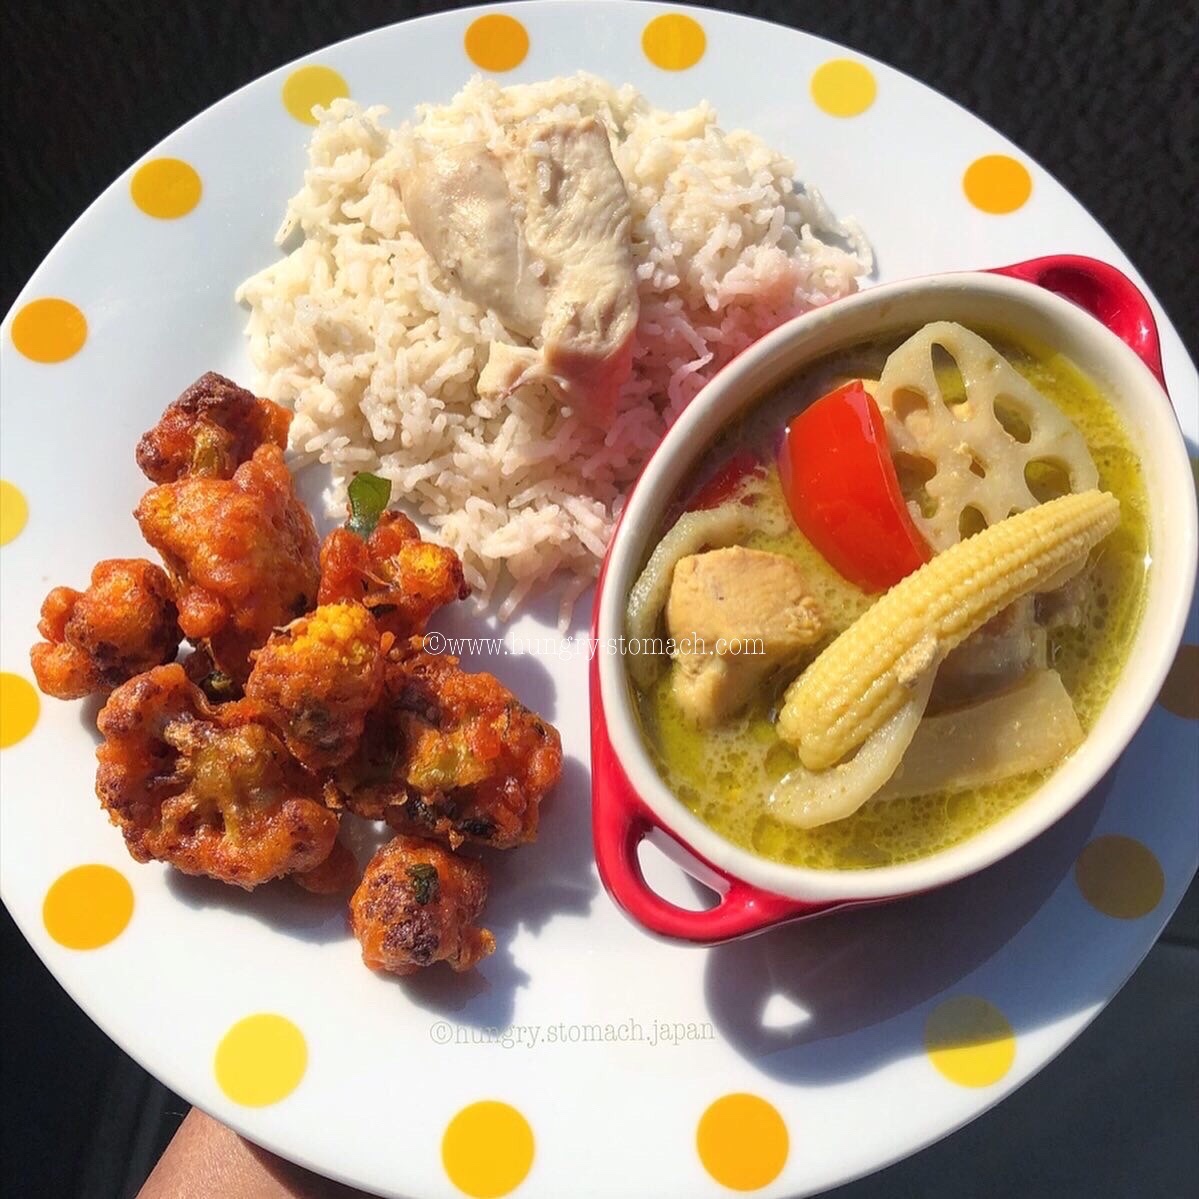
This deliciously fragrant curry really packs a flavour punch, and it includes lots of healthy combination of vegetables (Bell peppers, Babycorn and Bamboo shoots), so there’s no need to make an additional side dish of veggies. Best part is that the iveggies are completely upto you 😜.

This Thai Green curry tastes so delectable, you won’t believe how fast and easy it is, will be ready in just 20 minutes. Serve it with Thai jasmine rice for a feast of a dinner any night of the week.

I am all about making Thai curry paste from scratch, while you can look for the instant curry paste in the Asian section of the grocery store. Now let’s down to the recipe for this delicious Thai Green Curry.


Author: Nathiya Adiseshan

Preparation Time: 10 minutes

Cooking Time: 20 minutes

Serves: 2-3 

Ingredients 

For the Green Curry Paste:

  • 3-4 Green chillies
  • 3 to 4 garlic cloves
  • 1 piece galangal, thumb-size, grated
  • 1 stalk lemongrass
  • 1/2 tablespoon coriander seeds
  • 1/2 tablespoon cumin seeds
  • 1 tablespoon shrimp paste (optional)
  • 1 bunch coriander 
  • 1/2 tsp. peppercorns
  • keffir lime

For the curry:

  • 1 1/2 tablespoons oil
  • 2 tablespoons green curry paste
  • 200 grams chicken breast, cut into bite-sized pieces
  • 1 1/2 cups coconut milk
  • 1/2 cup water
  • 1/8 cup Bamboo shoot
  • 5 kaffir lime leaves
  • 1/4 cup Bell peppers
  • 1/4 cup Lotus root
  • 4-5 Baby corn
  • 1tablespoon fish sauce (optional)
  • 1 tablespoon sugar or palm sugar (preferred)
  • 1 Thai Basil
  • Here we go….

  • Green Curry Paste:

    • Dry roast cumin and coriander seeds in a hot skillet for 30 seconds to bring out the aroma.
      Slice off the green bumpy peels of keffir lime.
      Pound all the green curry paste ingredients in a stone mortar and pestle.
      Add in shrimp paste, mix well and keep aside.

    For the green curry:

      1. Heat the oil in a large saucepan over a medium heat and fry the curry paste, let it sizzle for a few seconds.
      2. Pour in one cup of coconut milk. Bring it to boil, then reduce it to simmer, and wait for the oil to rise to the surface.
      3. Add in the chicken. Toss for a minute.
      4. Reduce heat as necessary to maintain a gentle simmer and cook until the chicken is tender, about 8 to 10 minutes.
      5. Chop the preffered veggies (I’ve added Bell peppers, Lotus root, Bamboo shoot, Babycorn) and set aside.
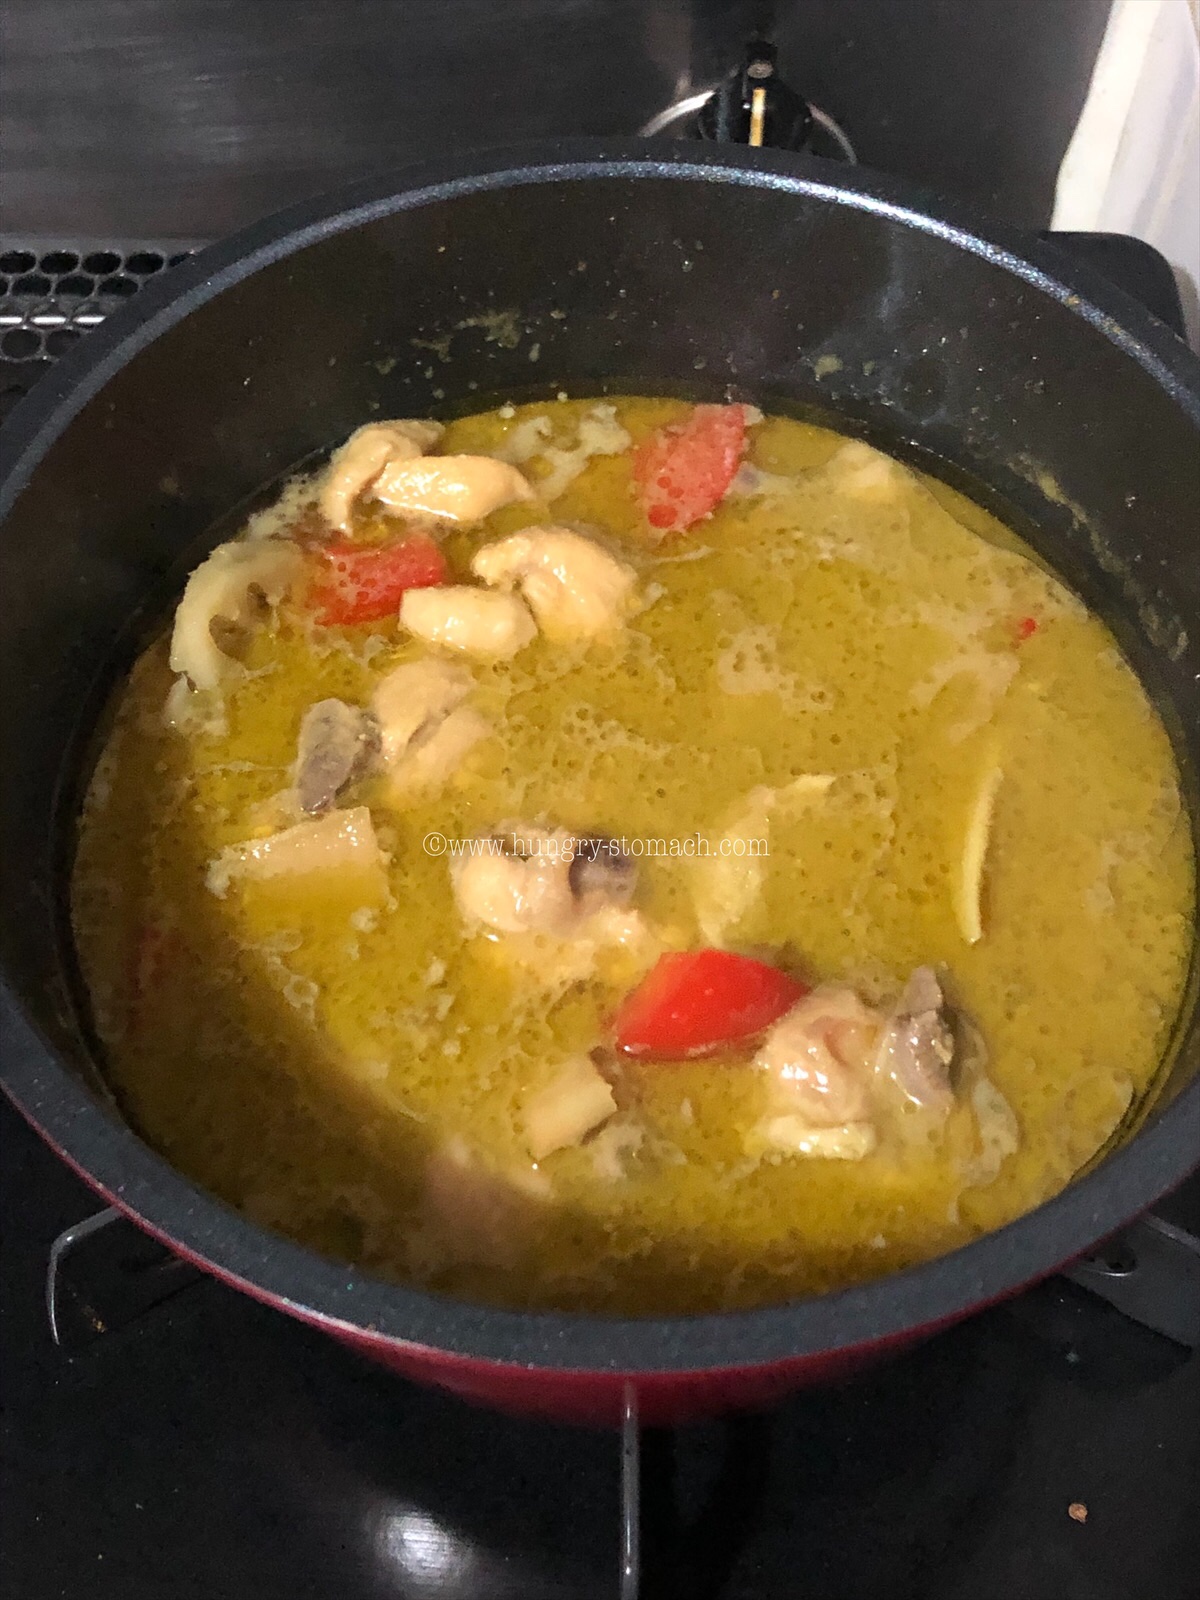
      6. Add the vegetables and simmer for 5 minutes or until everything is cooked thorough.
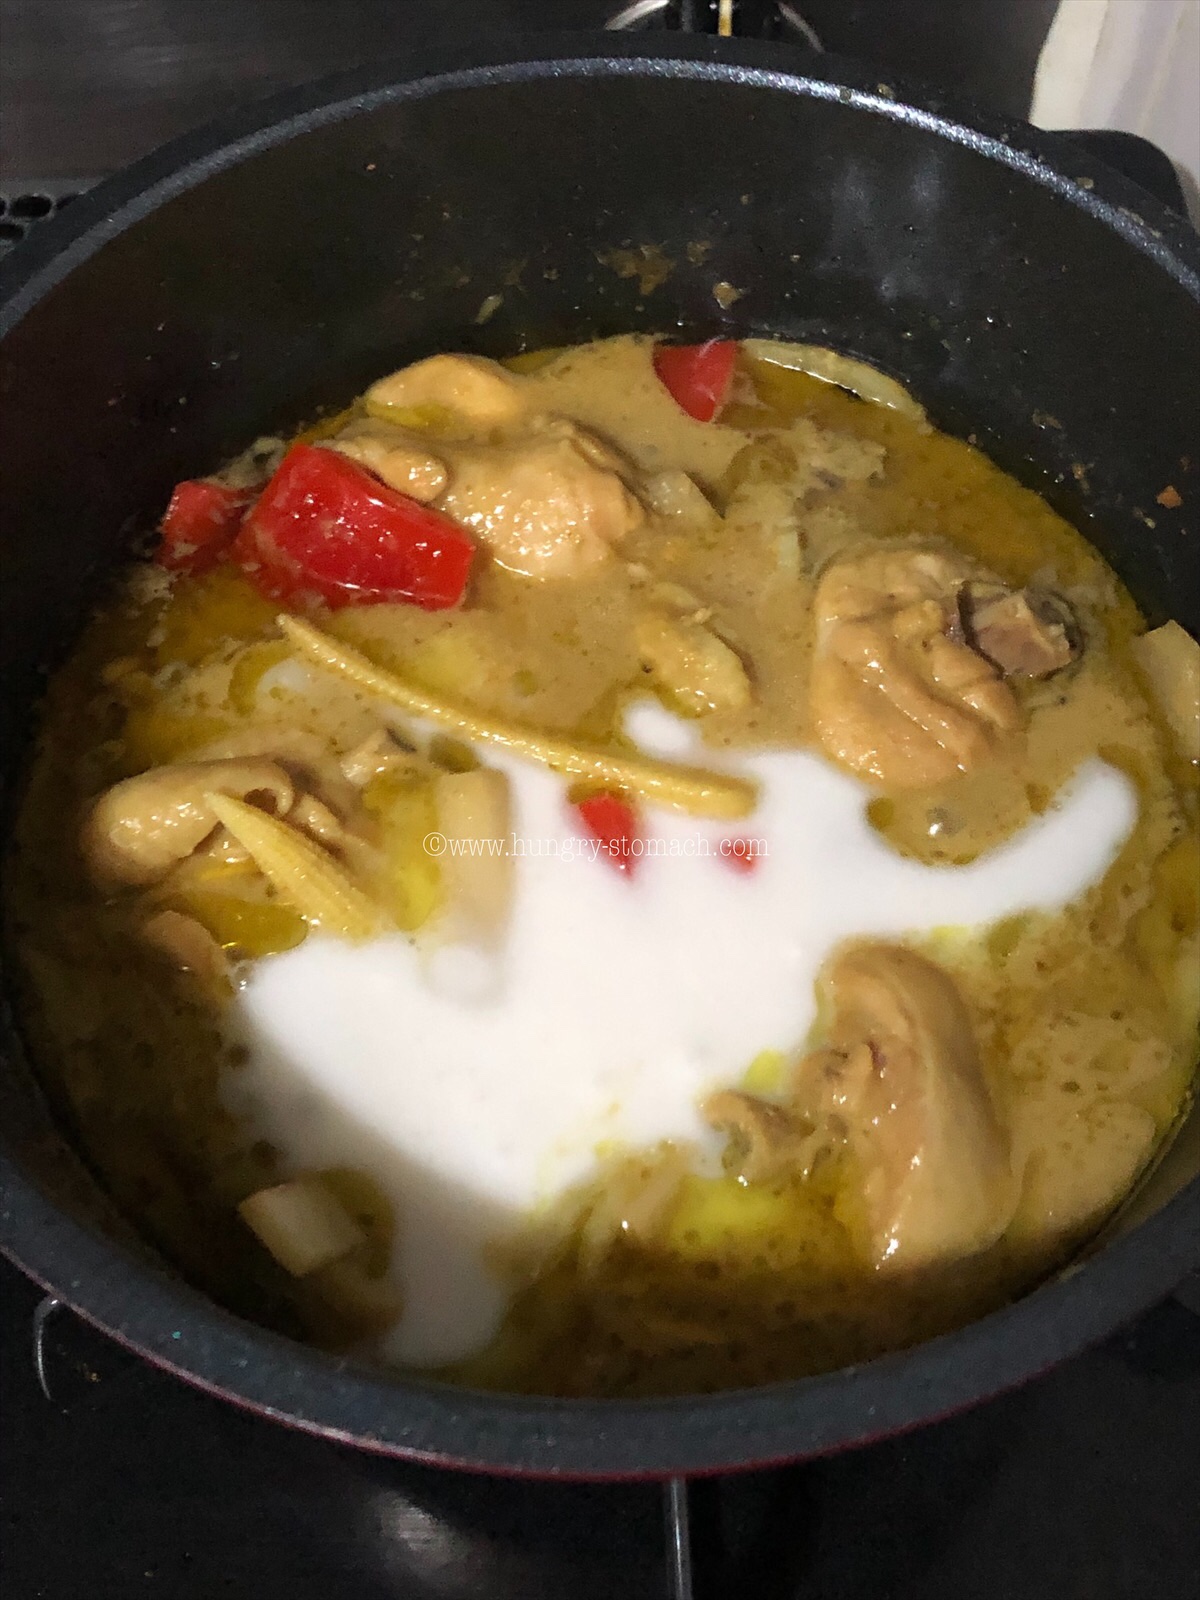
      7. Add in the remaining coconutmilk and half cup of water.
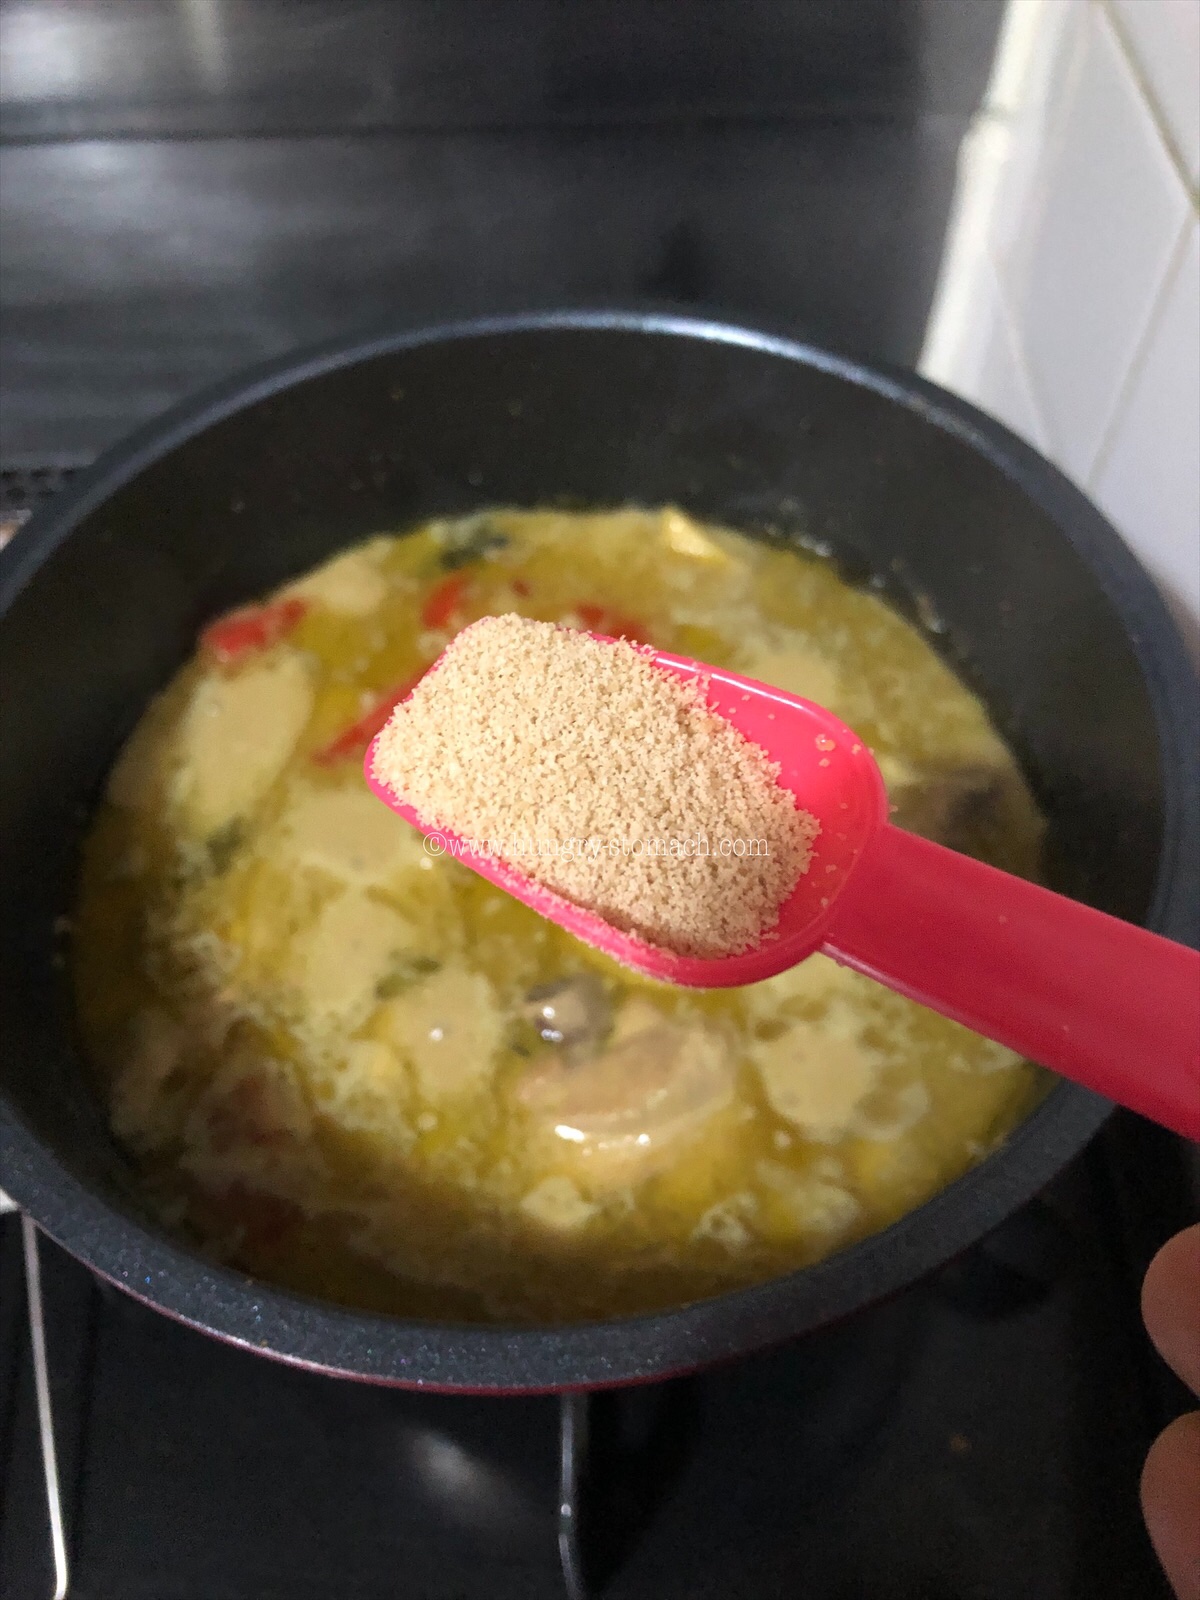
      8. Add 1 tablespoon of the fish sauce (optional) and a pinch of sugar. Season carefully to taste with sea salt.
      9. The final step is to toss Thai basil, and turn off the heat.
      10. Serve with steamed rice.

    Special Note:

    • Always use a mortar and pestle to make Thai green curry paste, and that would work well to extract all the flavor oils from the ingredients.
    • Do a taste-test for salt, adding 1 to 2 tablespoon of fish sauce if not salty enough. If you prefer a sweeter curry, add little sugar.
    • The veggies in this preparation have been chosen to balance colour, flavour and texture.Vegetables can be of your choice.

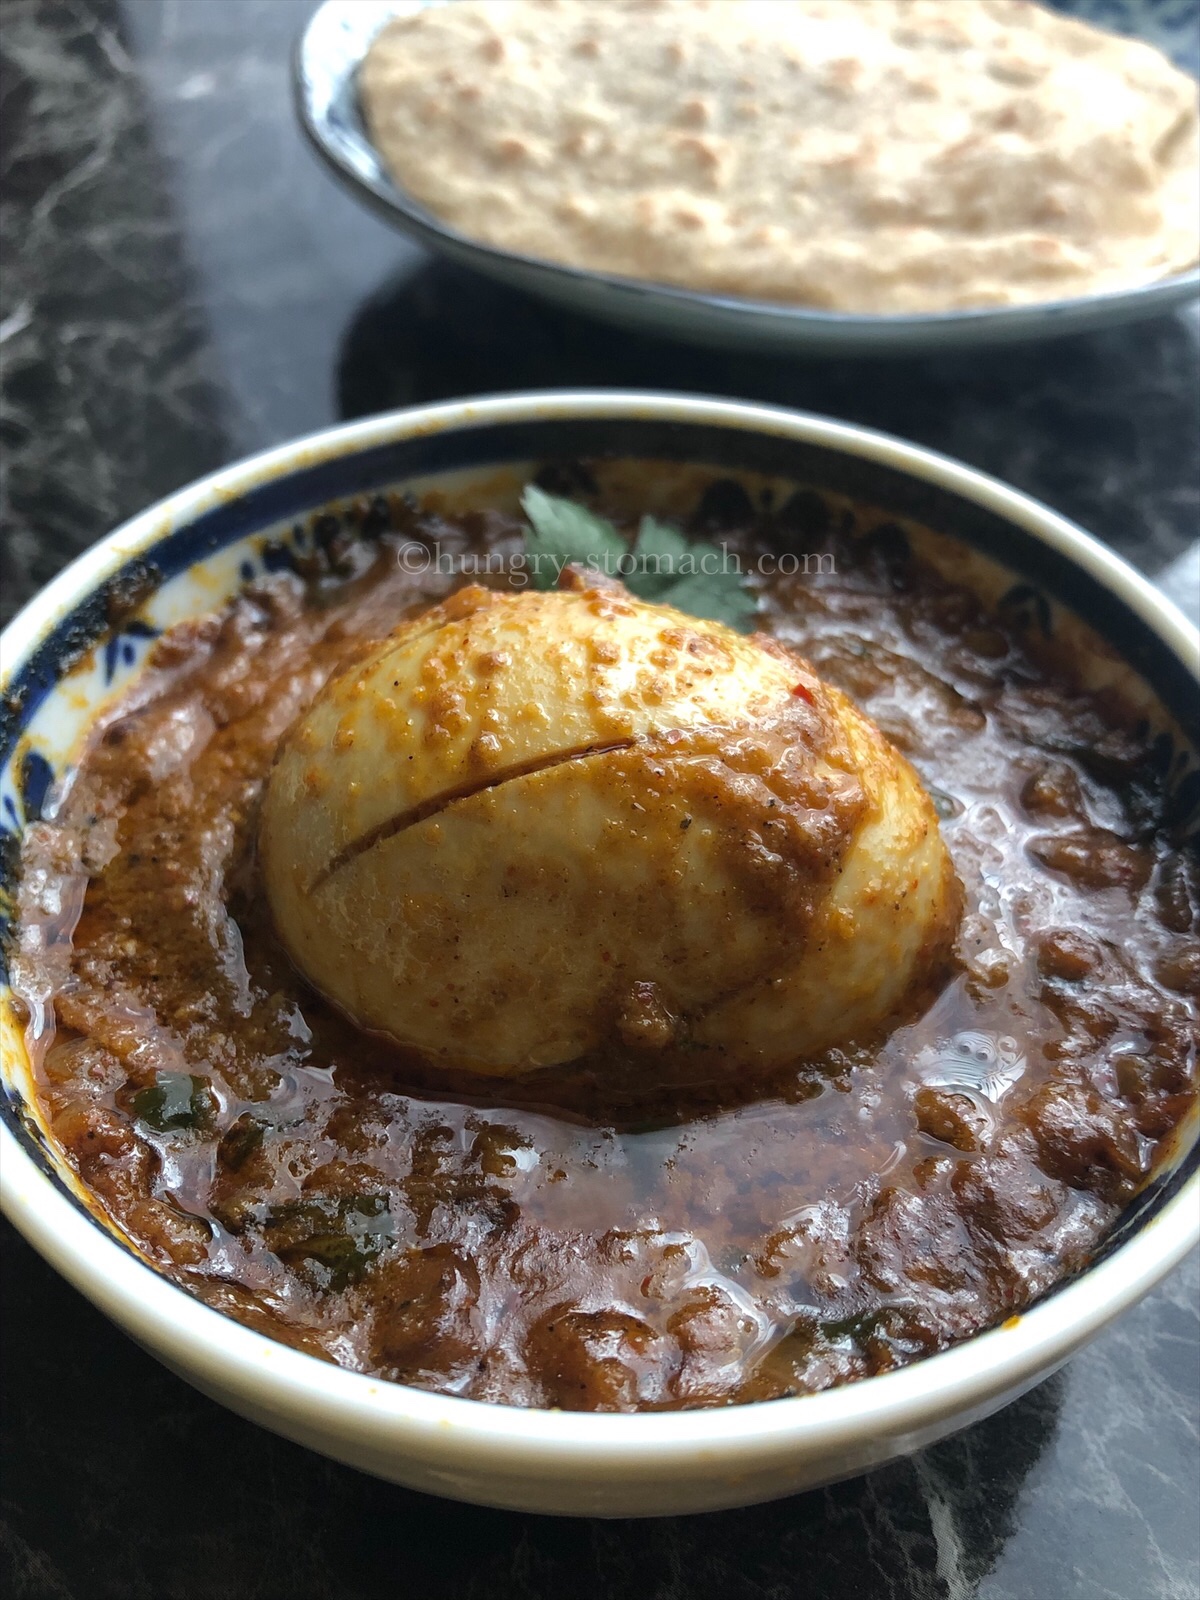
    CHETTINAD EGG CURRY | CHETTINAD MUTTAI MASALA RECIPE

    Chettinad Cuisines are one of the noteworthy fare in Tamil Nadu. The Chettinad region comprising Karaikudi and adjoining areas is known for both traditional vegetarian as well as non-vegetarian dishes.

    Chettinad curries are distinctly aromatic, spicy and fiery. It has a lot of flavours going on, so finding the perfect blend of spices is the key. The base that adds volume to most of the signature curries is made up of freshly roasted & ground spices, red chillies, ginger, garlic, tamarind and coconut.

    Chettinad chicken is one of the most famous among dish them. This curry is not for the faint-hearted, but it is definitely a celebration of spices that we have to balance well! Today i’m sharing the egg version from this cuisine!

    Chettinad Egg Curry

    Chettinad Egg curry, is one of the finest and most authentic egg curry recipe that I have made. This spicy curry too is laced with red chillies and coconut.

    If you like less spicier curries, use dried Kashmiri red chilies and remove seeds from them. You will get the colour and flavour without the heat of chilies in the curry.
    It’s easy to make and tastes simply delicious! This curry goes well with Roti, Rice, Dosa. Do you love spicy curry? Then this is for you.

    Ingredients

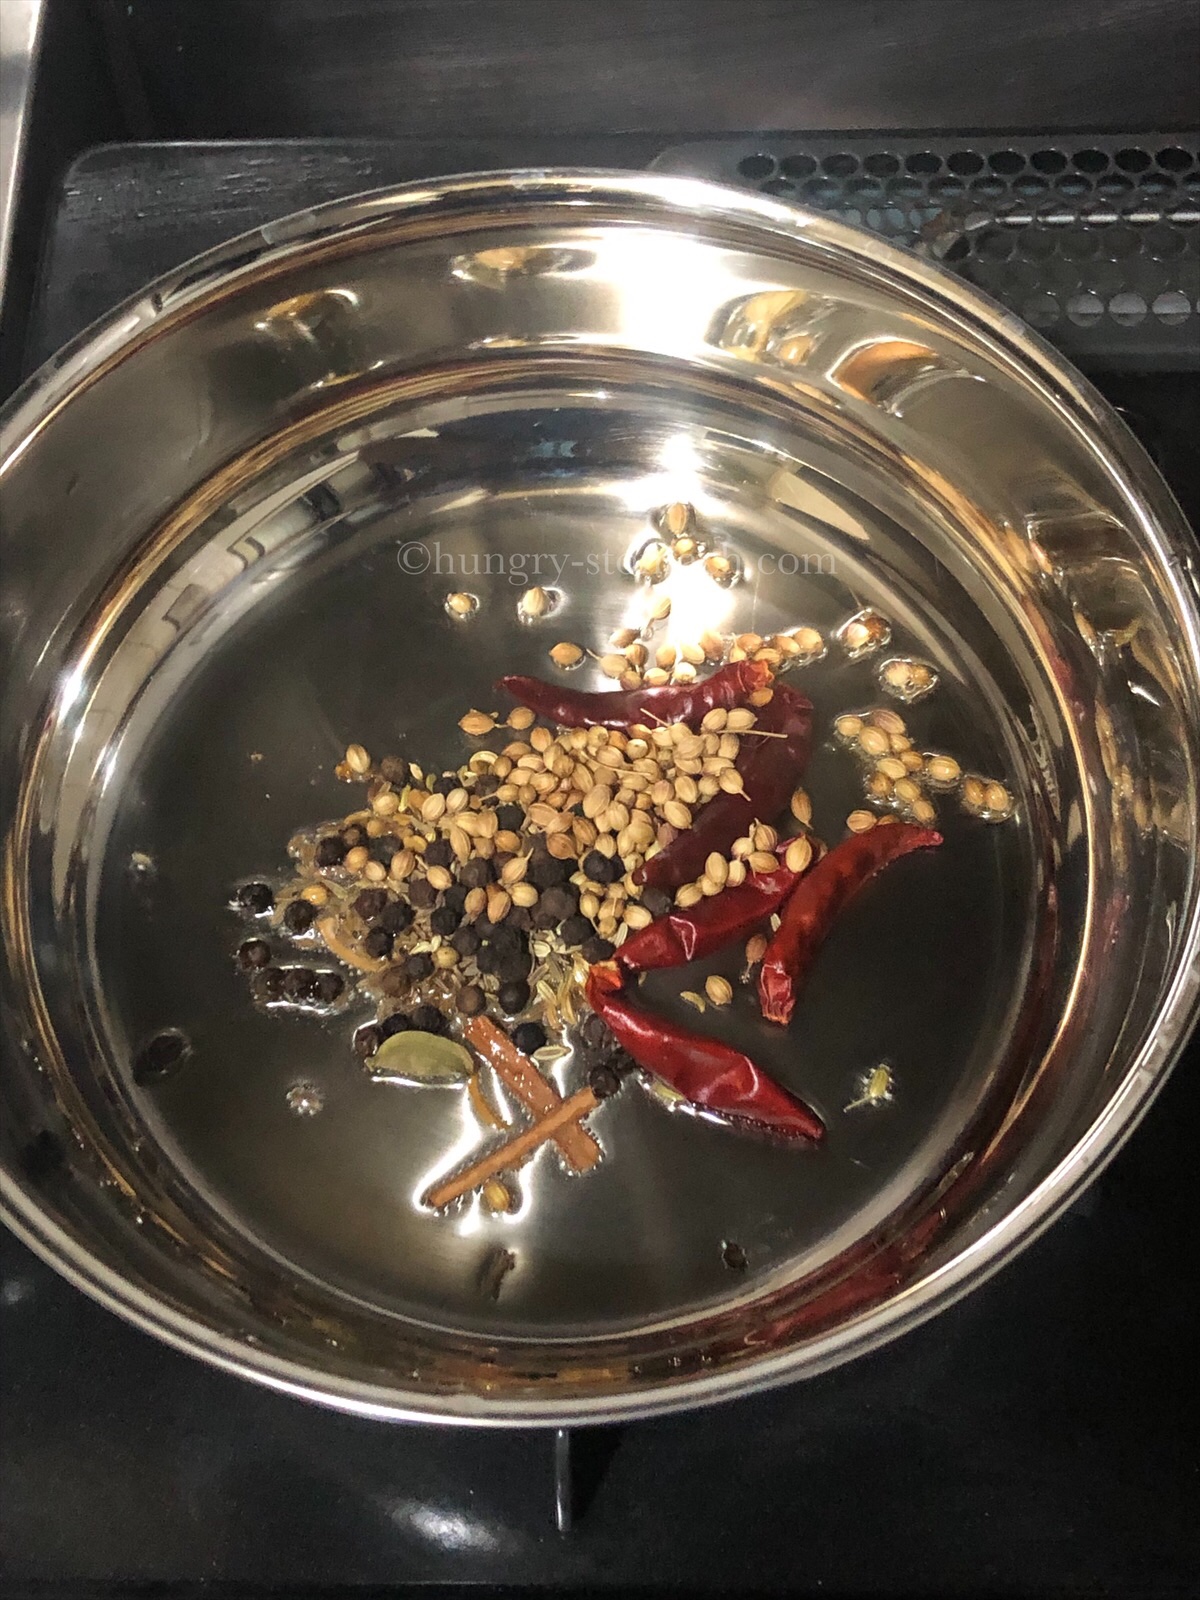
    For Chettinad Spice Mix
      5 to 6 dry red chilies
      1 mace
      An inch stick cinnamon
      2 cloves
      1 cardamom pod
      1 tsp Black Pepper
      2 tsp coriander seeds
      1/2 tsp Fennel seeds
      1/2 tsp Cumin seeds
      1/8 tsp Fenugreek Seeds
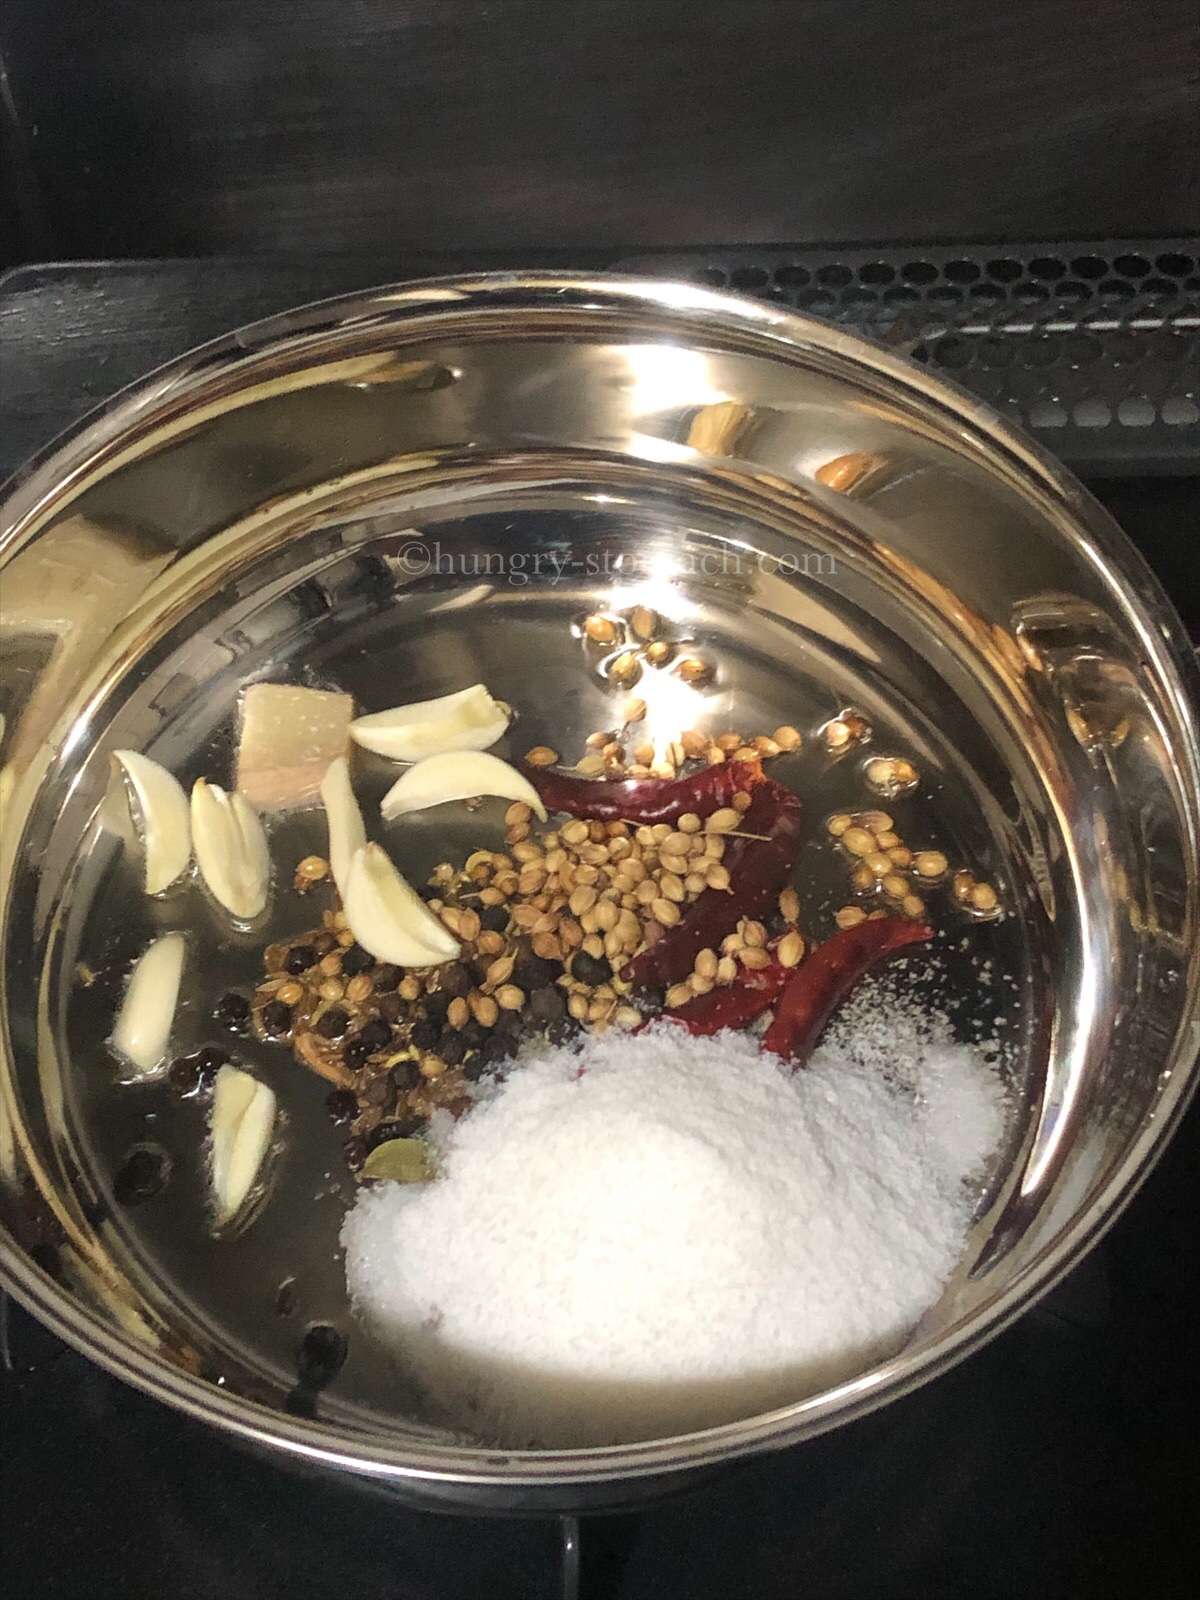
      3 Garlic, cloves
      An inch Ginger
      1/2 cup Coconut
      1 tsp Oil
    For Gravy
    • 3 to 4 Eggs, hard boiled
    • 1 Onion, Medium, finely chopped
    • 1 Tomato, small, chopped
    • 1 Green Chilly
    • 1/2 tsp Mustard Seeds
    • 1/2 tsp Cumin Seeds
    • A sprig, Curry leaves
    • 1/4 tsp Turmeric Powder
    • 1 tsp Redchilli Powder
    • 1/2 tbsp Tamarind Paste
    • 1/8 tsp Asafoetida
    • 1/8 cup, Coriander Leaves, chopped
    • Salt
    • 1 tbsp Oil

    Instructions

    1. Boil eggs, peel the shell. Make a few slits on the egg white with a fork carefully without penetrating deep into the yolks.
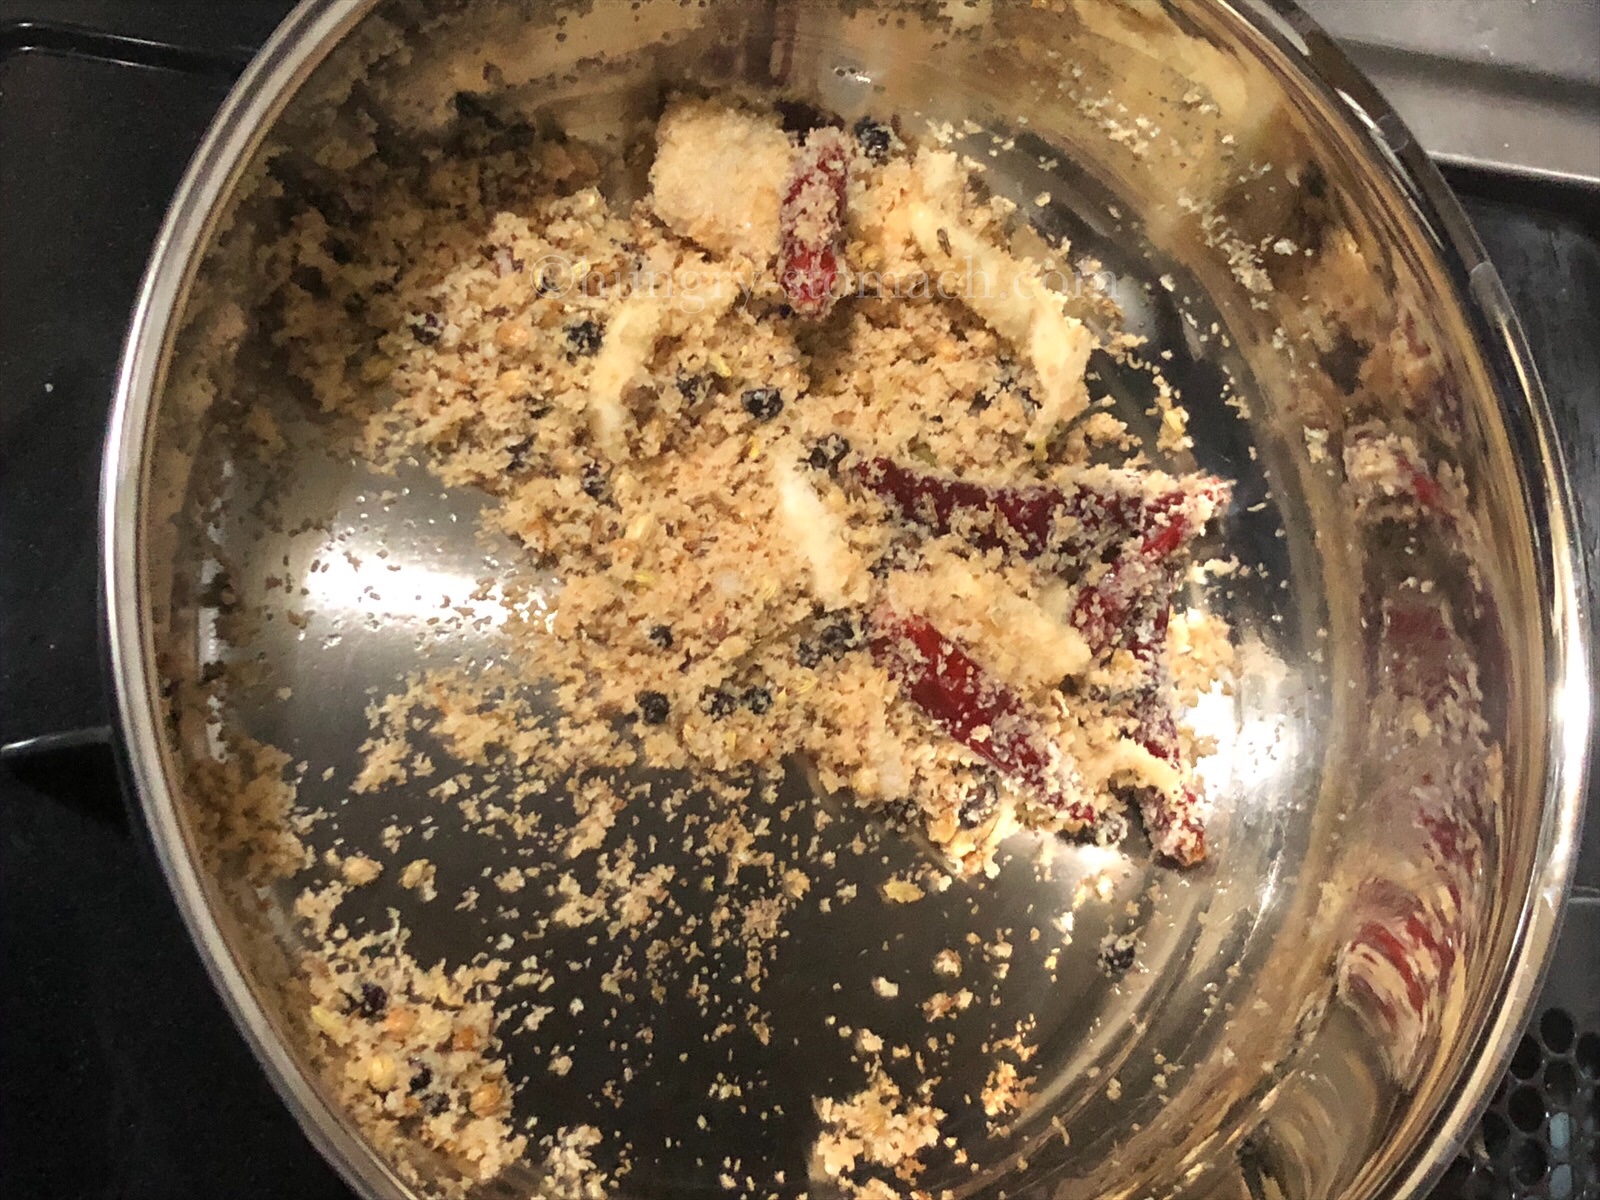
    2. Heat a teaspoon of oil in a thick bottomed pan. Add all the ingredients mentioned under ‘for Chettinad spice mix’. Roast them until spices turn fragrant and coconut starts to turn brown. Remove and let it cool. Grind to a paste with little water.
    3. Now heat 1 tbsp of oil to the same pan. Splutter cumin seeds, mustard seeds and curry leaves. Fry for a minute.
    4. Add in slit green chilli and onions and saute until the onions turn crisp and golden.
    5. Add tomatoes and cook until tomatoes turn soft and mushy.
    6. Now add in the spice powders along with salt and fry until oil oozes from the sides.
    7. Further to this, pour in the masala paste, tamarind paste and fry the masala for a couple of minute.
    8. Add 1.5 cups water based on the consistency you require. Mix well. Close and cook on medium heat for about 15 minutes. 
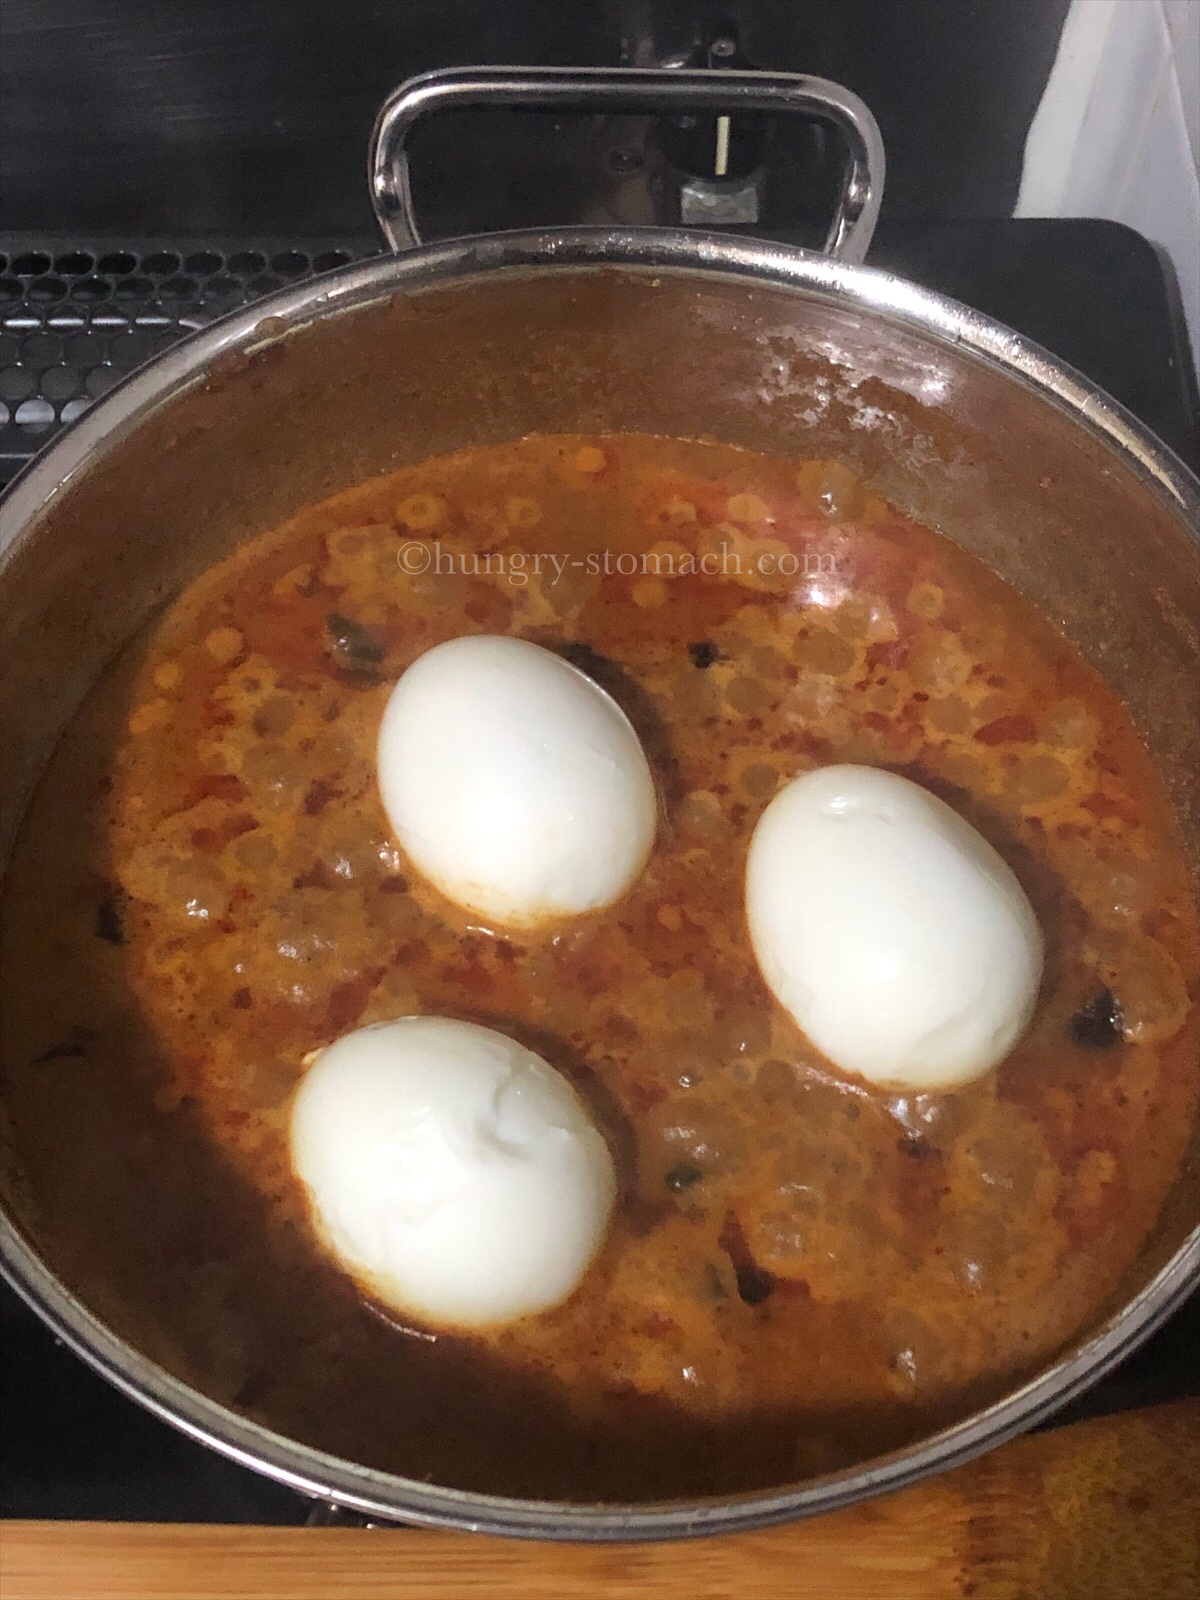
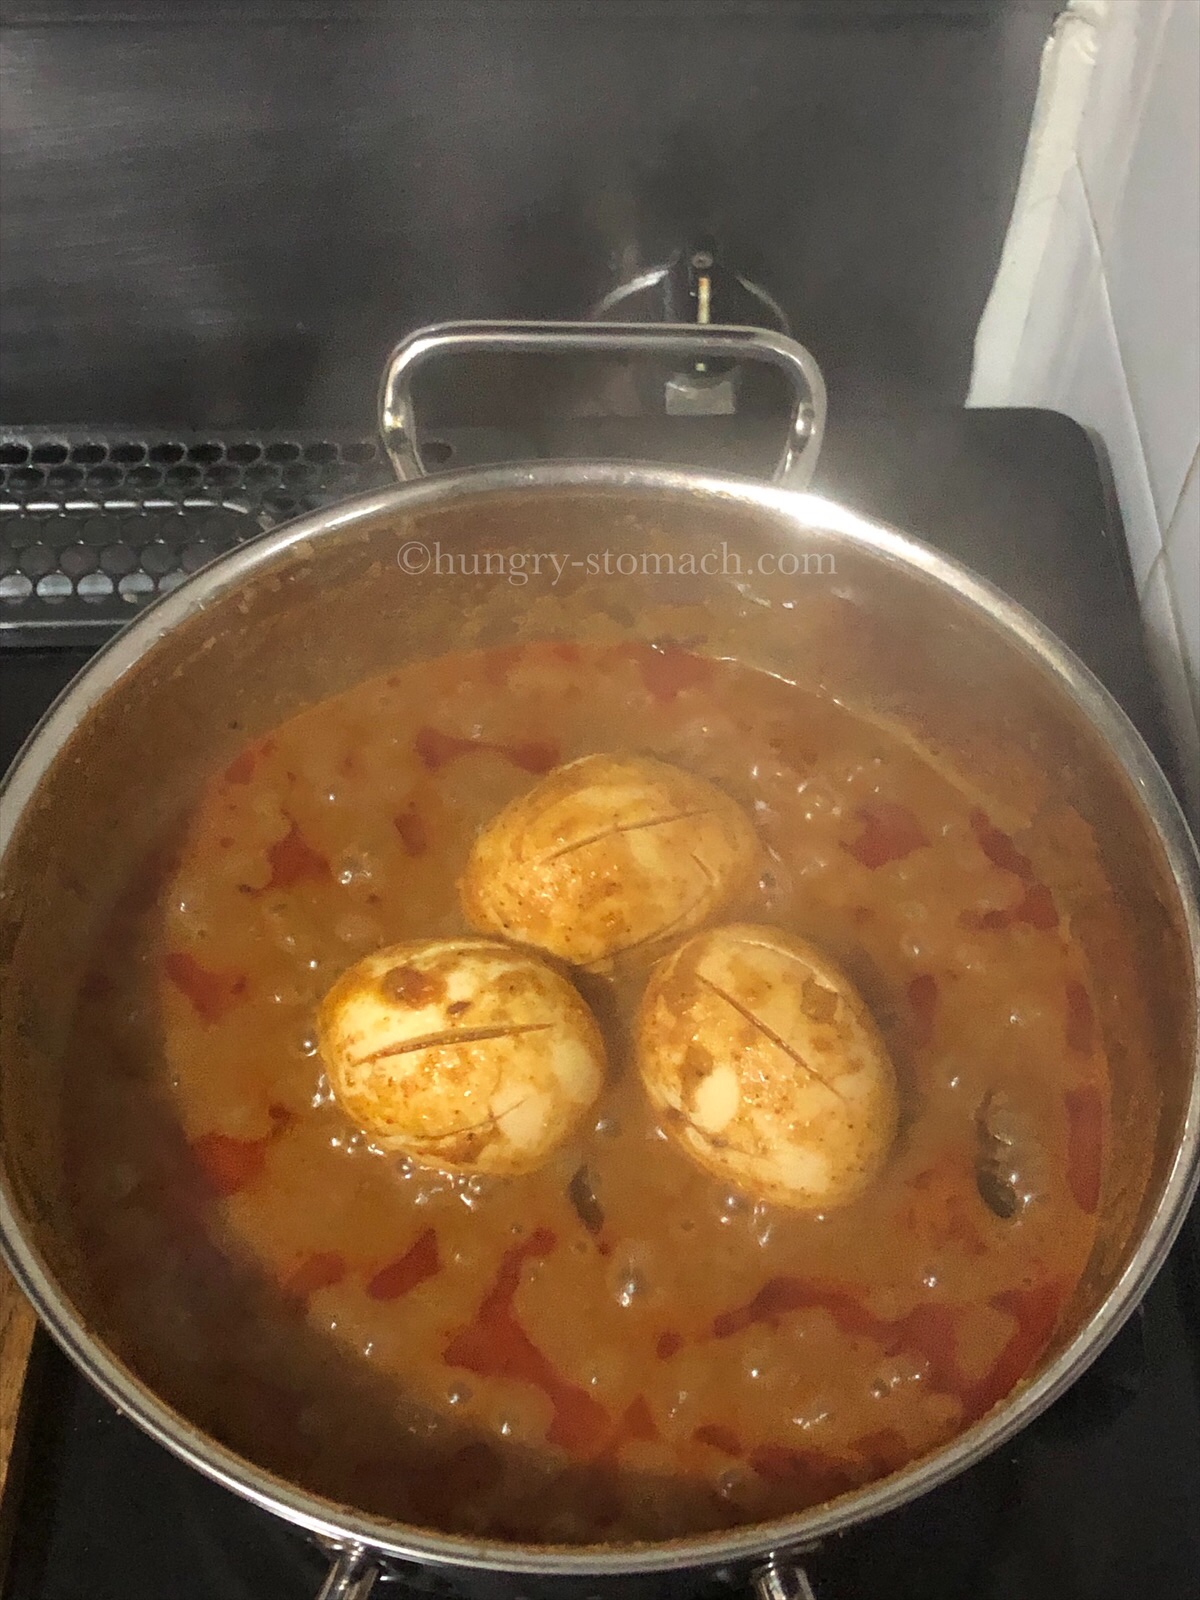
    9. Open the lid. Give a gentle mix and add the boiled eggs into the curry, simmer and cook for another 8 to 10 minutes.
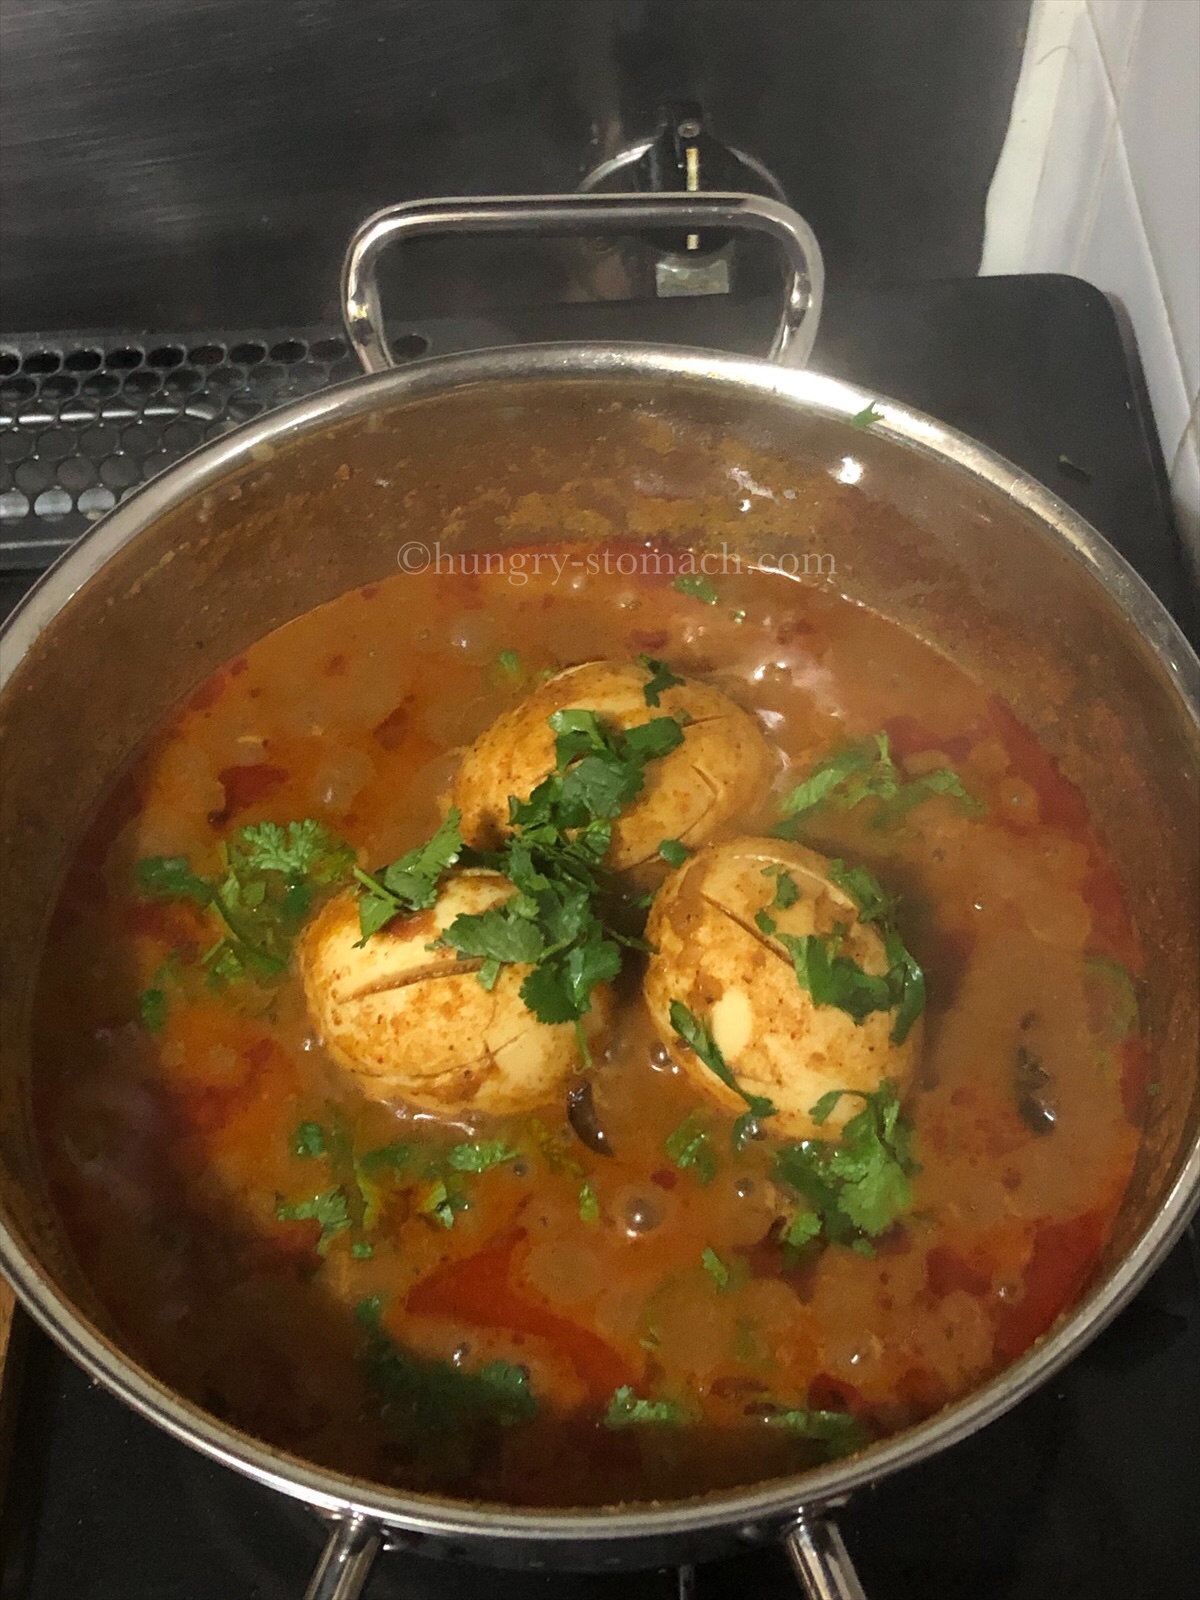
    10. Once the curry reaches the desired consistency, turn off the flame. Garnish with chopped coriander leaves.
    11. Relish with Roti or rice of your choice.


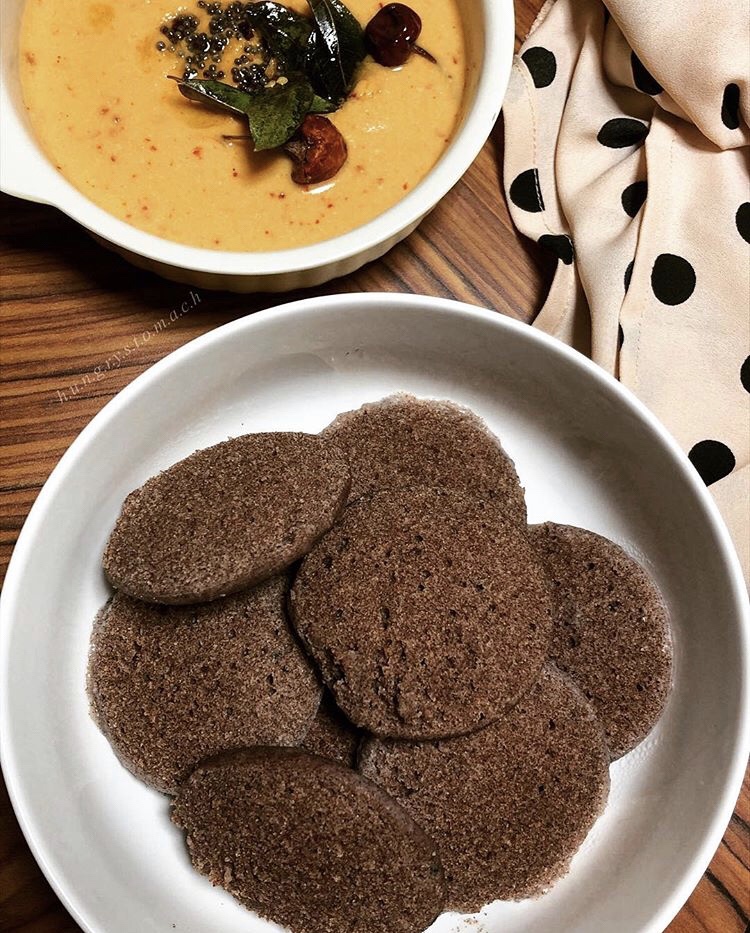
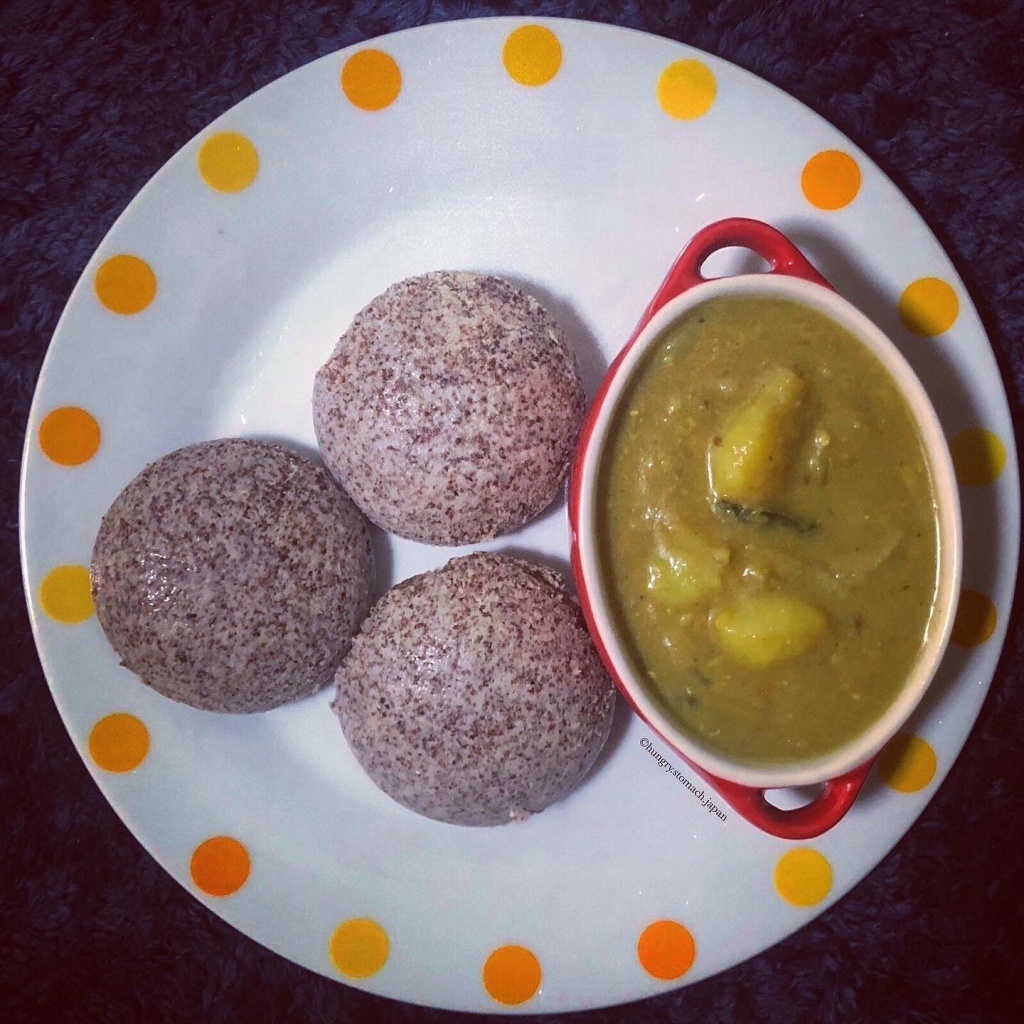
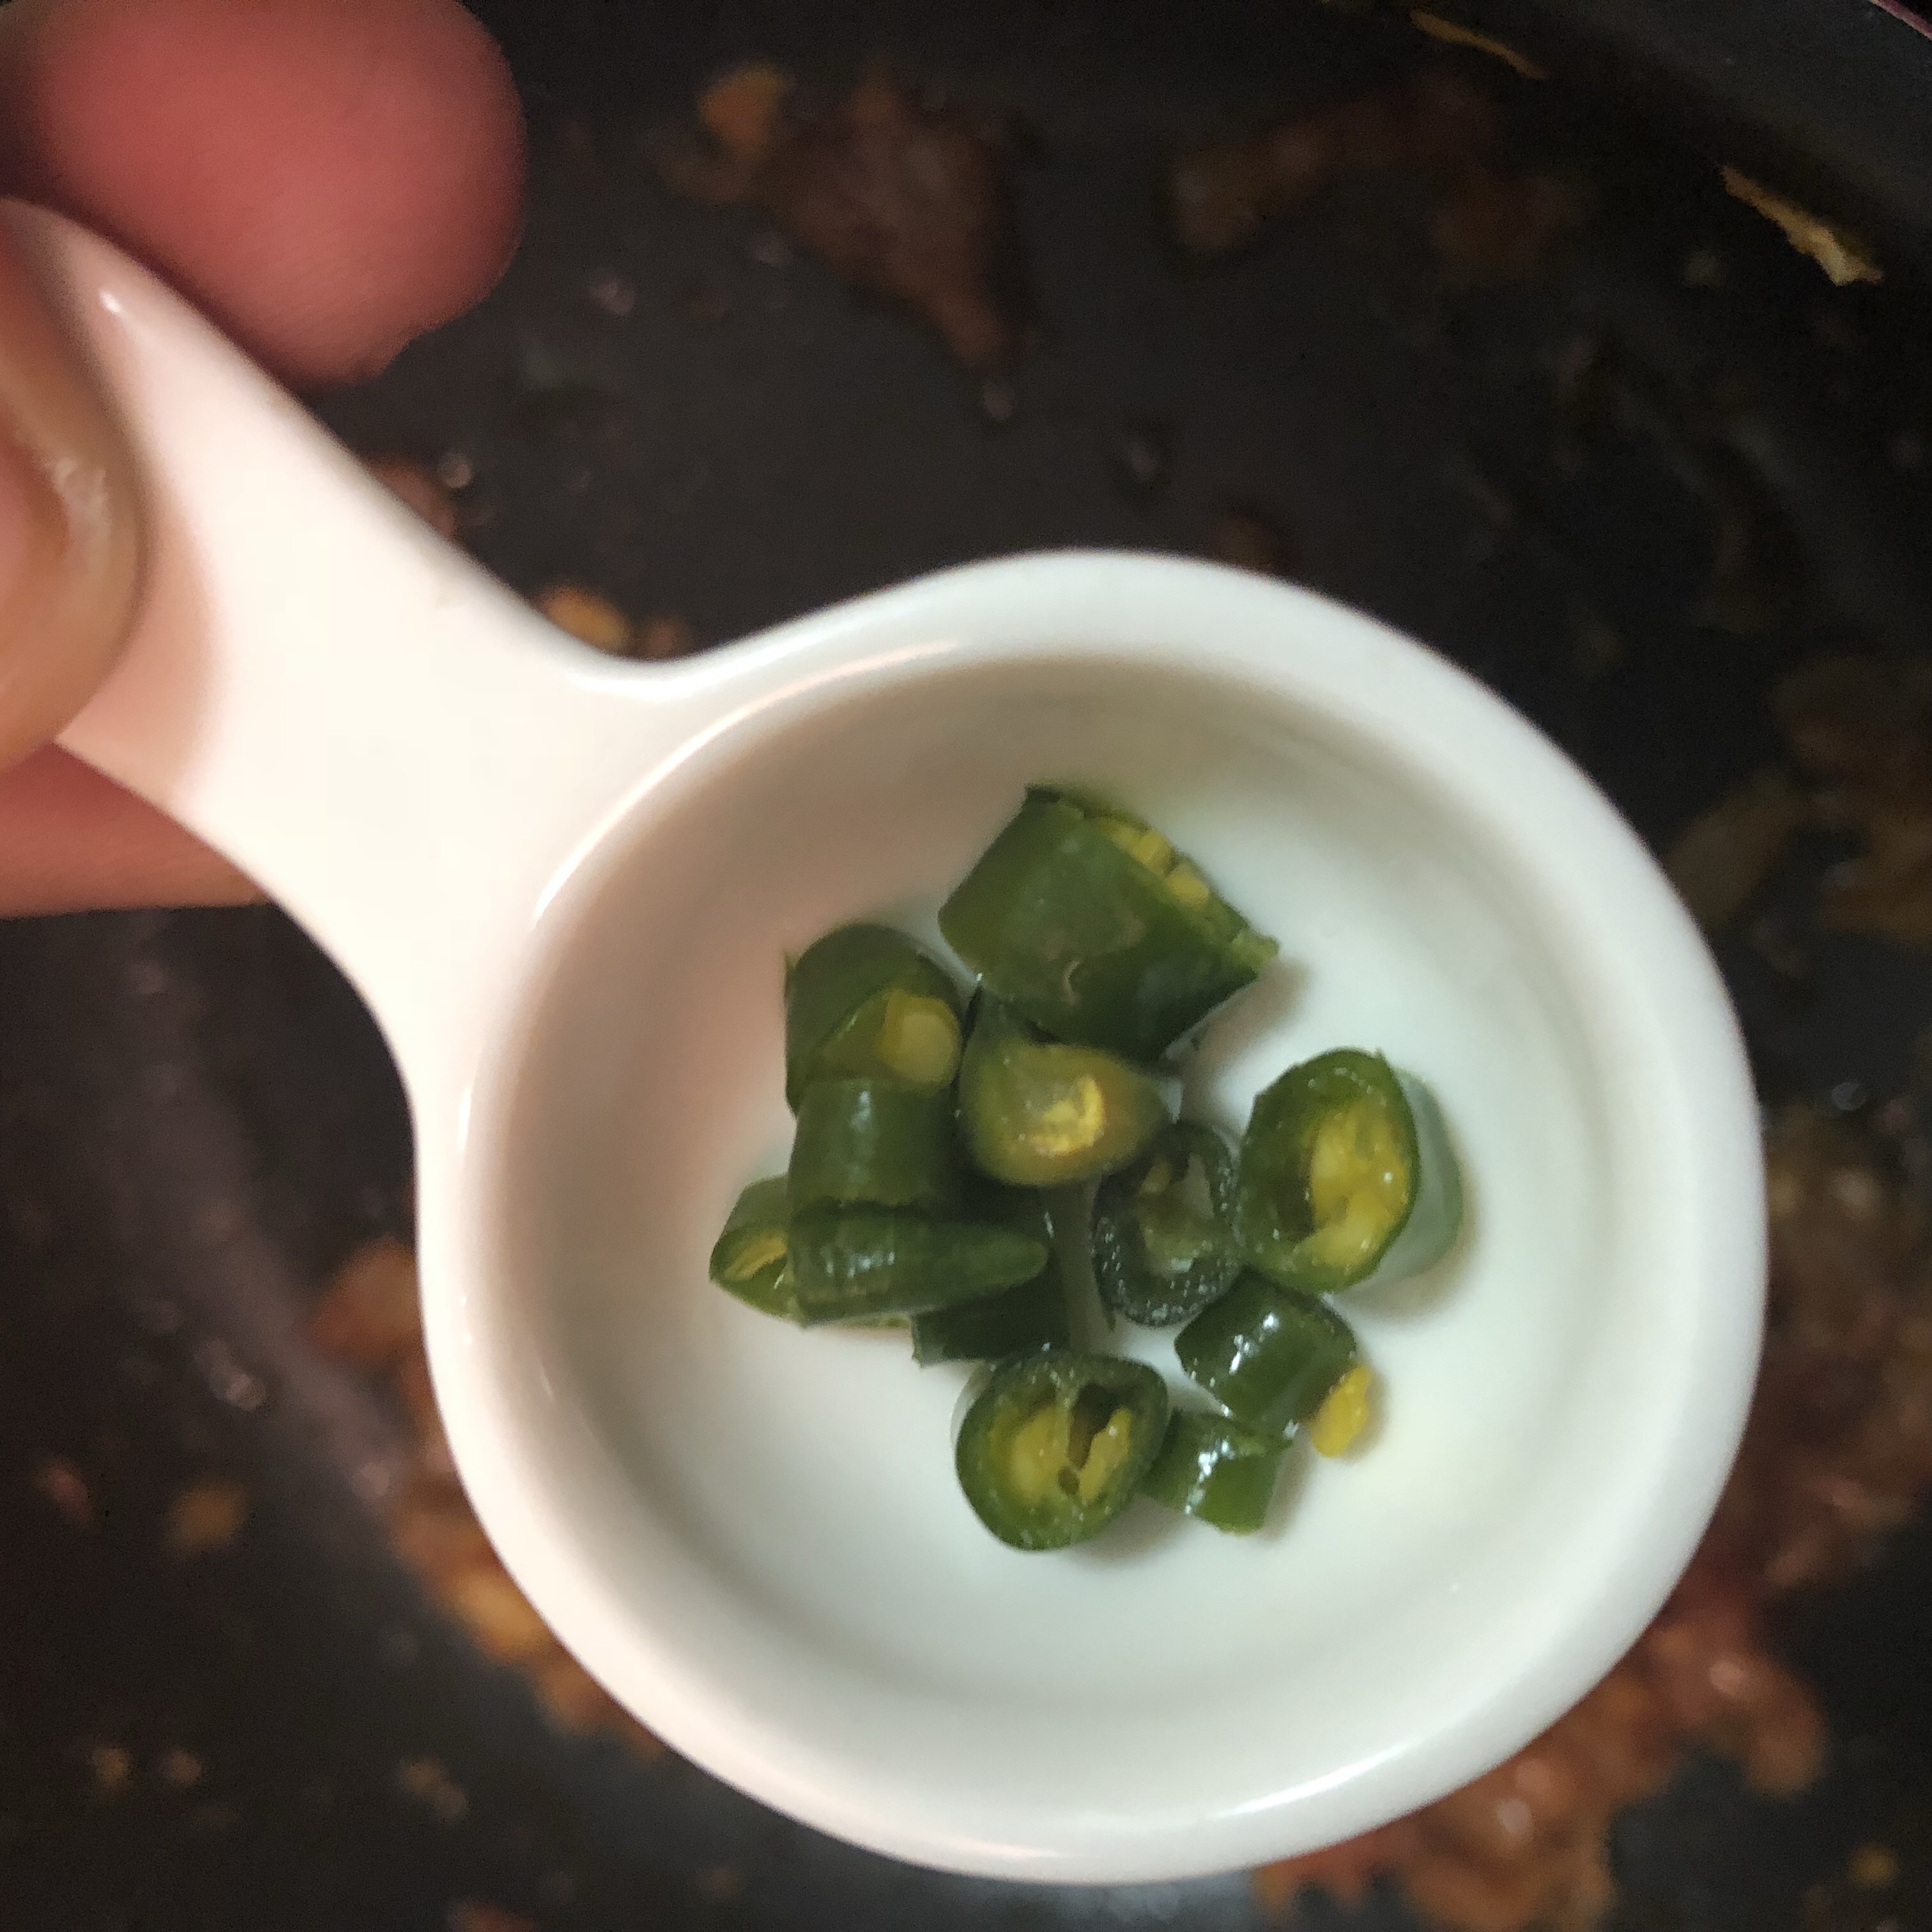
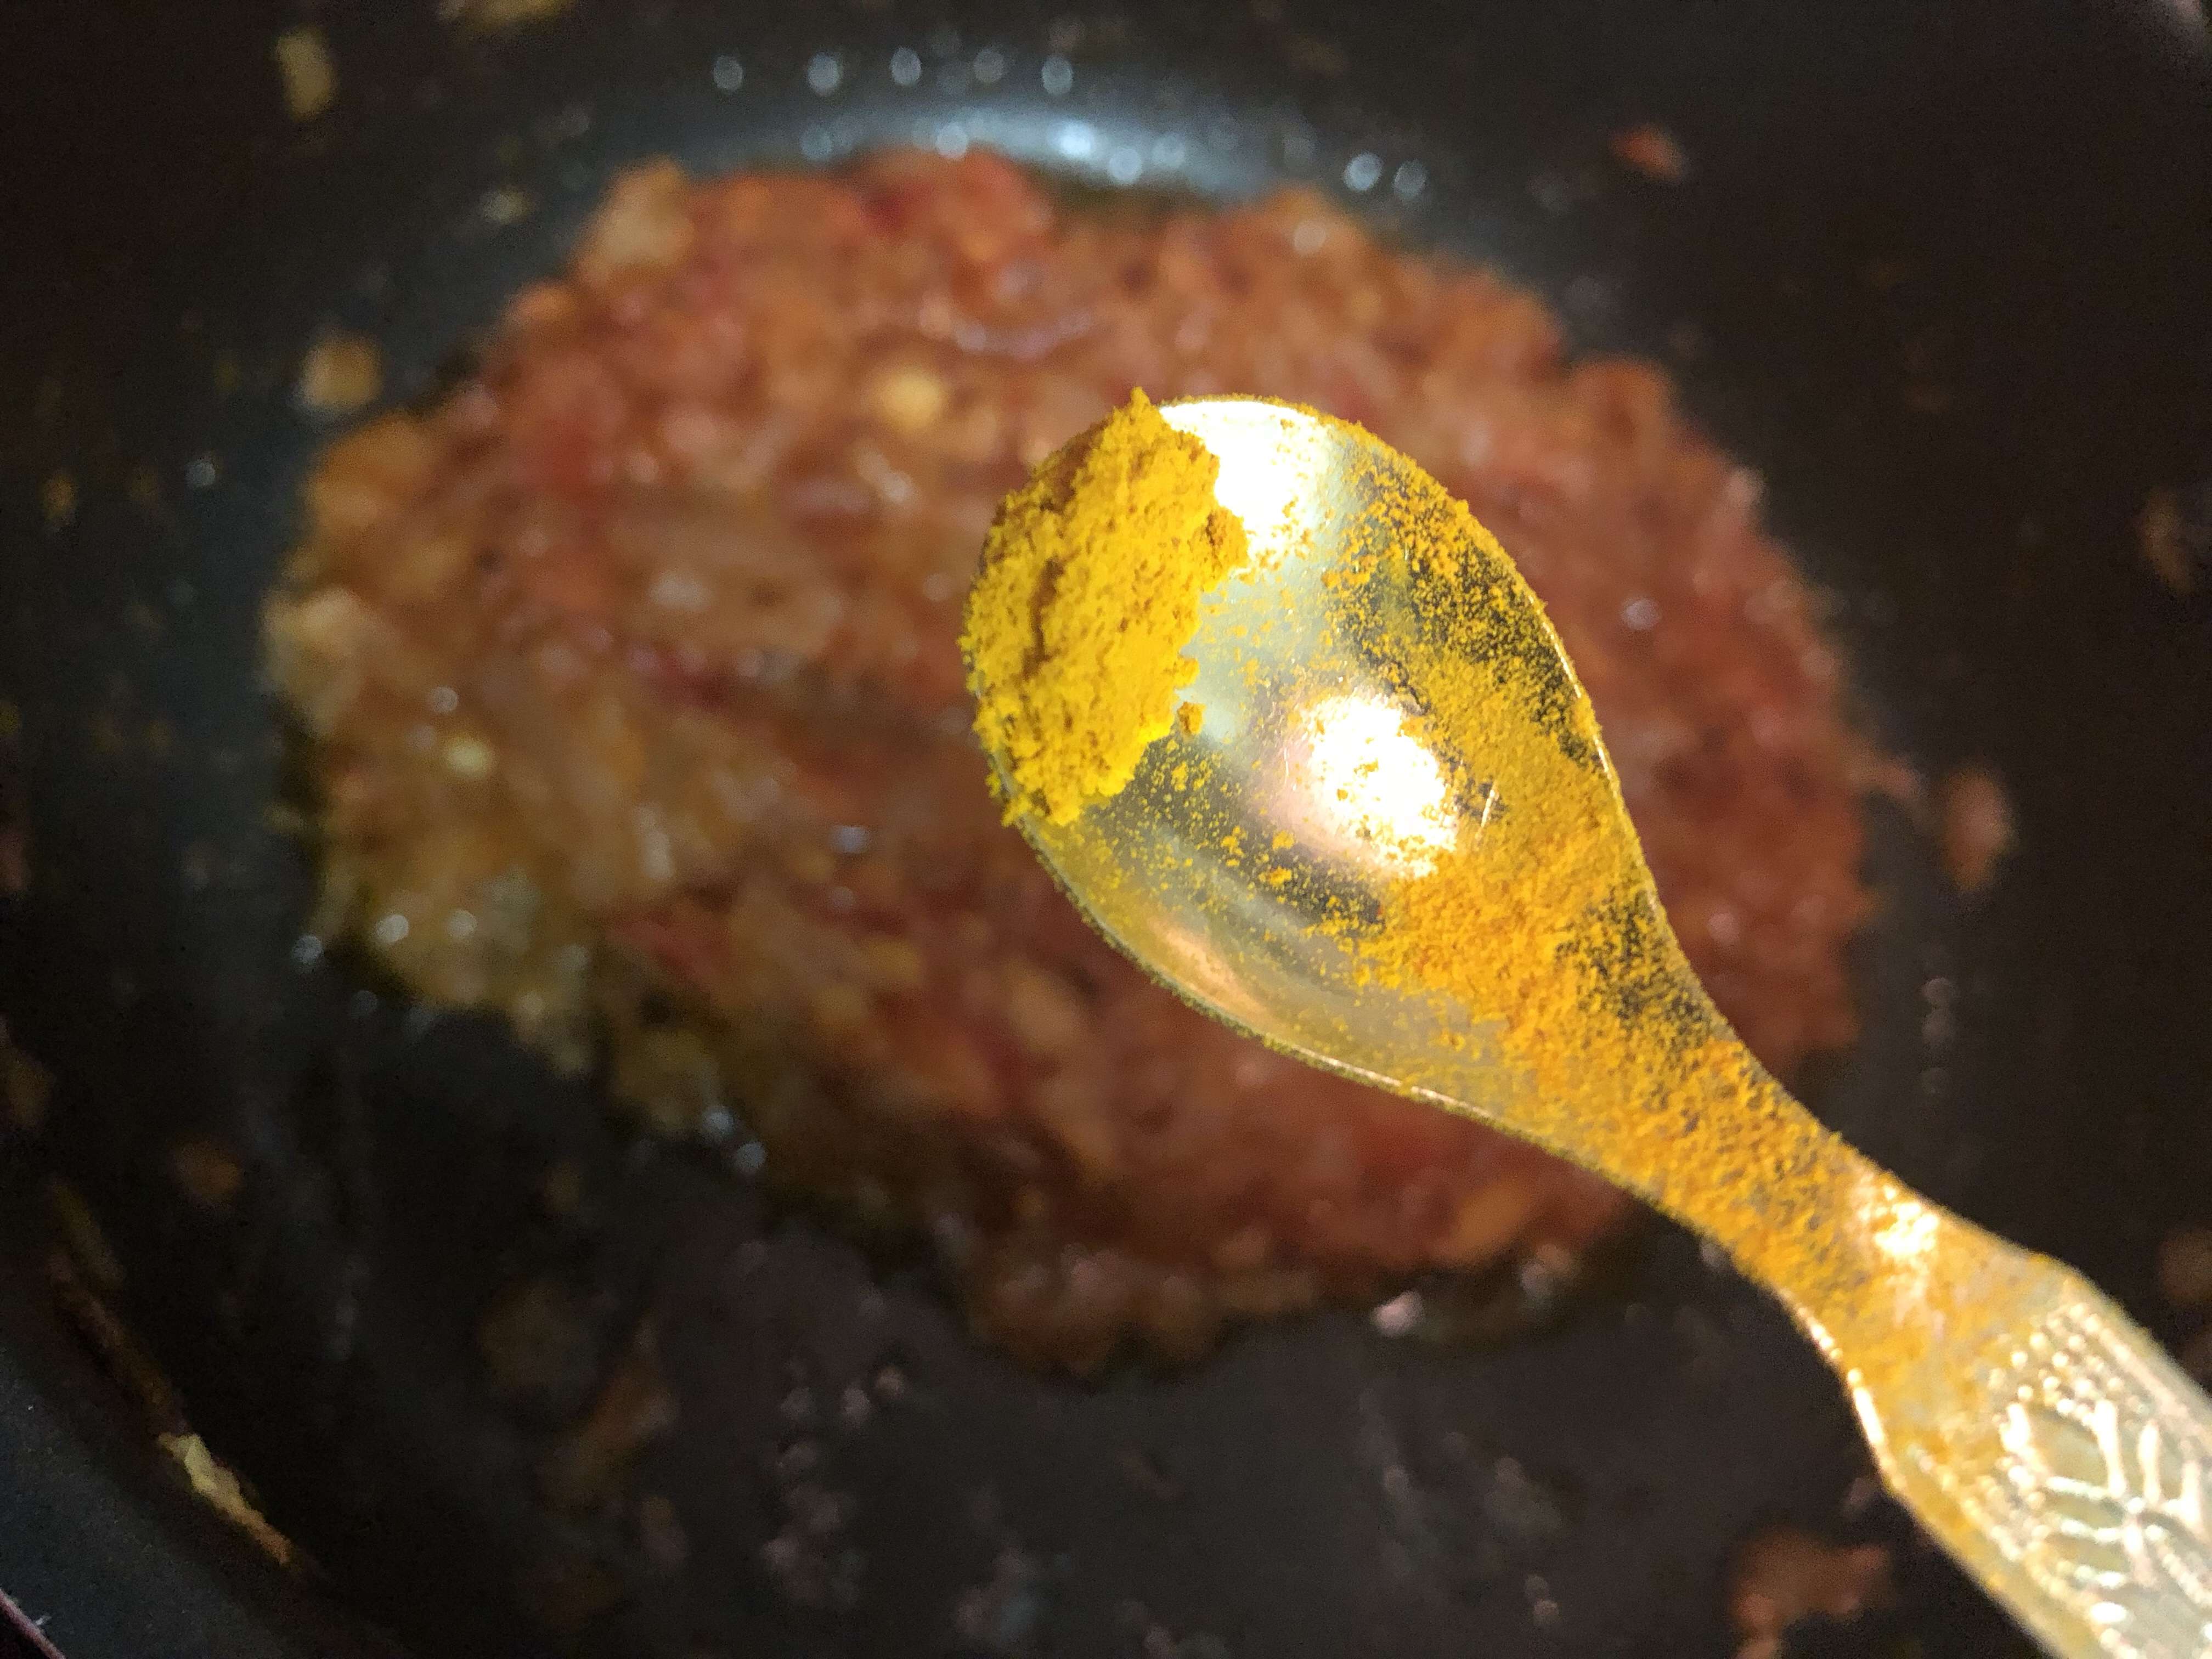
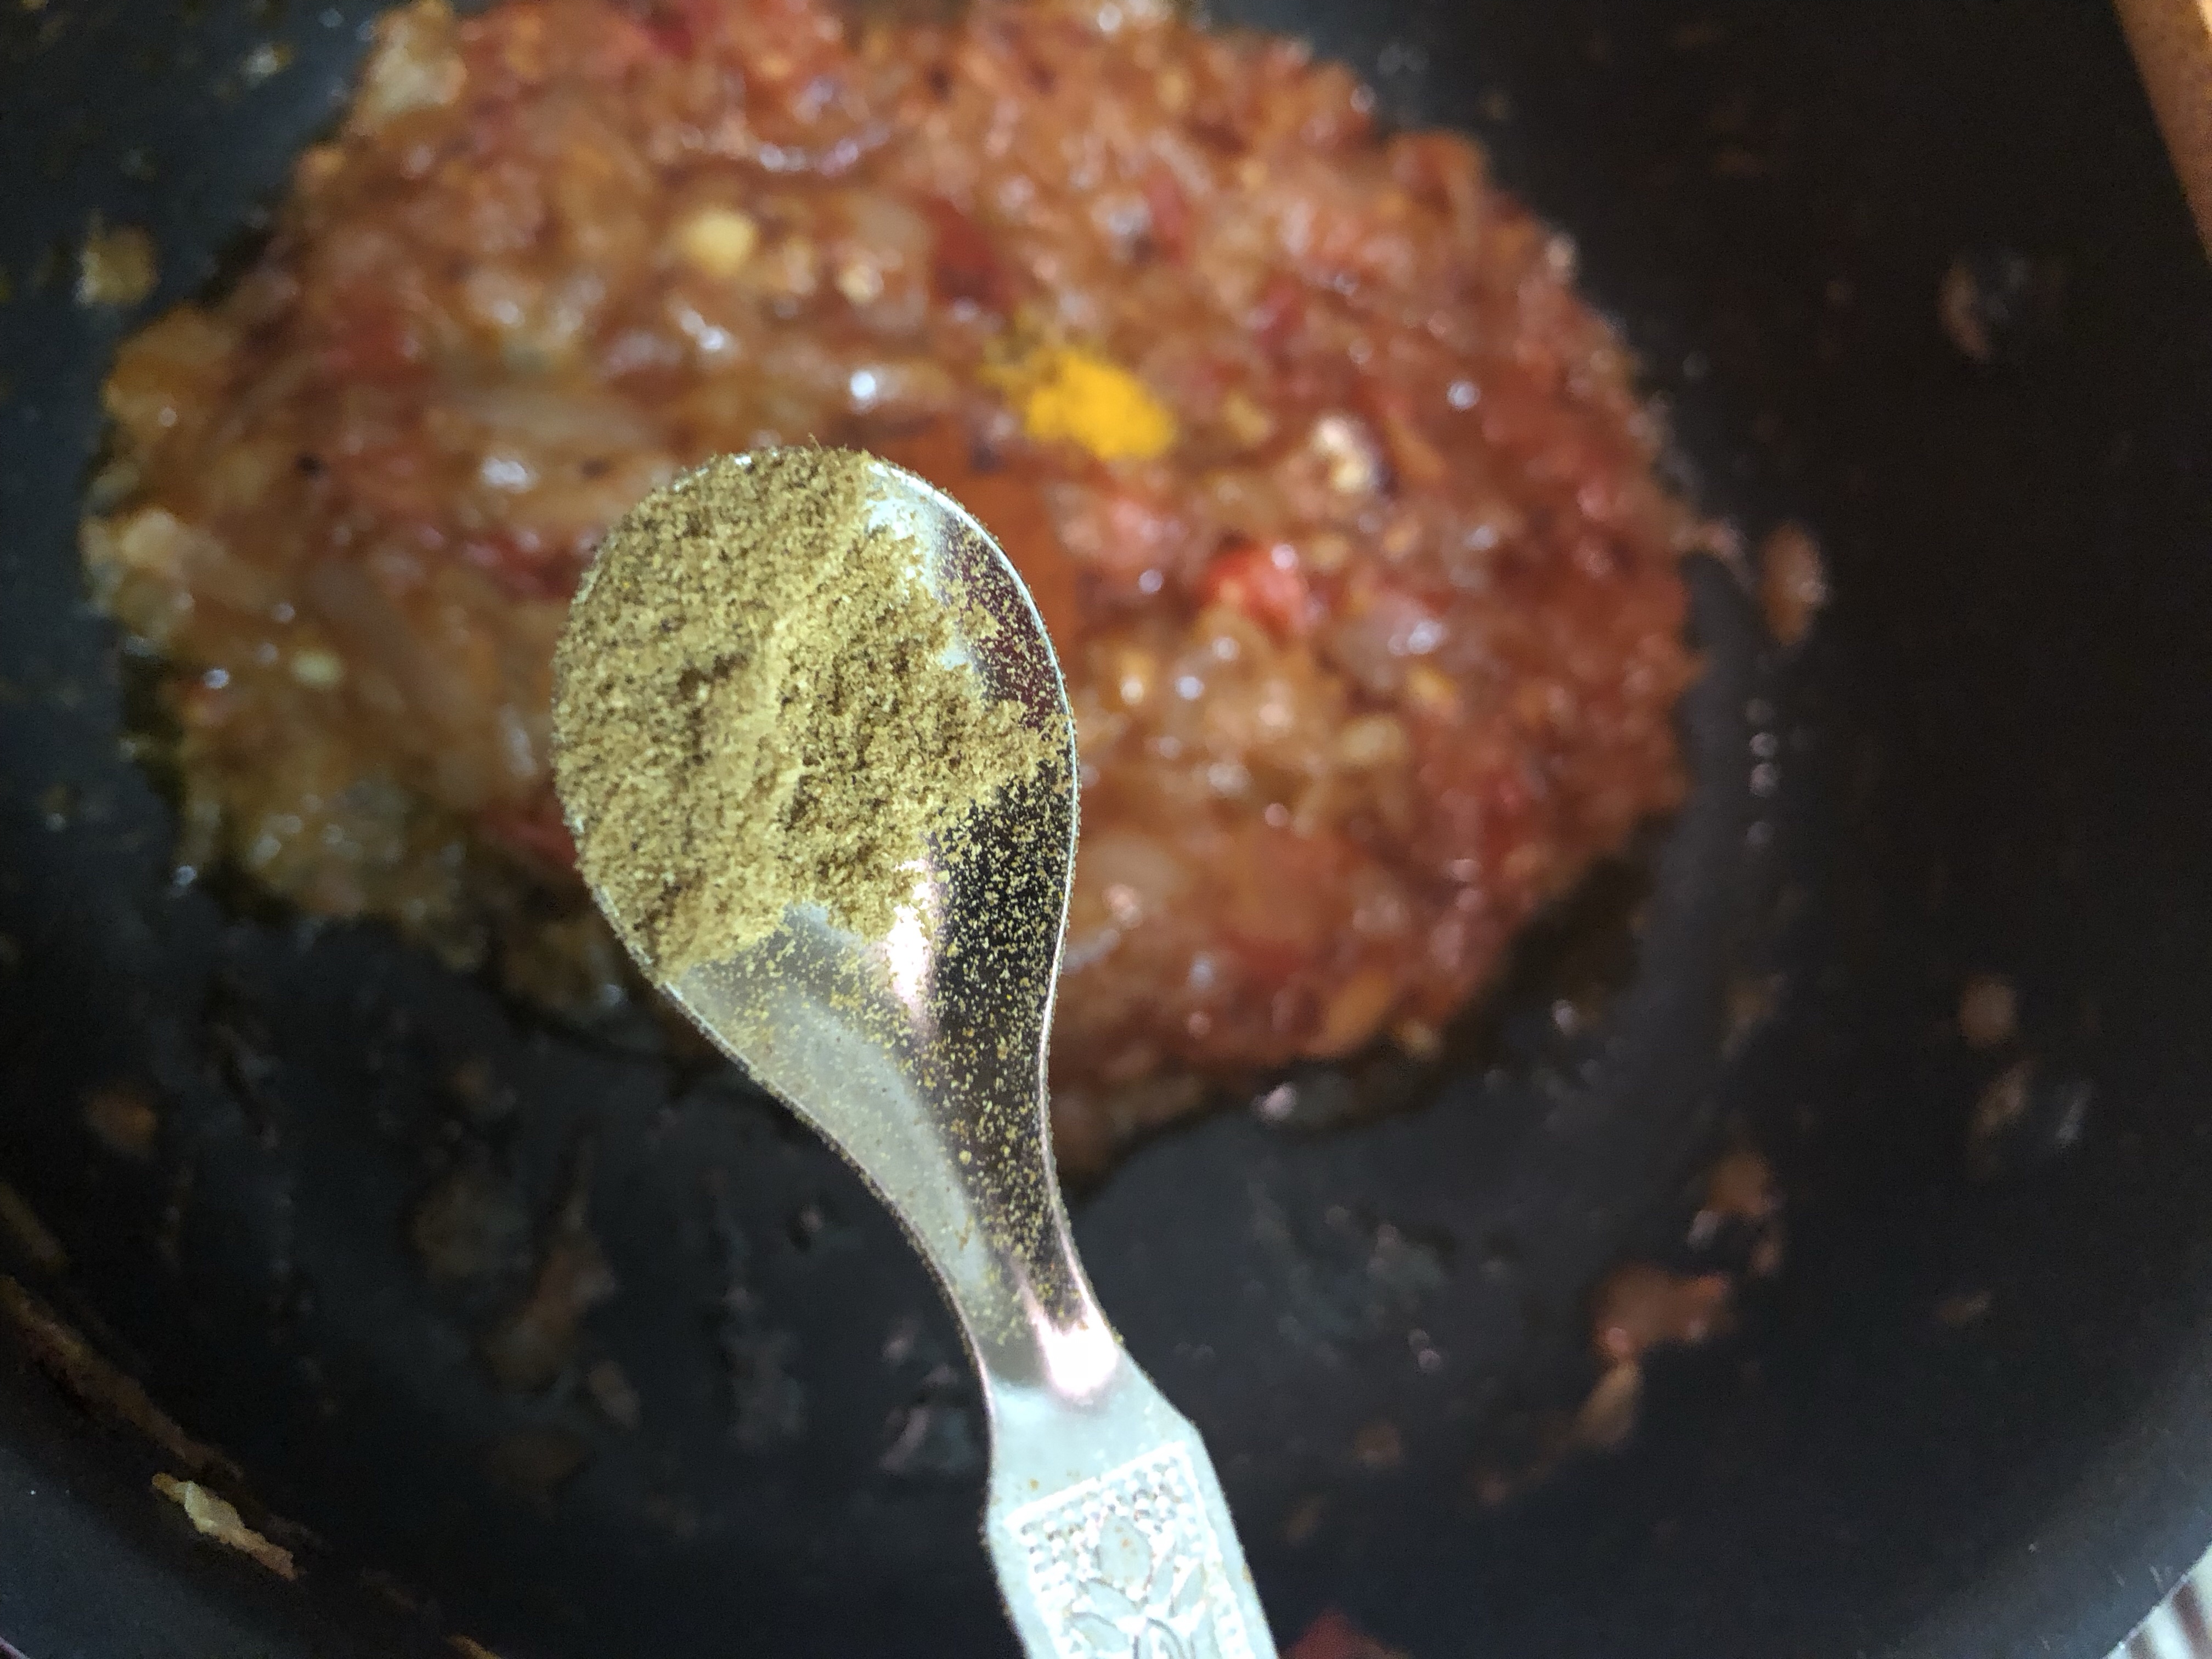
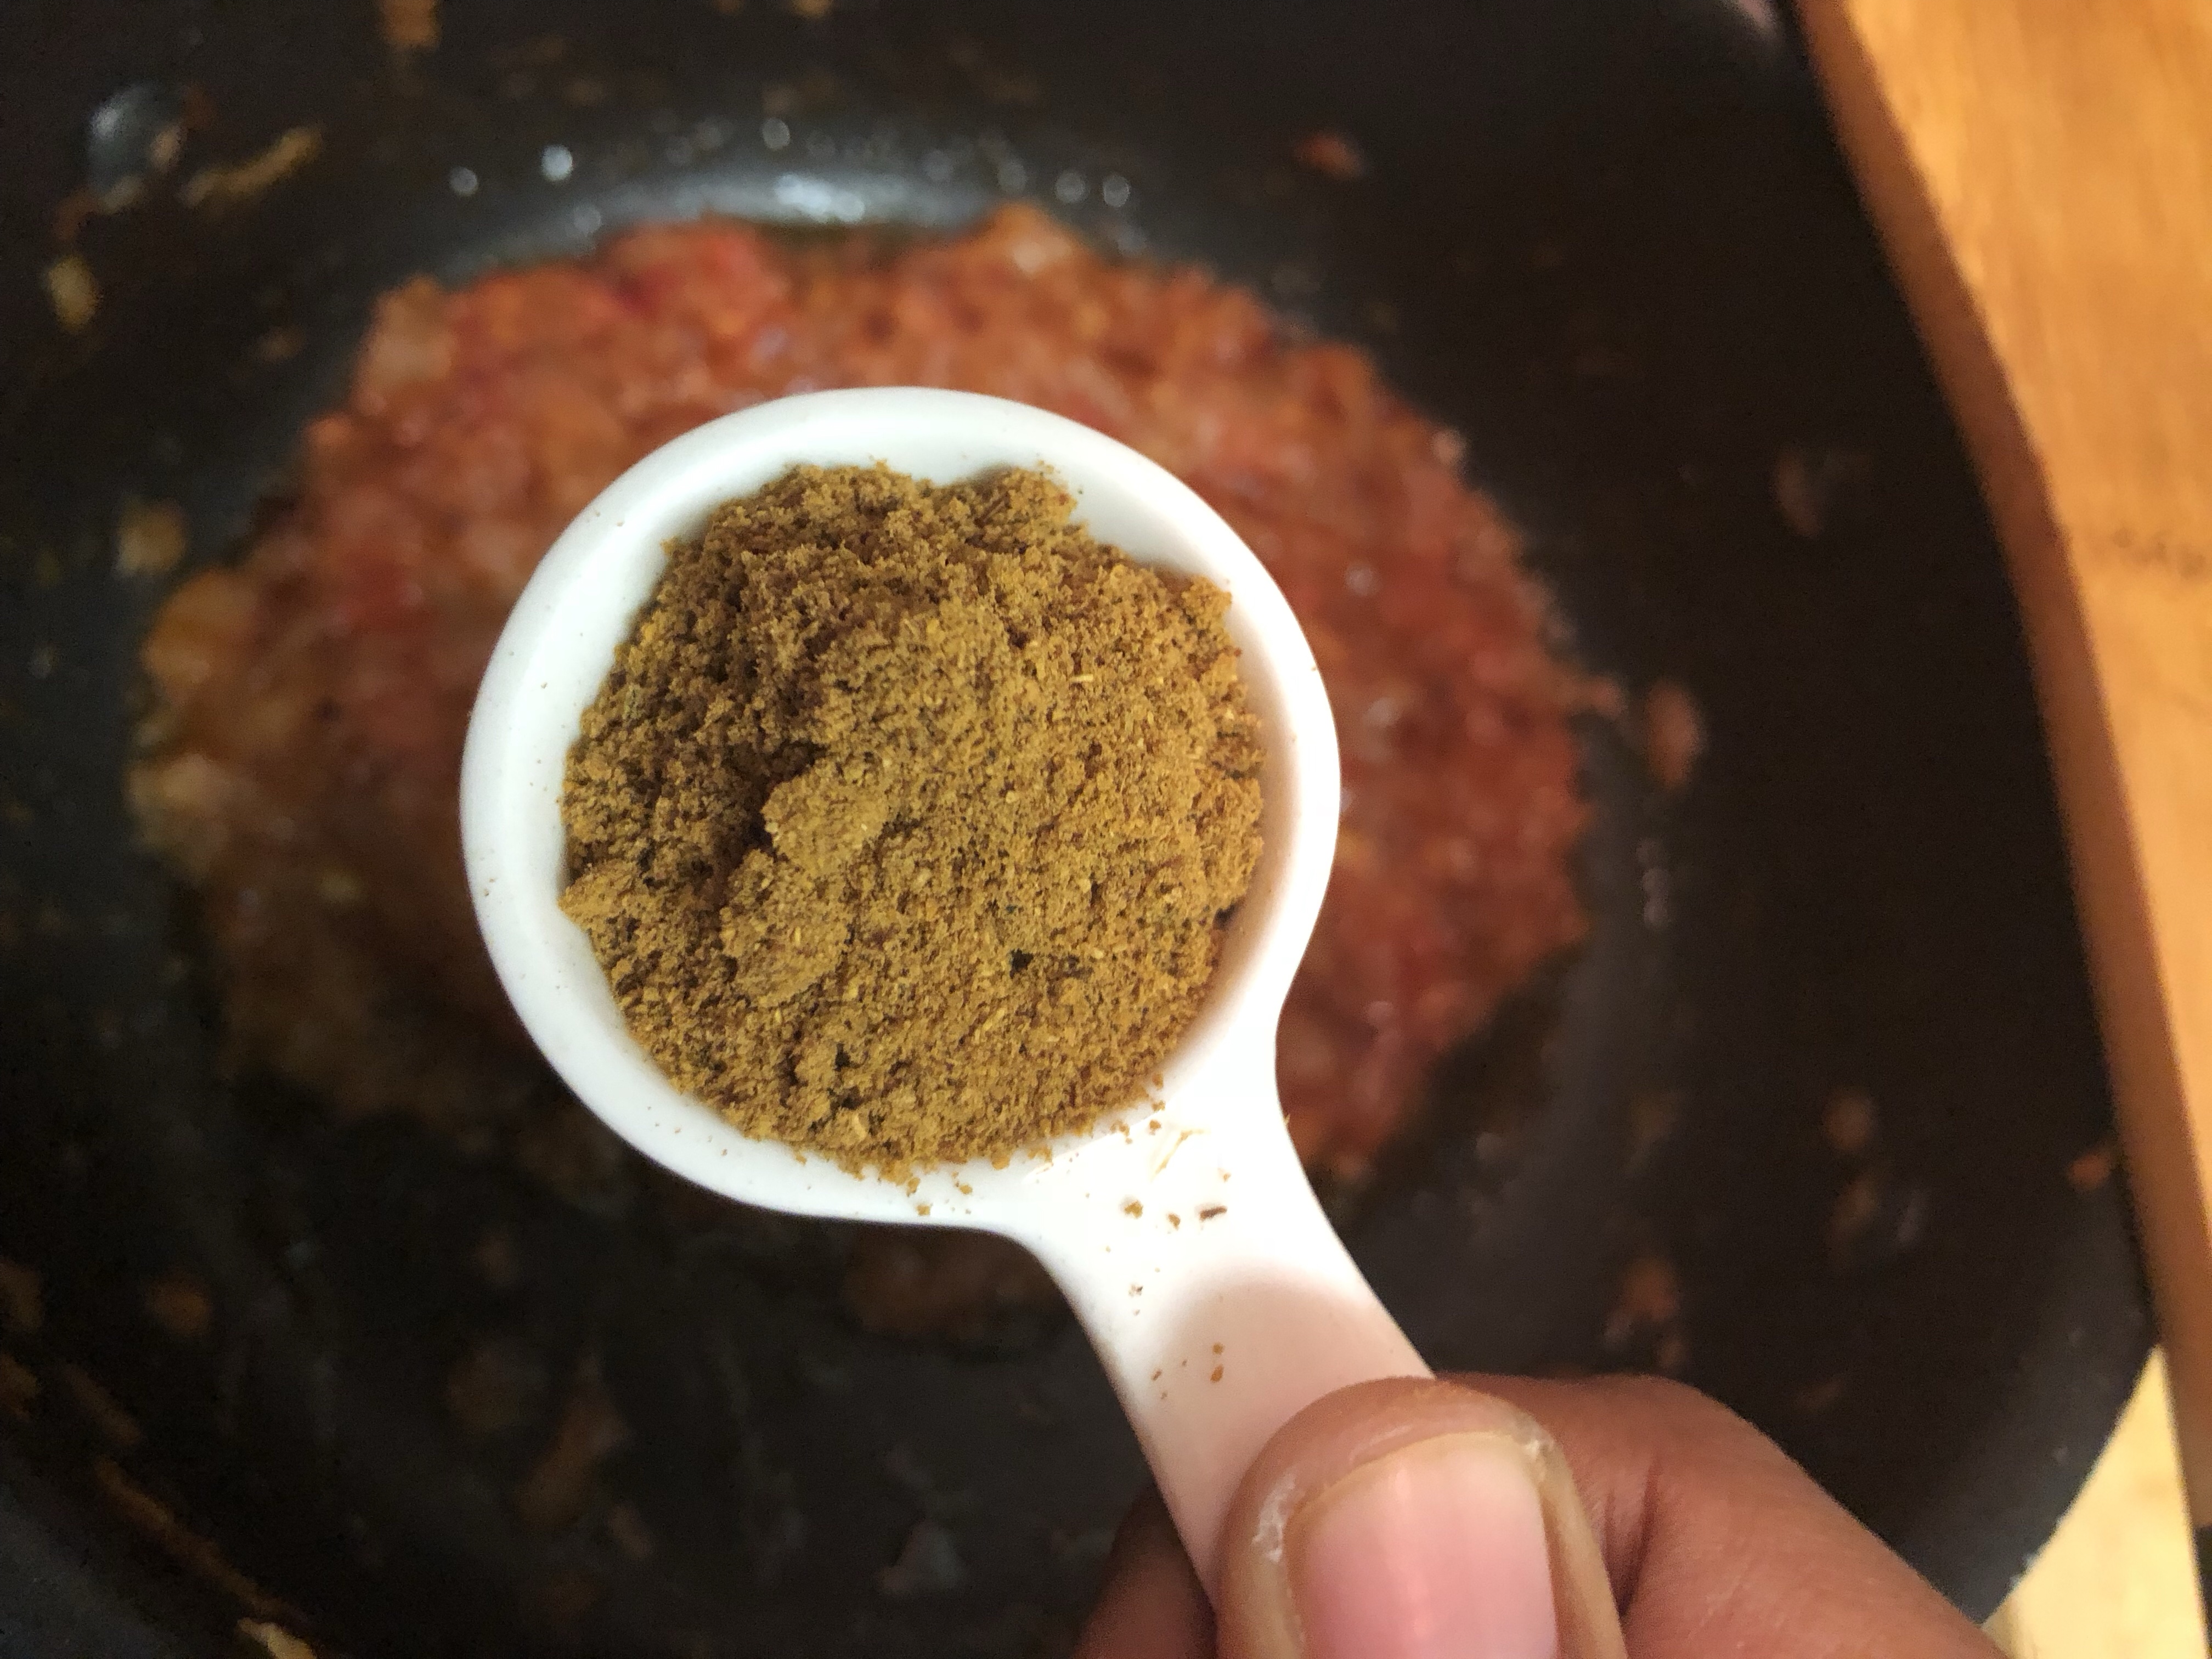
    Ragi Idli Recipe (Finger Millet Idli) / Ragi Dosa / Millet Idli / ராகி இட்லி

    I am fascinated with millets recently due to its health benefits. Millets are one of the ignored super foods, probably due to its taste or texture or the preparation process. I have shortlisted this age old diet and have been experimenting with a lot of millets like Foxtail Millet (thinai/ தினை) , Barnyard millet (kuthiraivali/ குதிரைவாலி), Kodo millet (varagu/ வரகு) and Little Millet (saamai/ சாமை) for the last few months.

    These millets are extensively cultivated and consumed by the rural folks because of its nutritional value and affordability.

    In South India, Ragi Koozhu or Kanji were the prominent baby foods until the fake health drinks enter the market.

    Having received great response for my Multi-Millet Dosa Recipe, I was asked by husband to try some varieties of Idli/ Dosa that are healthy, tasty and nutritious too.

    Ragi Idli’s got my attention when I saw it on Skinny Recipes by Nisha Homey’s Instapage. Also, I do love the earthy color of ragi idlies. I did a bit of modification with the measurements to the original recipe.

    What is Ragi?

    Finger Millet (ragi/ ராகி) is quite rich in nutrients. This is now consumed world wide due to its health benefits across all age groups. They are Gluten Free, Rich in Calcium, Protein rich & Control Diabetes.

    Since I made Ragi Idli from scratch, I thought of documenting each step with a lot of notes. A few pointers before I proceed to the recipe.

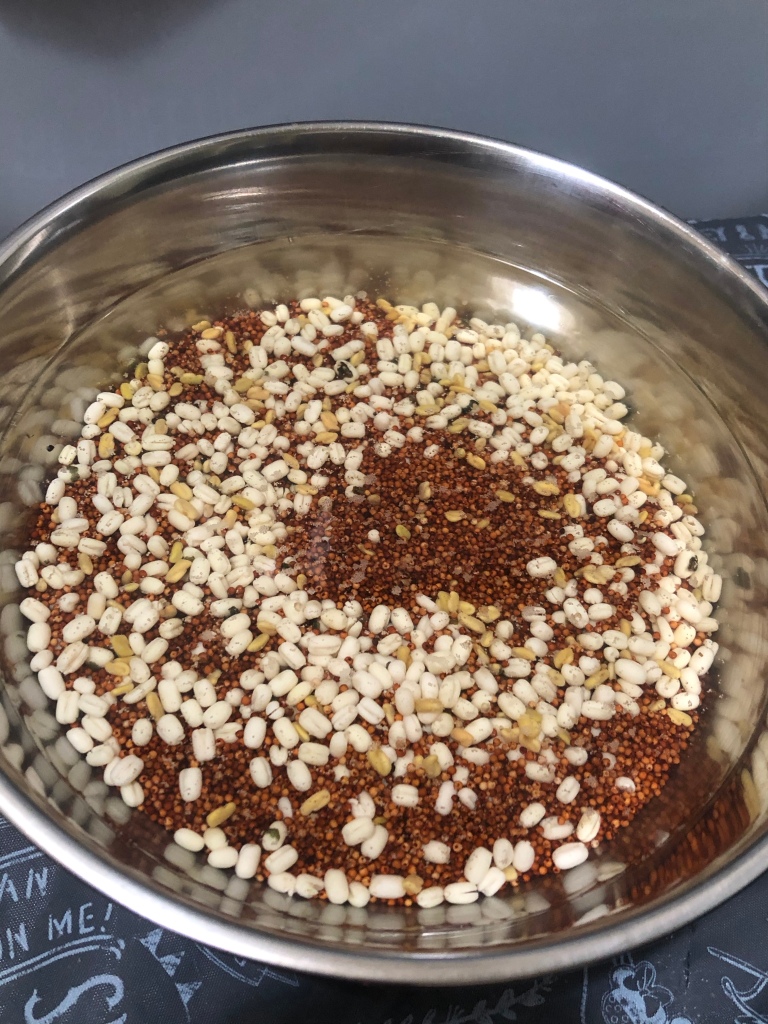
    This Ragi Idli Recipe is not the instant version nor uses Ragi Flour. This is made with whole Ragi seeds alone and Rice is not been used. Ragi seeds are soaked, ground along with Urad Dal & fermented. You can use any millet available to prepare this healthy dish.

    This is a multipurpose batter. You can use this batter to make Dosa too by adjusting the consistency with water. I usually make idlis for myself and then switch over to dosa for my husband.

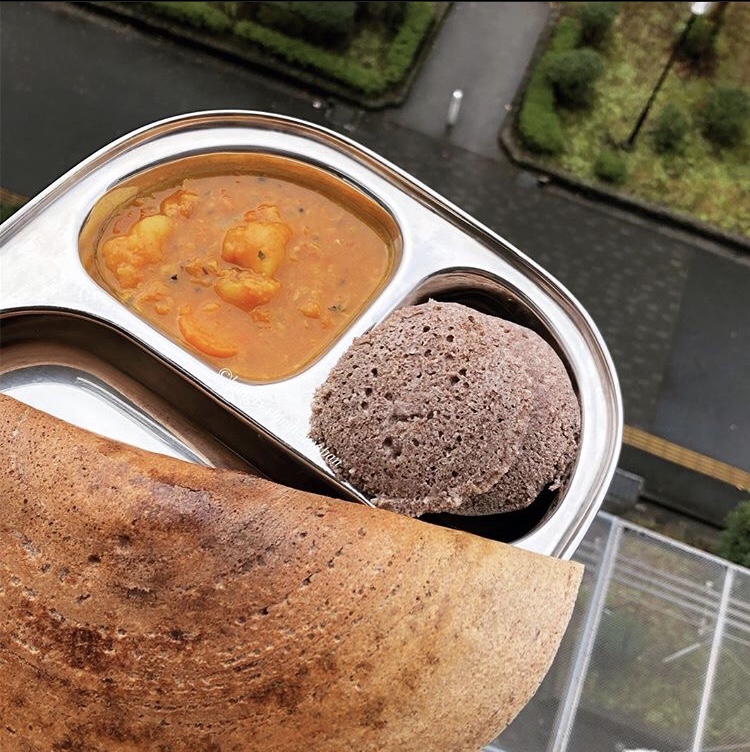
    These Ragi Idlis are fluffy, soft and spongy. Can be eaten for breakfast or dinner with a vegetable loaded Sambar or Chutney. You can also toss them with a tempering like Gun powder aka Molaga Podi/ Chutney Powder for an additional twist.

    I was asked by few readers to post the fermentation tips too. I hope you’ll find this recipe useful, the next time you make Batter from any Millets.


    Ingredients

    • 2 cups, Ragi
    • 1/2 cup, Urad dal
    • 1/2 tsp Fenugreek Seeds
    • 1 tbsp, Cooked Rice (If using Mixer Grinder)
    • Rock salt

    Instructions

    1. Rinse the Ragi, Urad Dal & Fenugreek seeds until the water turns clear. Soak everything together. Soaking time should be atleast 6-8 hours. Overnight soaking is also recommended if using a mixer grinder.

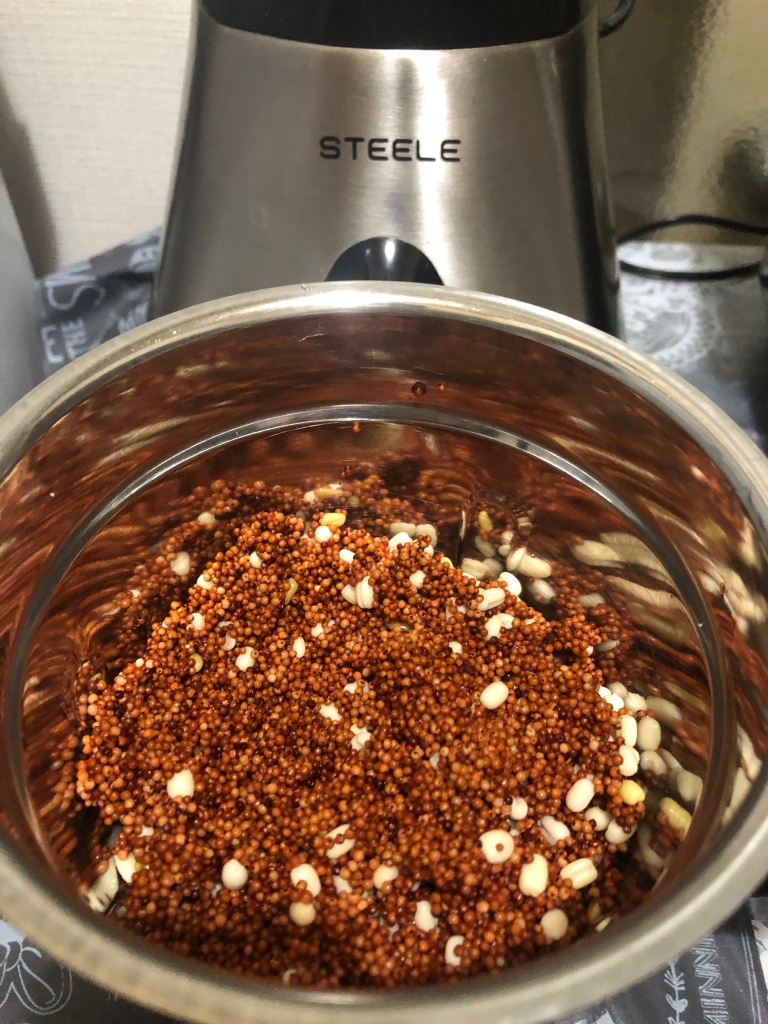
    2. After soaking, drain the water & Grind everything with little water into a thick and fluffy batter. (If grinding in a mixie, add a tbsp of cooked rice and grind along).

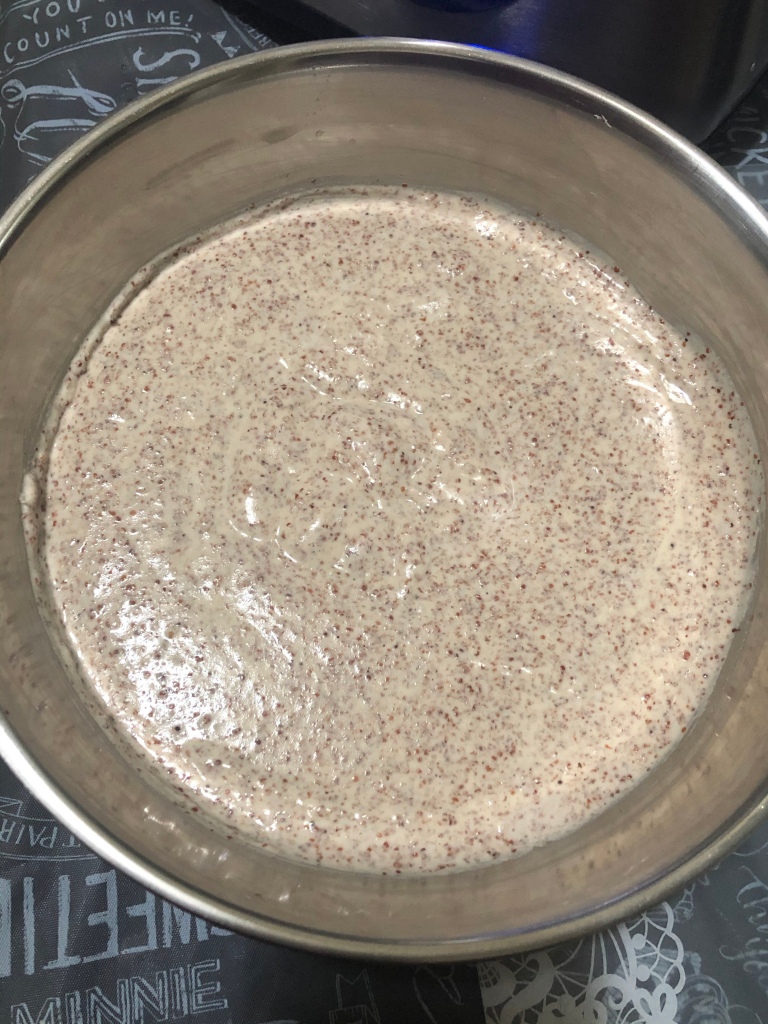
    3. Add salt & Mix with hands gently (clockwise and anti-clockwise) for atleast 5 minutes. This aids in fermentation.

    4. Keep the batter aside for fermentation by covering with a plate. The fermentation time usually depends on the climate conditions.

    5. Once the batter is fermented, mix lightly.

    How to make Idli:

    1. Grease the idli plates with oil. Meanwhile, prepare the steamer by heating some water.
    2. Carefully pour the idli batter on to the plates and steam them for 15 minutes.
    3. Switch off & Allow it to rest for 5 – 10 minutes.
    4. Remove the Idli Plates and once they cool slightly, demould them with a wet spoon.
    5. Serve with Chutney or Sambar.

    What if Idly Batter is too watery? Make Dosa!!!

    • If you accidentally add more water to the ragi mixture, you can make Uttapam, Paniyaram / Appe which serve as excellent after school snacks too.
    • If you still feel the batter is watery, add 1/2 cup of soaked and ground aval / poha / flattened rice to the batter.

    Tips on Fermentation:

    If you are in India, fermentation is generally not an issue. For people staying in colder countries, place the batter in

    • Instant pot (With the settings to ferment).
    • In an oven with light on.
    • In a clean pressure cooker with no water inside.

    Additional Notes:

    • If your batter has still not fermented after 10 to 12 hours, add 1/4 tsp of Baking Soda or ENO (fruit salt) just before steaming.
    • Always pour little quantity of batter, allow it to naturally spread. Excess batter expand or rise while steaming turning idlis crack at top or harder.
    • Pour the batter only when the steamer is completely ready.
    • Do not open the steamer immediately. Allow it to rest for few minutes.
    • Mixing the ground batter gently with hands for 5 minutes, aids in good fermentation. Never skip this step.

    Vazhaipoo Rasam | Banana Blossom Rasam | Rasam without Dal | Simple Rasam Recipe

    Rasam is an authentic south Indian Recipe. Rasam, the most delicious appetizer drink is light on stomach and high on taste. This flavourful dish is ideally served before after the main course.

    Rasam doesn’t appear in my daily kitchen menu. But recently I am addicted to different kind of rasams. One such is the Vazhaipoo / Banana Blossom Rasam.

    Vazhaipoo is something which we rarely buy at home. It is just the prep work needed for the flower which stops me from buying it frequently.

    Similar to Tomato Rasam, preparing Vazhaipoo Rasam at home is very easy and it requires basic ingredients like tomato, tamarind, black peppercorns, garlic and cumin seeds.

    On a side note, vazhaipoo is extremely healthy with immense benefits. And at the end, I always feel that the time and effort I had put in was not in vain.

    So, try this simple recipe at home with your own choice of flavors and relish with your loved ones.


    Author: Nathiya Adiseshan
    Preparation Time: 3 mins
    Cooking Time: 10 mins
    Serves: 3

    Ingredients:

    For the Rasam:
    • 2 medium Tomatoes, Pureed
    • 1/2 Tomato, chopped into quarters
    • 20-25 florets, Vazhaipoo, finely chopped
    • Tamarind, gooseberry sized
    • 1/4 tsp, Turmeric powder
    • a pinch, Asafoetida
    • a sprig, Curry leaves
    • a bunch, Coriander leaves
    • Salt
    • 2 pods, Garlic crushed
    For Rasam Powder (Dry roast and grind):
    • 1/8 tsp, Fenugreek seeds (optional)
    • 1 tsp, Cumin seeds
    • 1 tsp, Pepper
    • 1 tsp, Coriander seeds
    • 1 tbsp, Toor dal
    • 1, Red chilli
    • Curry leaves
    To temper:
    • 1/2 tbsp, Oil
    • 1/4 tsp, Mustard seeds
    • 1/4 tsp, Cumin seeds
    • a sprig, Curry leaves
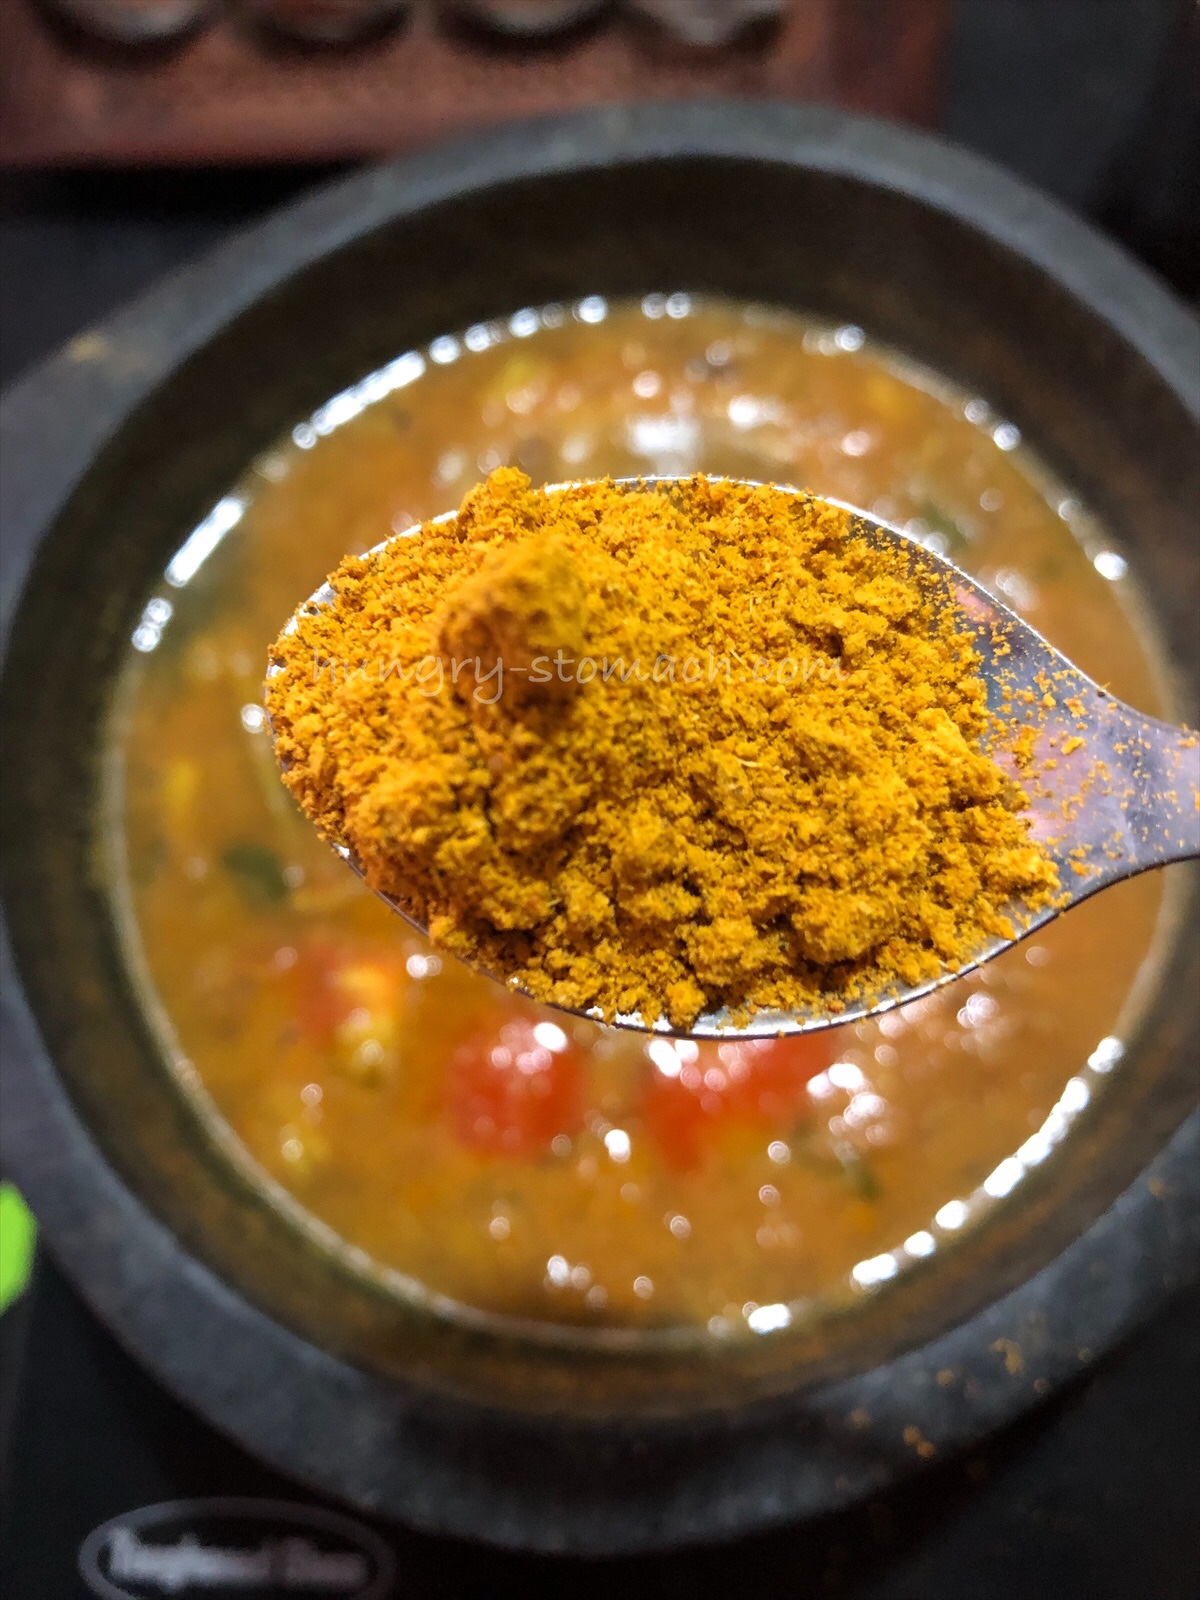
    HOW TO MAKE RASAM
    1. Puree tomatoes along with gooseberry sized tamarind.
    2. In a kalchatti, add the tomato puree, chopped tomatoes, turmeric powder, crushed garlic, curry leaves, chopped vazhaipoo/ banana blossom, asafoetida and salt.
    3. Pour 3 cups of water & bring it to a boil. Then simmer for 5 mins or until raw smell of tamarind goes away.
    4. Add in a tbsp of rasam powder. Allow it to boil.
    5. Taste the rasam and add more salt as needed to suit your taste. Simmer it for 2-3 mins.
    1. Meanwhile heat oil in a tadka pan and temper with the ingredients listed above. Fry this mix until it starts crackling and pour it over the rasam. Garnish with coriander leaves.
    1. Turn off the stove. Keep the pot covered for 15 minutes before serving.
    2. Serve rasam with rice or just serve it as an appetizer in your meal.


    Special Note:

    • As soon as it becomes frothy, turn off the stove. Cover it for 15 minutes before serving, the resting time at the end also plays a major role in flavor.
    • Adjust the quantity of rasam powder to satisfy your taste buds.
    • Store bought rasam powder can also he used. But check on the turmeric powder and asafoetida content while adding.

    How to season Kalchatti | Kalchatti Seasoning Process | Know How to Cure your Kalchatti |Seasoning Soapstone cookware | Beginner’s guide on Kalchatti

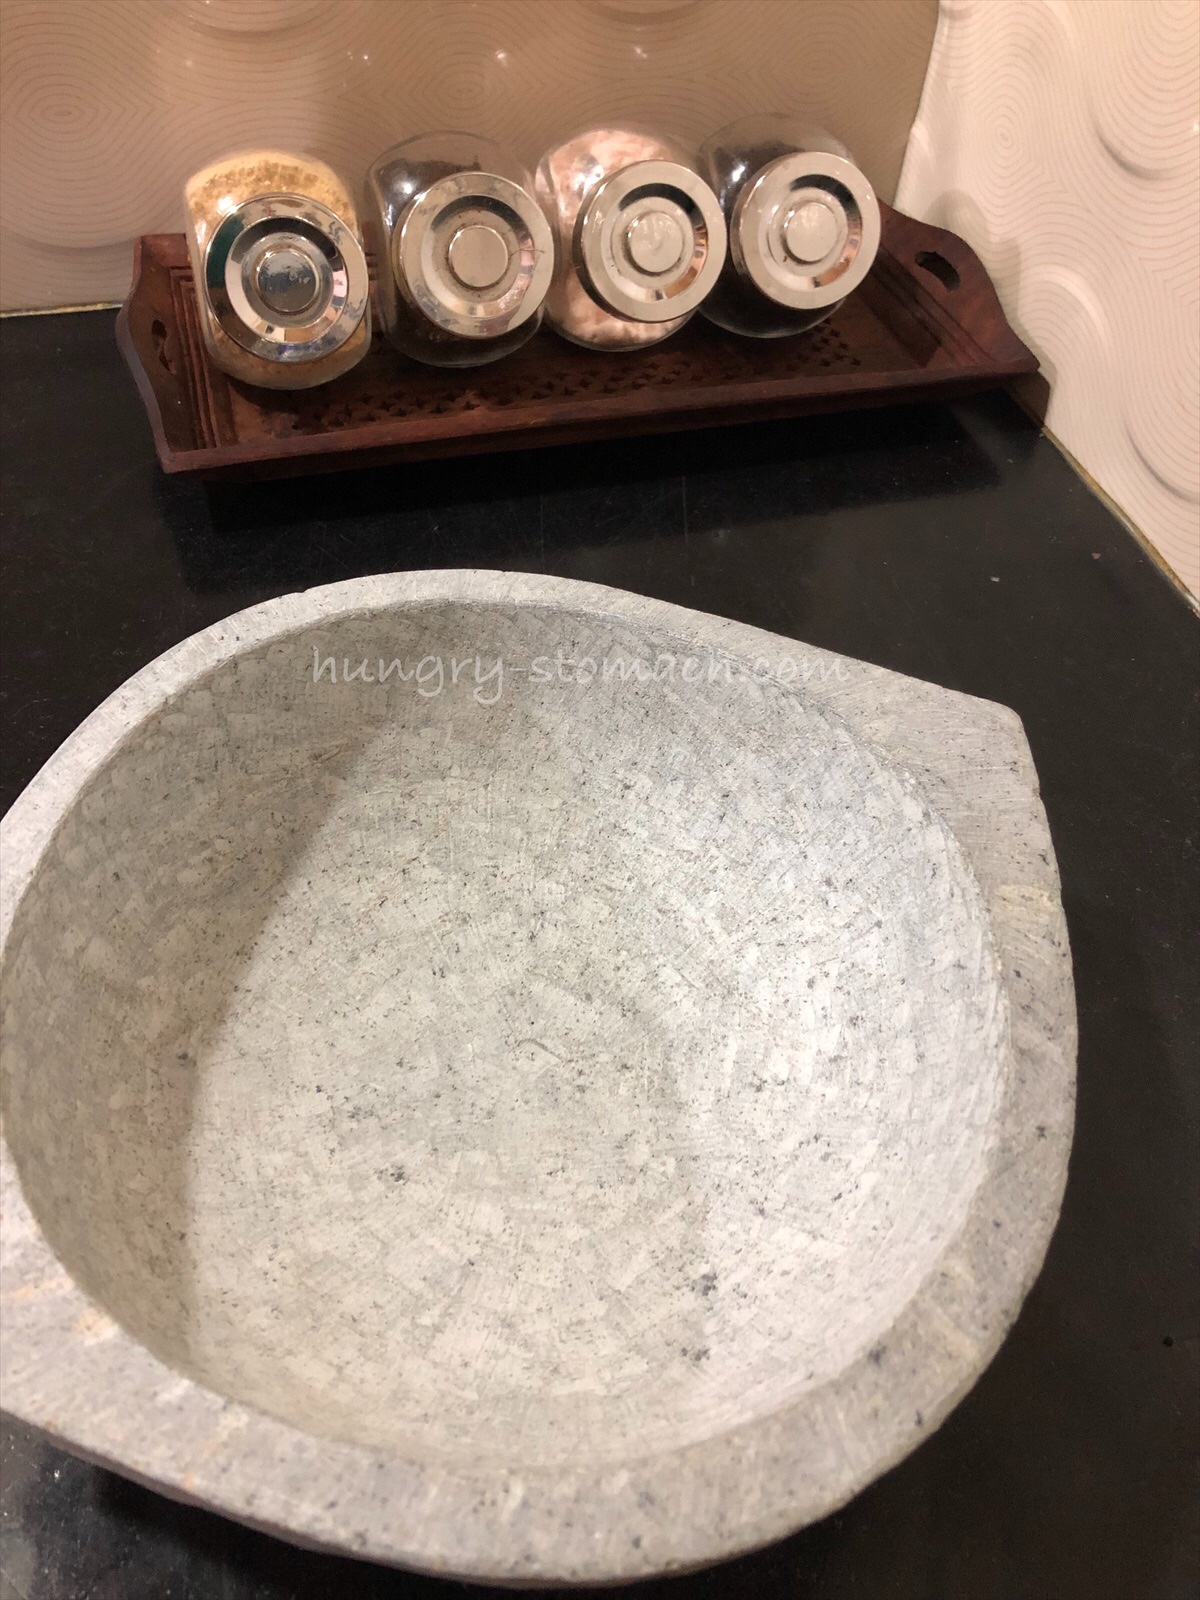
    Kalchatti, Maakalchatti (மாக்கல் சட்டி) is a naturally occuring softstone, handcrafted/ carved by rural Artisans without any machine assistance. Soapstone cookware will be the pride of any kitchen and are antique collector’s delight.

    These soapstone pots are mostly used in southern states of India. They are called by various names as “Ratichippa” in Telugu (rati-stone, chippa-cooking pot) and “Kalchatti” in Tamil.

    Kalchatti’s neutralise the pH balance of acidic food items enhancing their nutritional value. The porous nature helps to circulate the heat and moisture through the pot while cooking which in turn enhances the flavours.

    A well seasoned soapstone cookware is a treasured possession, passed on by grandmothers to the younger generations. Not all of us have the heirloom cookware, so we get tempted to buy our own.

    I was eyeing on various online stores but stepped back because of the huge price. Finally found it in a local shop here in Madurai at a very cheaper price 😜👍🏼

    Unlike normal cookware, a new kalchatti needs special care (i.e, seasoning process) before using on gas stove. The new ones appear light grey in colour and get a dark, blackish shade with seasoning/use.

    Heating the vessel without seasoning may result in breakage or cracking. There are a couple of traditional methods of seasoning. Even after seasoning, the kalchatti should be introduced gently and slowly into daily cooking.

    Kalchattis are thick and heavy walled, retain heat for a longer time hence you can switch off the flame 5 mins before the final dish is done. And another good part is that, food cooked in kalchattis stay good for the next day as well without refrigeration.

    Guys, if you wanna experience the traditional flavour of cooking then head out to buy the kalchatti and get seasoned by yourself with the detailed (step by step) process as given below:-

    Click this link for the video version of seasoning process.

    Day 1 – Day 5:

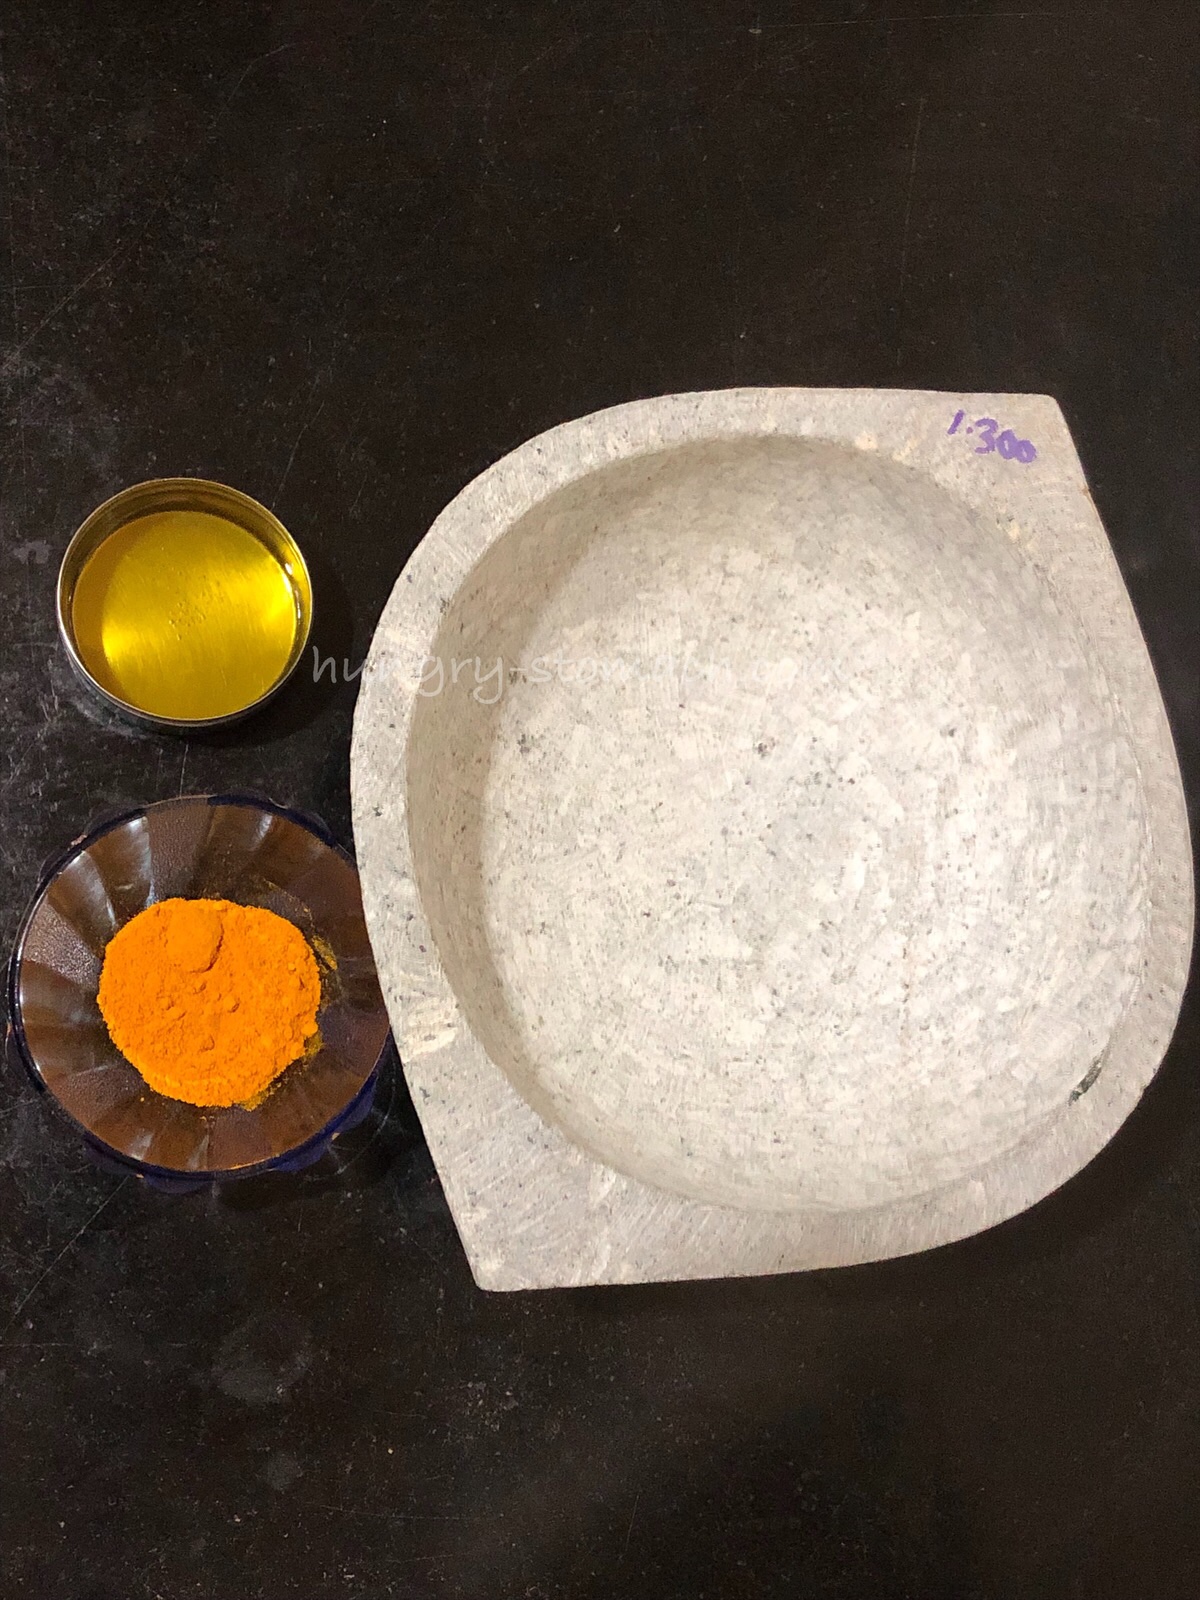
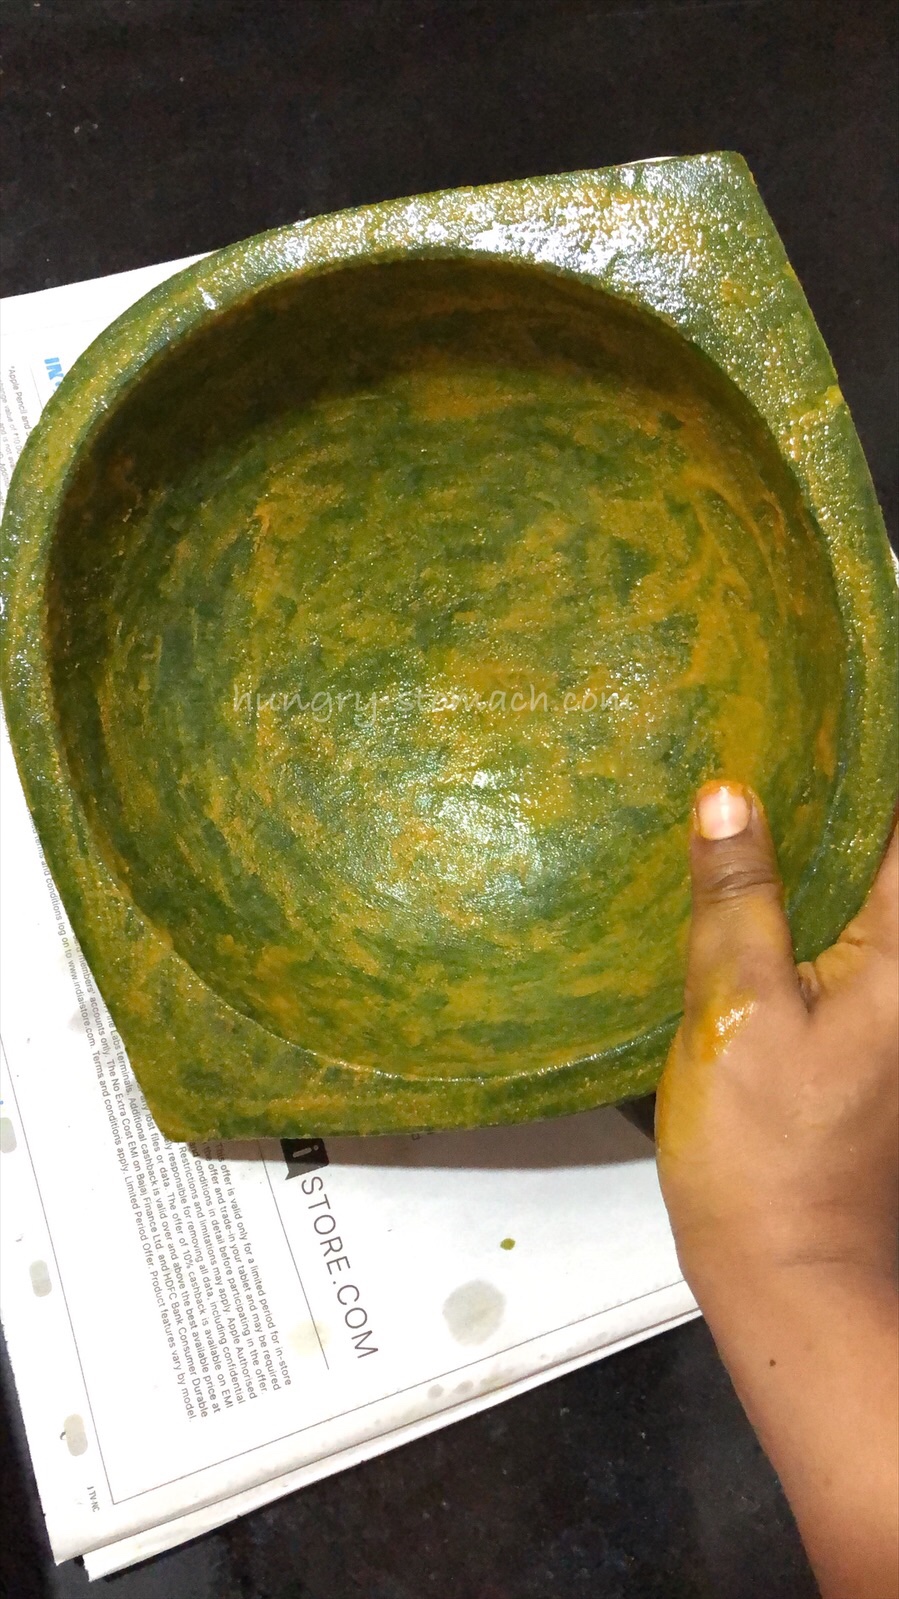
    Clean the surface of the Kalchatti thoroughly using a cloth or dry tissue. Make a paste with turmeric powder and castor oil. Apply this paste evenly on both sides using your fingers or brush. Let it dry it for a day.

    Repeat the process for five days without washing in between.

    After five days, kalchatti turns pitch black in colour.

    Day 5:

    Wipe excess turmeric paste with a cloth. Rinse well with hot water. Let it dry for a day.

    Day 6 – Day 9:

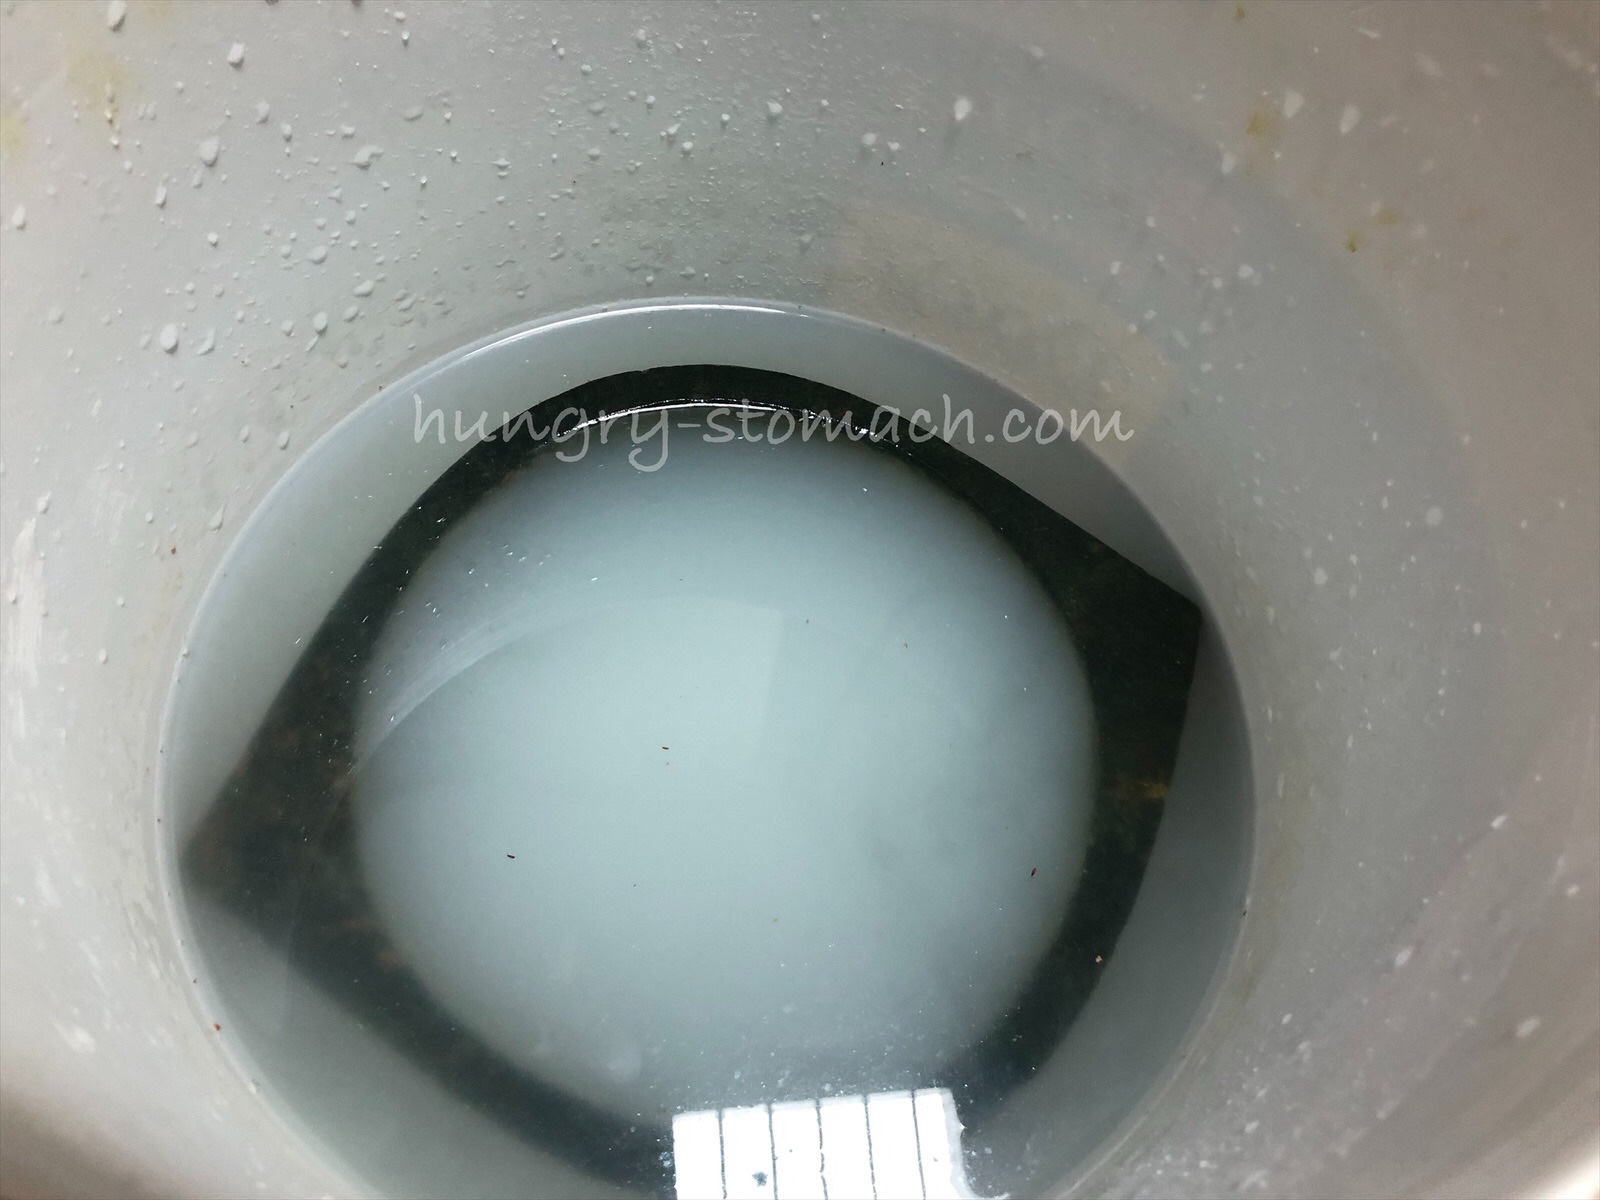
    Soak it in starch water. Make sure that the kalchatti is fully immersed (If starch water isn’t enough, feel free to use rice rinsed water).

    Change the starch water daily and repeat it for next three days.

    Day 10:

    Wash with mild soap and scrub well. Rinse thoroughly with plain water.

    Fill the kalchatti with water and boil it on low flame. When it starts to bubble, switch off the flame and cool completely.

    Day 11:

    Now the kalchatti is ready to be used for making mouth watering dishes.


    Cleaning kalchatti after cooking:

    Wipe the food residue with a tissue paper/ soft cloth. Fill the kalchatti with water and boil it until the residue starts to float. Once cooled, discard it and rinse it well with plain water.


    Special Note:

    1. Starch water: The excess water while boiling rice in a pot.
    2. Do not use any soap for washing. If it turns oily, use either rice flour or besan flour only.
    3. Use on a low flame and don’t let the water dry while cooking.
    4. Periodically oil it and leave overnight and wash it in the morning.

    Pepper Chicken| Chicken Kali Mirch |Murgh Kali Mirch |Kurumilagu Chicken Curry |

    Pepper Chicken Masala or Murgh Kali Mirch is a delicious recipe that is cooked with loads of freshly ground Black Peppercorns.

    With aromatic chicken pieces swimming in an incredible sauce, this Pepper Chicken Masala recipe is one of the best you will try!

    The combination of right spices going into this tomato based curry is so perfect that explode the curry with flavour. You can adjust the amount of black peppercorns to suit your spice preference.

    There are many many ways a pepper chicken masala can be made. This is one of the most simple, home style pepper chicken recipe for beginners.

    The BEST side is hot and fresh Ghee rice and Chapathi/Rotis. For the best charred results, use a well seasoned cast iron skillet if you have one.ezy-watermark_24-05-2019_08-13-29am.png


    Author: Nathiya Adiseshan

    Preparation Time: 10 mins

    Cooking Time: 20 mins

    Serves: 3

    INGREDIENTS

    For the spice masala

    • 3 tsp Black peppercorns
    • 1 tsp Cumin seeds
    • 1/2 tsp Fennel seeds
    • an inch Cinnamon
    • 3 Cloves
    • 2 Cardamom pods
    • Star Anise

    Other ingredients

    • 500 gms, Chicken legs
    • 3 tbsp Coconut oil
    • Bayleaf
    • 1/4 tsp Cumin seeds
    • 1/4 tsp Fennel seeds
    • a sprig of Curry leaves
    • 2 cup Onions, finely chopped
    • 1 cup Tomato, paste/ finely chopped
    • 2 Green chillies, slit
    • 1 tbsp Ginger Garlic paste
    • 1/4 tsp Turmeric powder
    • 1 tbsp Coriander powder
    • 1 tsp Redchilli powder
    • 2 tbsp Coriander leaves, finely chopped
    • Salt
    • Roasted Cashew nuts, garnishing

    How do you make pepper chicken masala?

    1. Powder the ingredients mentioned above into a fine powder. Keep aside.Heat an iron kadai with coconut oil. Stir in the bayleaf, cumin seeds, fennel seeds and curry leaves until fragrant, about 1 minute.Add the onions and green chillies and cook over moderately high heat, stirring occasionally, until golden, about 8 minutes. Add the ginger garlic paste and fry until rawsmell fades away.Stir in tomato puree/ or finely chopped tomatoes with juices (crush them with your hands as you add them) and just cook through. Reduce heat and add in the spice powders and season with salt.Add chicken to the masala. Fry the chicken until white (about a minute) while scraping up any browned bits stuck on the bottom of the pan. Stir in 1/4 cup of water, then cover and cook over low heat for 20 minutes.Once the chicken is halfway cooked, add in the ground masala and simmer until sauce thickens and becomes a deep brown colour.Garnish with Cashew nuts, coriander leaves and serve with fresh, hot Ghee rice.eZy Watermark_24-05-2019_08-13-29AM

    Special Notes:

    • Chicken legs can be substituted, but chicken thighs are highly recommended here.
    • Pour in water to thin out the sauce, if needed.
    • Watch carefully when you add red chilli powder, check out for spiciness.

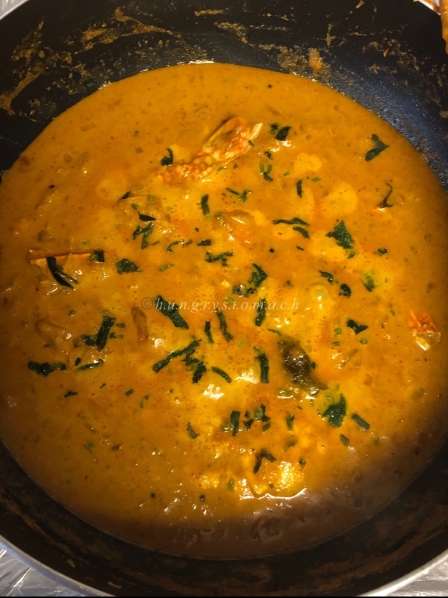
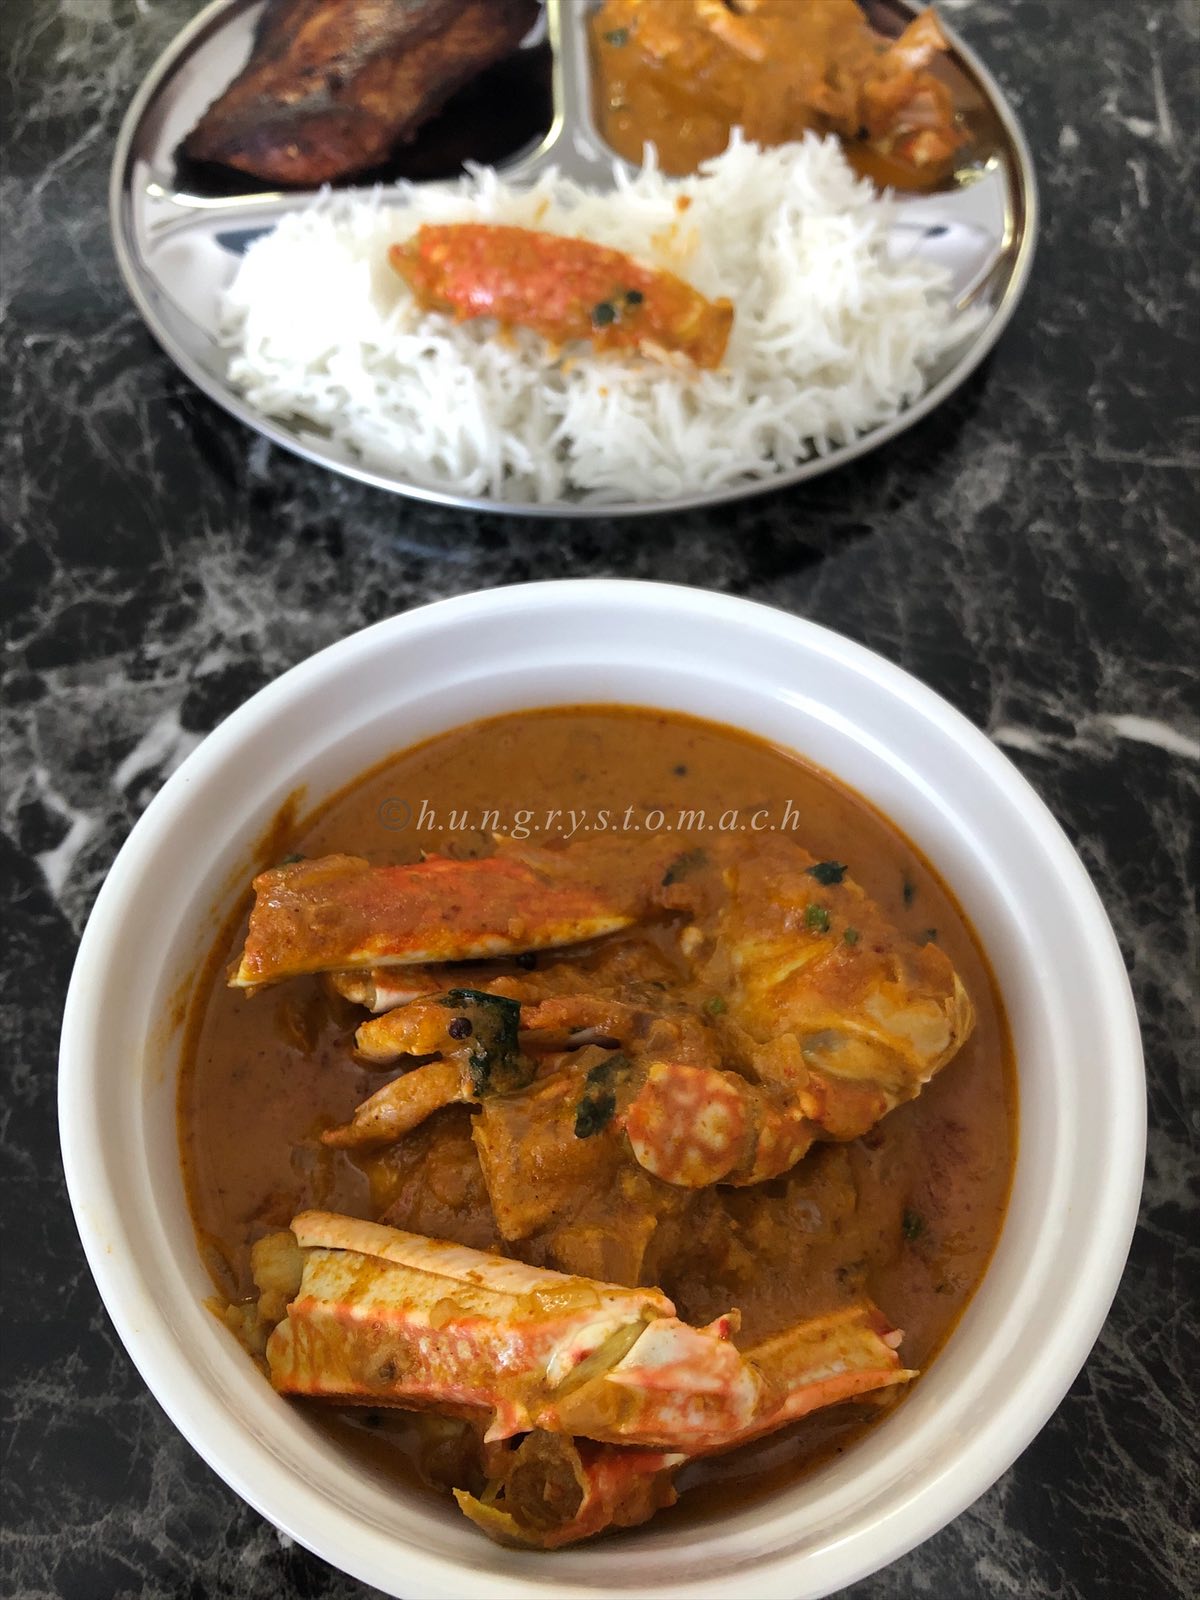
    Fisherman’s Crab Curry/ Crab cooked in Coconut Milk/ Kerala Njandu Curry

    This is a beautiful, delicious coastal style Crab curry, called as “Fisherman’s Crab Curry”.

    True to its seaside orientation, Kerala cuisine is almost primarily made up of seafood, particularly fish and prawn dishes. The people here in Kerala and borderline of Kanyakumari eat seafood multiple times a day pairing it with the coconut which is available in abundance.

    This traditional crab curry recipe is made with coconut paste and gets a bit of kick too from the chillies added.

    Why this recipe works:

    The ingredients used here show a mix of both coconut paste and coconut milk. Its sweet punch is set off deliciously by the spicy crab meat.

    To lighten the dish, reduce the thickness of gravy by adding coconut milk. Try serving this curry with plain boiled rice and plenty of gravy.

    This crab curry is so good I’ve been making it ever since. Try and let me know how it turned out for you!!


    Author: Nathiya Adiseshan

    Preparation Time: 15 mins

    Cooking Time: 20 mins

    Serves: 3

    INGREDIENTS

    For the coconut-spice paste

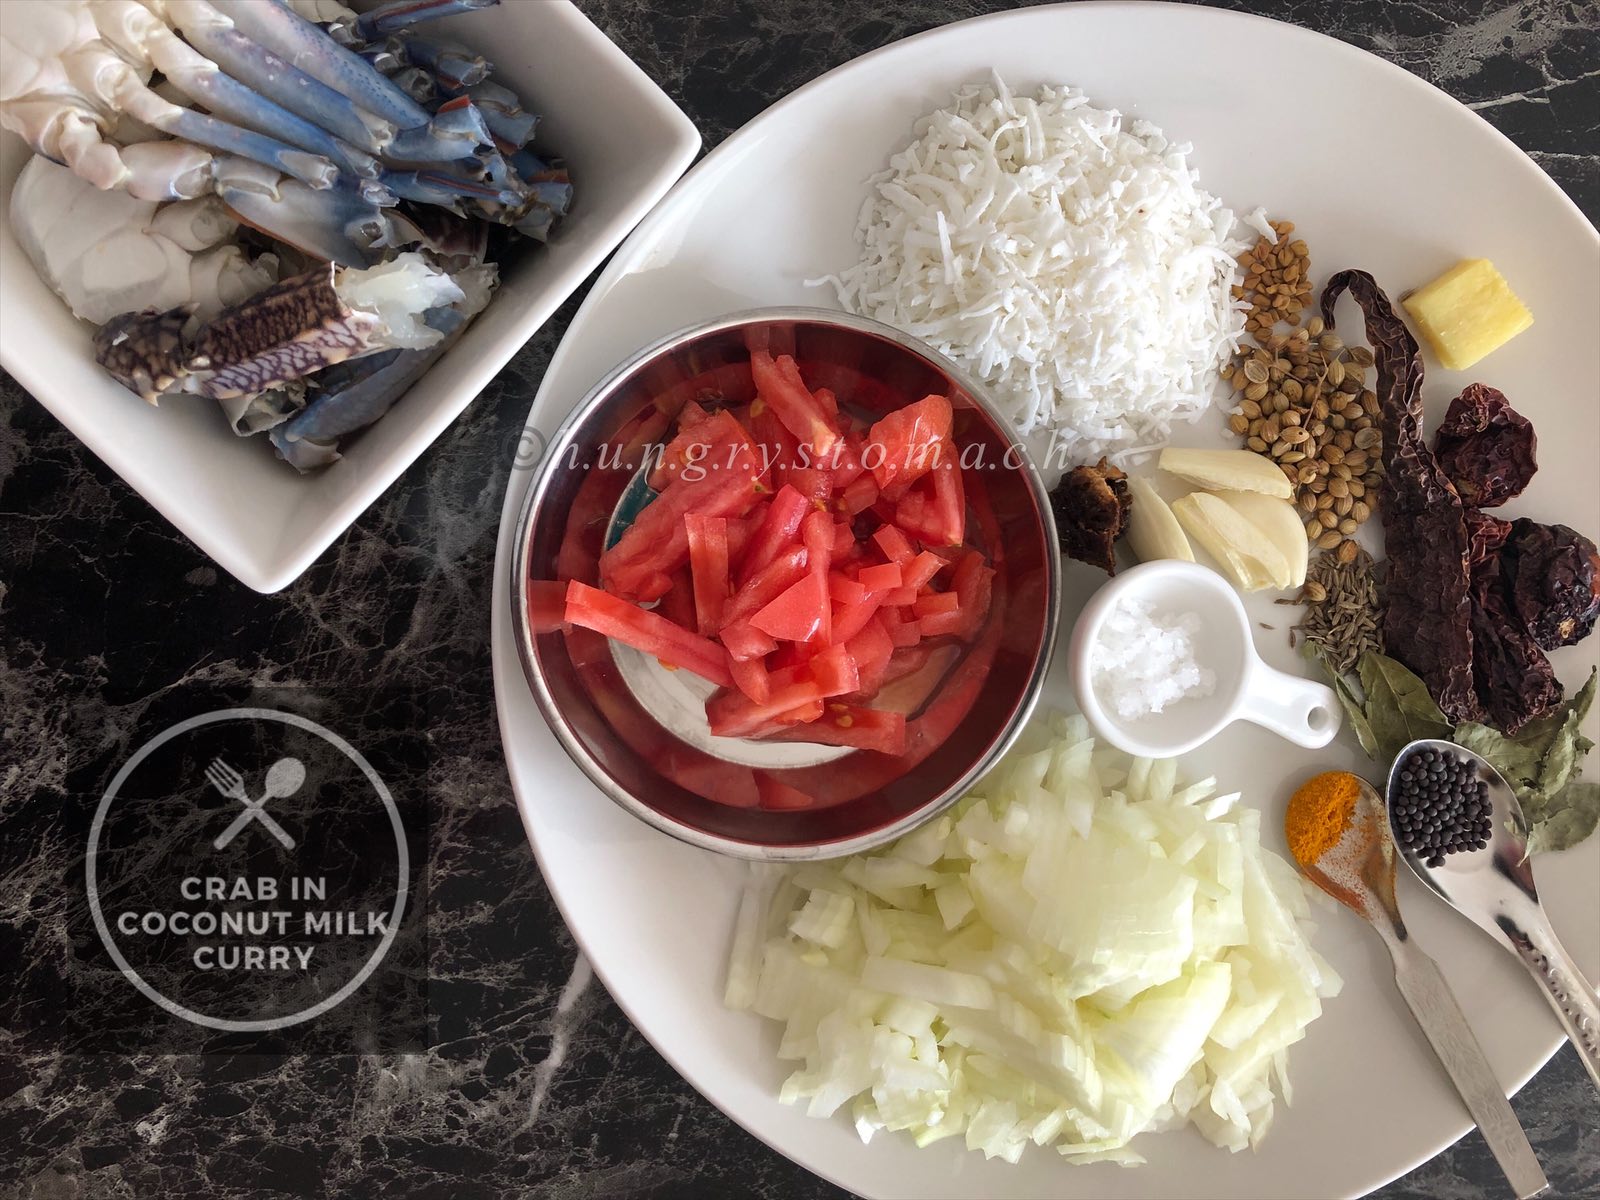
    • 250 gms Crab, cleaned and body cut into halves or quarters
    • 1 cup Coconut, grated
    • 5 Kashmiri Chillies
    • 5 garlic cloves
    • an inch Ginger
    • 8-10 Black peppercorns
    • 1 tsp Coriander seeds
    • 1/2 tsp Cumin seeds
    • 1/4 tsp Fenugreek seeds
    • Tamarind, marble sized

    Other ingredients

    • 1 cup Onions, finely chopped
    • 1 Tomato, diced
    • 2 Green chillies, slit
    • 1/4 tsp Turmeric powder
    • 1/2 tbsp Fennel powder (optional)
    • 3 tbsp Coconut oil
    • 2 tbsp Coriander leaves, finely chopped
    • Sprig of Curry leaveseZy Watermark_04-04-2019_10-24-55AM.JPG

    PREPARATION

    1. Grind the ingredients (mentioned in coconut-paste listed above) into a smooth paste with little water. Keep it aside.
    2. Heat coconut oil in a deep bottomed pan, add mustard seeds and allow it to splutter. Then add fenugreek seeds and curry leaves.
    3. Add in onions and green chillies and fry it till it turns soft and translucent.
    4. Add in the tomatoes and turmeric powder and fry for a minute.
    5. Now add the wet masala paste along with a cup of water and bring it to a boil on medium high heat.
    6. Add the crab. Make sure to turn over the crabs half way so that they are well coated with the gravy.
    7. Add extra coconut milk if you prefer it more creamy, or up to ½ cup of water to dilute the gravy. Add salt to taste.
    8. Simmer for 10-15 minutes, until the crabs turn pink and are cooked through.
    9. Garnish with coriander leaves.IMG_7593_eZy Watermark_04-04-2019_10-16-28AM
    10. Spoon curry over rice and serve hot.IMG_7596_eZy Watermark_04-04-2019_10-16-31AM

    Special Note:

    • Cut the crab bodies into halves or quarters with a cleaver. Crush gently the crab legs for the flavours to soak into the curry.
    • I have used blue swimmer crabs for this curry, but any sort of crab (Dungeness and snow crab) will work.
    • If you’re using dessicated coconut, add warm water while grinding to prevent curdling of fats.

    If you like this recipe, Do not forget to rate us at the end of the post.

    Did you make this recipe? If yes, do let me know how it turned out in the comments below. Do share a picture on instagram with hashtag #CookedFromHungrystomach and tag us @h.u.n.g.r.y.s.t.o.m.a.c.h

    Malai Kofta / Paneer Kofta Recipe/ Restaurant Style Malai Kofta Curry

    Malai Kofta undoubtedly tops the list among the dishes ordered at Indian Restaurants. It’s a North Indian recipe, which is prepared with Cottage Cheese (Paneer) in Cashews and Onion Sauce flavoured with subtle spices.

    If you’re bored with the regular paneer dishes like Paneer Butter Masala, Kadai and Paneer Tikka Masala etc, then this paneer recipe is an interesting variation to go for! 

    Melt in the mouth Fried Cottage Cheese Balls stuffed with dryfruits dipped in a rich creamier gravy 😍

    Paneer koftas can be served as a main curry with Indian breads like Butter naan, Paratha, Roti or Pulao for lunch or dinner.

    An easy recipe for beginners, try it for kitty parties and potlucks, and amaze your loved ones!!!


    Author: Nathiya Adiseshan

    Preparation Time: 15 mins

    Cooking Time: 20 mins

    Serves: 4

    Ingredients

    For Kofta
    • 1 cup paneer, crumbled (homemade)
    • 1 medium sized potato, boiled & crumbled
    • 2 tbsp corn flour (potato starch)
    • Coriander leaves, chopped
    • Salt as needed
    • ½ tbsp Garam Masala
    • 1 tbsp Cashews chopped
    • 1 tbsp Pistachios, chopped
    • Oil for deep frying
    For Gravy
    • 2 medium sized Onions 
    • 2 medium sized Tomatoes
    • 10 cashew nuts
    • an inch Cinnamon
    • 2 Cloves or Laung
    • 2 Cardamoms or Elaichi
    • Bayleaf
    • 1¼ tbsp Garam Masala
    • ½ tsp Turmeric Powder
    • ½ tbsp Coriander Powder 
    • 1 tbsp Kashmiri Chilli Powder
    • ½ tsp sugar
    • ¾ tsp Kasuri Methi or Fenugreek leaves
    • 2 -3 tbsp Fresh cream 
    • 1/2 cup Milk
    • Butter
    • 1 tbsp Oil
    • Salt as needed

    How to make Kofta

    1. Boil potatoes until done but not mushy.
    2. In a mixing bowl, crumble them along with paneer, salt, garam masala and chopped coriander leaves.Add raisins and cashews to this mixture. Mix everything well. Roll them to balls. Coat it in corn flour.If you prefer, you can also flatten each ball. Stuff the cashews and raisins in the center and seal (I prefer this way). Prepare remaining stuffed kofta balls in similar way.Deep fry in hot oil on a medium flame until crisp and golden.Strain and set aside.IMG_7049_eZy Watermark_27-03-2019_02-52-29PM

    Making Gravy for Kofta

    1. Blanch Onions, Tomatoes and Cashewnuts. Cool down completely and make into a puree.Heat a kadhai on medium flame with butter and 1 tbsp of oil. Add bay leaf, cinnamon, cloves and cardamoms. Sauté for a minute.Add the puree (Simmer the flame to low, as the puree splutters in oil). Sauté for about 3-4 minutes.Now add in all the spice powders. Saute for 3 to 4 mins until the raw smell fades away.IMG_7071_eZy Watermark_27-03-2019_02-53-39PM
    2. Season with salt and a tbsp of Sugar.
    3. Pour fat free milk/water to make a gravy. The raw smell of the ingredients should have gone. Cook covered until the gravy thickens and traces of oil are seen on top.
    4. Regulate the flame to low and garnish with kasuri methi. Add the Fried Koftas to the gravy and let it simmer for a minute. Serve this with Naan, Roti or Pulao.Variations for Serving Malai Kofta

    Transfer gravy to a serving dish. Place the koftas in the gravy and drizzle cream on top. Garnish with kasuri methi.img_7080_ezy-watermark_27-03-2019_02-54-23pm.jpg


    Special Note:

    • Fry 3 to 4 koftas at a time or else they may break while frying.
    • Adding sugar gives a sweeter taste to the curry, you can omit it too.
    • If you couldn’t shape the koftas or if it break while frying, just add a tsp of corn flour. Corn flour acts as a binding agent.
    • Cashews make the curry creamier, so adding fresh cream is not required. (I haven’t added it).
    • Instead of blanching, Fry Onions, Tomatoes in a tbsp of Oil until golden. Cool down and puree it.

    Mutton Stew/ Mutton Vellai Kuruma/ Mutton cooked in a coconut based gravy

    Most of the Keralites include appam and stew predominantly in their breakfast menu. This South Indian recipe, Mutton Stew is full of aromatic flavours as is made with a melange of subtle spices and flavoured with coconut.

    When you want to indulge in a light yet healthy mutton dish, then you must try out this lip-smacking stew recipe. When my mom buys mutton/lamb, she reserves some for this dish, as it is always on the top of her list 🙂

    One good thing about this scrumptious dish is that it can be prepared in a very less time, say for occasions like potluck, kitty party and buffet.

    Don’t have mutton at the moment? Don’t despair. This hearty dish can be loaded with plain vegetables too.

    You can also pack this delicious stew recipe for tiffin. So, why wait? Try it now with your loved ones!  IMG_6850_eZy Watermark_22-03-2019_11-11-14AM


    Author: Nathiya Adiseshan

    Preparation Time: 15 mins

    Cooking Time: 30 mins

    Serves: 3

    Ingredients

    Paste 1:

    • 3 Green chillies
    • Ginger
    • 6 cloves, Garlic
    • Kosher salt

    Paste 2:

    • 1/2 cup Coconut, grated
    • 6 Cashew nuts
    • 1 tsp Poppy seeds
    • 1/4 tsp Cumin seeds
    • 1/4 tsp Fennel seeds

    For the gravy:

    • 500 grams mutton, excess fat trimmed, cut into 2-inch chunks
    • 2 Green chillies
    • 1/2 tbspGinger Garlic Paste
    • 2 Cardamom
    • 1 inch Cinnamom
    • 2 Cloves
    • 1 Bay Leaf
    • Pandan leaf/ Rambha ilai
    • Star Anise
    • Kalpasi
    • 1/2 tsp White Pepper powder
    • a sprig of Curry leaves
    • Coriander leaves
    • 2 tbsp Ghee
    • 1 tbsp Vegetable oil

    Steps to Make It

    1. Sprinkle mutton with kosher salt, ginger garlic green chilli paste (mentioned under Paste 1) and marinate for 30 minutes.

    2. In a pressure pan, add the marinated mutton along with 1 cup of water. Cook for few whistles and keep aside.
    3. In another pan, heat ghee and oil. Splutter garam masalas listed above with cumin seeds, fennel seeds and curry leaves.
    4.  Once they fry a bit, add in the chopped onions and saute till they are lightly browned.
    5. Add in green chillies and ginger garlic paste and saute until the raw smell goes out.
    6. Throw in the tomatoes and toss a little. (No need for it to cook mushy)
    7. Then add the cooked mutton with stock, reduce heat to medium-low.
    8. Add in the coconut paste and allow to simmer for 10-12 minutes.
    9. Season with salt. Add in little water if your stew looks thick. The stew is finished when the meat is very tender (the flavor should be mild and very tasty).
    10. Drizzle 1/2 tbsp of white pepper powder on top and garnish with coriander leaves.
    11. Serve it hot with appam/ rice.ezy-watermark_22-03-2019_11-11-43am.jpg 


      Special Note:

    • If you have the best tender mutton you may cook for 4-5 whistles. But if you are doubtful,  then first cook the mutton for fewer whistles and if needed, give them few extra whistles depending on the quality.
    • The original recipe calls for white pepper powder, but I have added black one as I don’t have it in hand. Hence the darker shade of gravy.
    • For variation, coconut paste is skipped and coconut milk will be used. Can be done in both ways.
    • Same recipe can be adapted for mixed veggies which too tastes good.

  • If you like this recipe, Do not forget to rate us at the end of the post.
  • Did you make this recipe? If yes, do let me know how it turned out in the comments below. Do share a picture on instagram with hashtag #CookedFromHungrystomach and tag us @h.u.n.g.r.y.s.t.o.m.a.c.h

  • POONDU KUZHAMBU/ GARLIC CURRY/ GARLIC SIMMERED IN A TAMARIND BASED GRAVY

    Have you ever tried cooking garlic as the main ingredient ?

    If you love them, then try making this easy POONDU KUZHAMBU/ Garlic curry, you won’t get the usual strong pungency from the garlic as it has a tamarind base.

    The garlic curry will be less pungent and tangy even the kids can give a try 🙂

    It’s a must where you served an elaborate menu with rice and curries the previous day and you long for light dishes for your stomach. You can’t deny its medicinal properties or health benefits. So eat away!img_6780-2.jpg


    Author: Nathiya Adiseshan

    Preparation Time: 15 mins

    Cooking Time: 30 mins

    Serves: 3

    Ingredients

    • 10 cloves Garlic, roughly chopped/crushed
    • 12 Shallots/ Sambar onions, chopped
    • 1/4 cup Tomato, chopped
    • 1/4 tsp Turmeric powder
    • 1/2 tsp Red Chili powder
    • 2 tbsp Kizhambu Milaga powder (either homemade or store bought)
    • lemon sized Tamarind (soak in water and get the pulp)
    • 1/2 teaspoon Salt
    • a pinch, Jaggery

    To temper:

    • 1/2 tsp Mustard seeds
    • 1/4 tsp Fenugreek seeds
    • 1/2 tsp Split black gram
    • 1/2 tsp Cumin seeds
    • 1/4 tsp Asafoetida
    • a sprig, Curry leaves
    • Sesame oil

    Making the “Poondu Kuzhambu”

    1. Place a cooking pan over medium heat, pour in the oil. Gradually add mustard seeds, fenugreek seeds, curry leaves, blackgram  and asafoetida, temper all the ingredients over medium heat for 1 minute.Saute chopped shallots and garlic.You want to toughen up the garlic by frying it so there’s a little crunchy texture before you add tomatoes, 3-4 minutes over low fire. Now, add the diced tomato and continue to cook over low-medium heat.Once this is done, add the spice powders turmeric powder, red chilli powder and homemade curry powder (kuzhambu milaga powder), combine and let it cook for exactly 3 minutes over low heat. The result should be a dark spice paste.Pour in tamarind paste, 1/2 cup of water, stir, season with salt and a piece of jaggery.
    2. if necessary, cover and slow simmer the curry until gravy is reduced in half and oil floats on top.
    3. This curry doesn’t have a lot of gravy so howlong you want to slow simmer in the final stage of making the poondu kuzhambu will result in howmuch gravy is left.IMG_6782 2

    Special Note:

    • You can reduce the amount of red chilli powder if you prefer less spicy.
    • Kuzhambu milaga powder is a must for this recipe. If you don’t have replace it with sambar powder.
    • Crush half garlic and add remaining half as whole or chopped. 

    If you like this recipe, Do not forget to rate us at the end of the post.

    Did you make this recipe? If yes, do let me know how it turned out in the comments below. Do share a picture on instagram with hashtag #CookedFromHungrystomach and tag us @hungry.stomach.japan
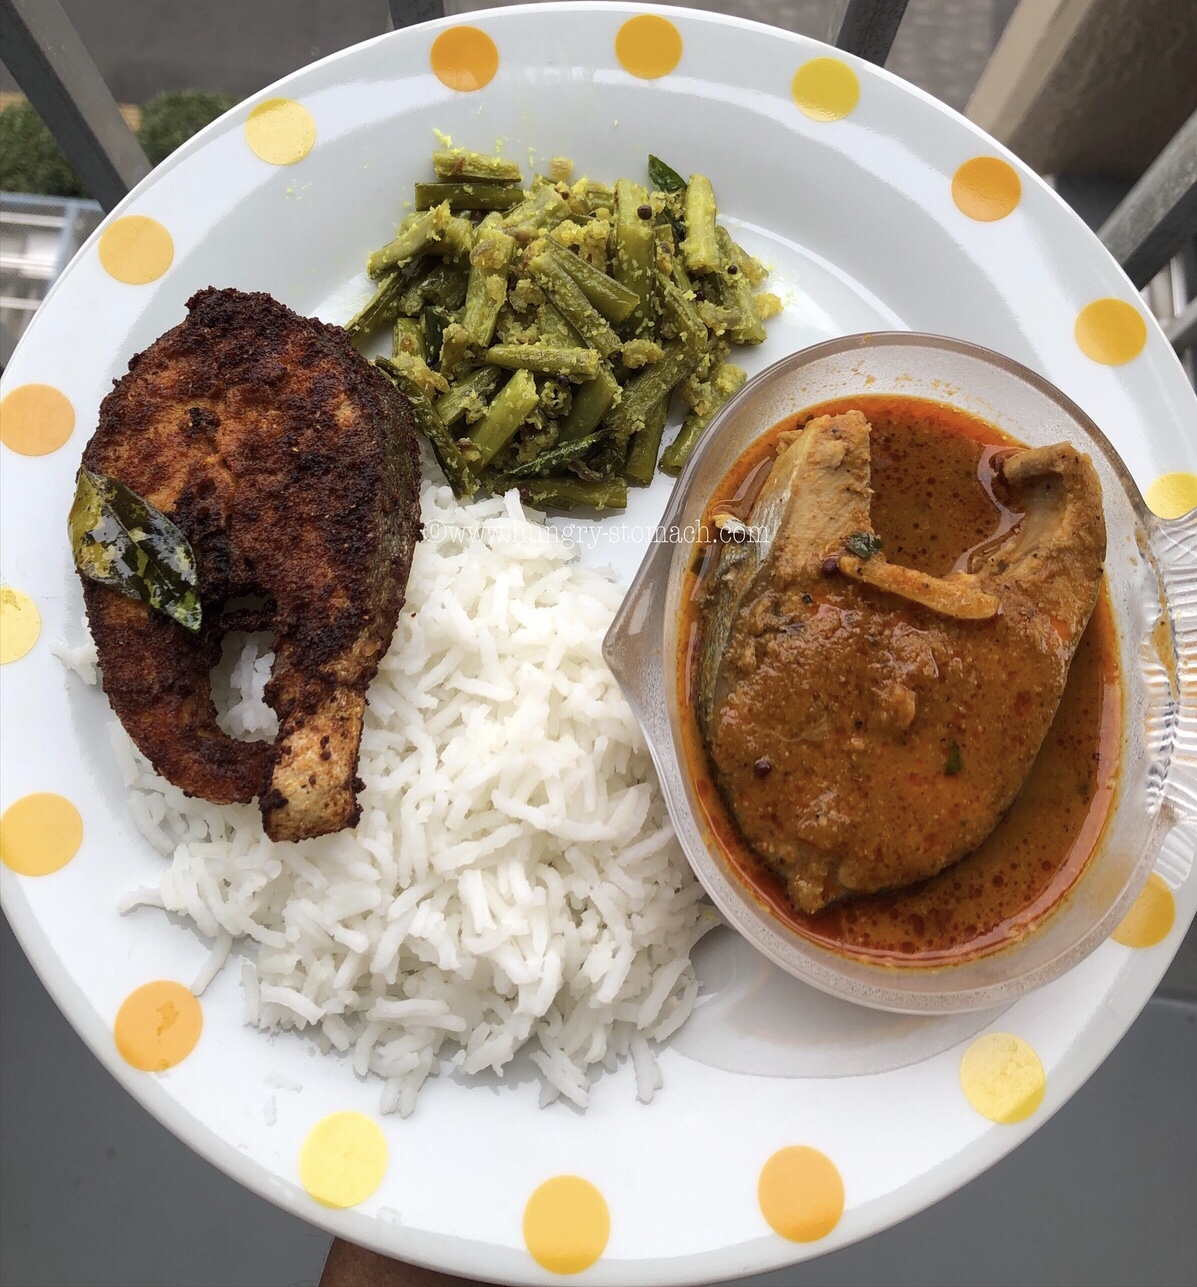
    MEEN VEVICHATHU/ Kottayam Style Fish Curry/ Meen Mulakittathu

    Kottayam fish curry or Meen vevichathu can be prepared in many ways. Here you can try a traditional fish curry recipe which even the amateurs can cook at home easily.

    This dish is also called as toddy shop fish curry.

    It can be prepared with or without coconut. Usually, Kerala fish curry (meen curry) is traditionally prepared in earthenware pot for better taste.

    A great combination with boiled tapioca rather than rice!!!!

    So let’s get back to the recipe…


    Author: Nathiya Adiseshan

    Preparation Time: 10 mins

    Cooking Time: 20 mins

    Serves: 3

    Ingredients

    • 1/2 kg Fish (Seer fish, Tuna, Sardines, Mackerel)
    • 1 tbsp Ginger, crushed
    • 1 tbsp Garlic, crushed
    • 8 Shallots /chinna vengayam, sliced
    • 2 tbsp Redchilli powder
    • 1 tbsp Coriander powder
    • 1/2 tsp Turmeric powder
    • Mustard seeds
    • Fenugreek seeds
    • 3 tbsp coconut oil
    • 3 Gambooge (Cocum/Kudampuli)
    • salt as required
    • Curry leaves

    Instructions

    1. Wash and soak the Gambooge (Cocum/Kudampuli) in a glass of lukewarm water for 5 minutes.
    2. Make a paste of coriander, redchilli and turmeric powder with little oil/water and keep aside.
    3. In an earthen clay pot or a pan heat coconut oil.
    4. When oil gets hot, add mustard and fenugreek seeds, saute it slightly and wait till it turns slightly dark.
    5. Add the chopped shallots and curry leaves, saute them till it gets slightly fried.
    6. Reduce the flame and add the masala paste.
    7. Fry it well until the raw smell goes out.Add enough salt.
    8. Add water in which cocum was soaked. Taste the mixture and add soaked cocum pieces as required. Keep it in low flame.
    9. Wait until it boils in low flame. Once it starts boiling add the fish pieces. Do not stir. Just swirl the pan so that the fish coats with the masala.
    10. Cover with a lid and bring it to boil in medium flame. Usually it takes around 10-15 minutes. Swirl the pan inbetween.
    11. Cook it till the gravy is consistent.
    12. Switch off and garnish with curry leaves. Let the curry remains in the cooking pan for a few hours, allowing all the spices to steep into the fish.

    Special Note:

    • Don’t stir once fish is cooked.
    • Remember to spoon the kudampuli pieces out after few hours.
    • If it has to be kept for another day, don’t add coriander powder. It tends to spoil the dish.

    If you like this recipe, Do not forget to rate us at the end of the post.

    Did you make this recipe? If yes, do let me know how it turned out in the comments below. Do share a picture on instagram with hashtag #CookedFromHungrystomach and tag us @h.u.n.g.r.y.s.t.o.m.a.c.h

    Kanava Kuzhambu/ Squid in a Roasted Coconut Sauce/ Nadan Koonthal Curry

    Tender pieces of squid with a spicy coconut sauce makes it an enduringly popular dish. 

    This curry, as prepared with a paste of coconut gives a familiar aroma as the coconut based curry is more of a comfort dish to all Malayalis and Nagercoilians ofcourse.

    Squid is quite easily available here in Japan and I cook it quite often at my place. 

    Coming to the recipe, it’s easy, too, as the squid curry is all prepared, so the whole thing takes no longer than 30 minutes from start to finish. You can substitute few ingredients like Coconut oil with any other vegetable oil and Shallot with Onion, but the former is more of a tastier one to me.

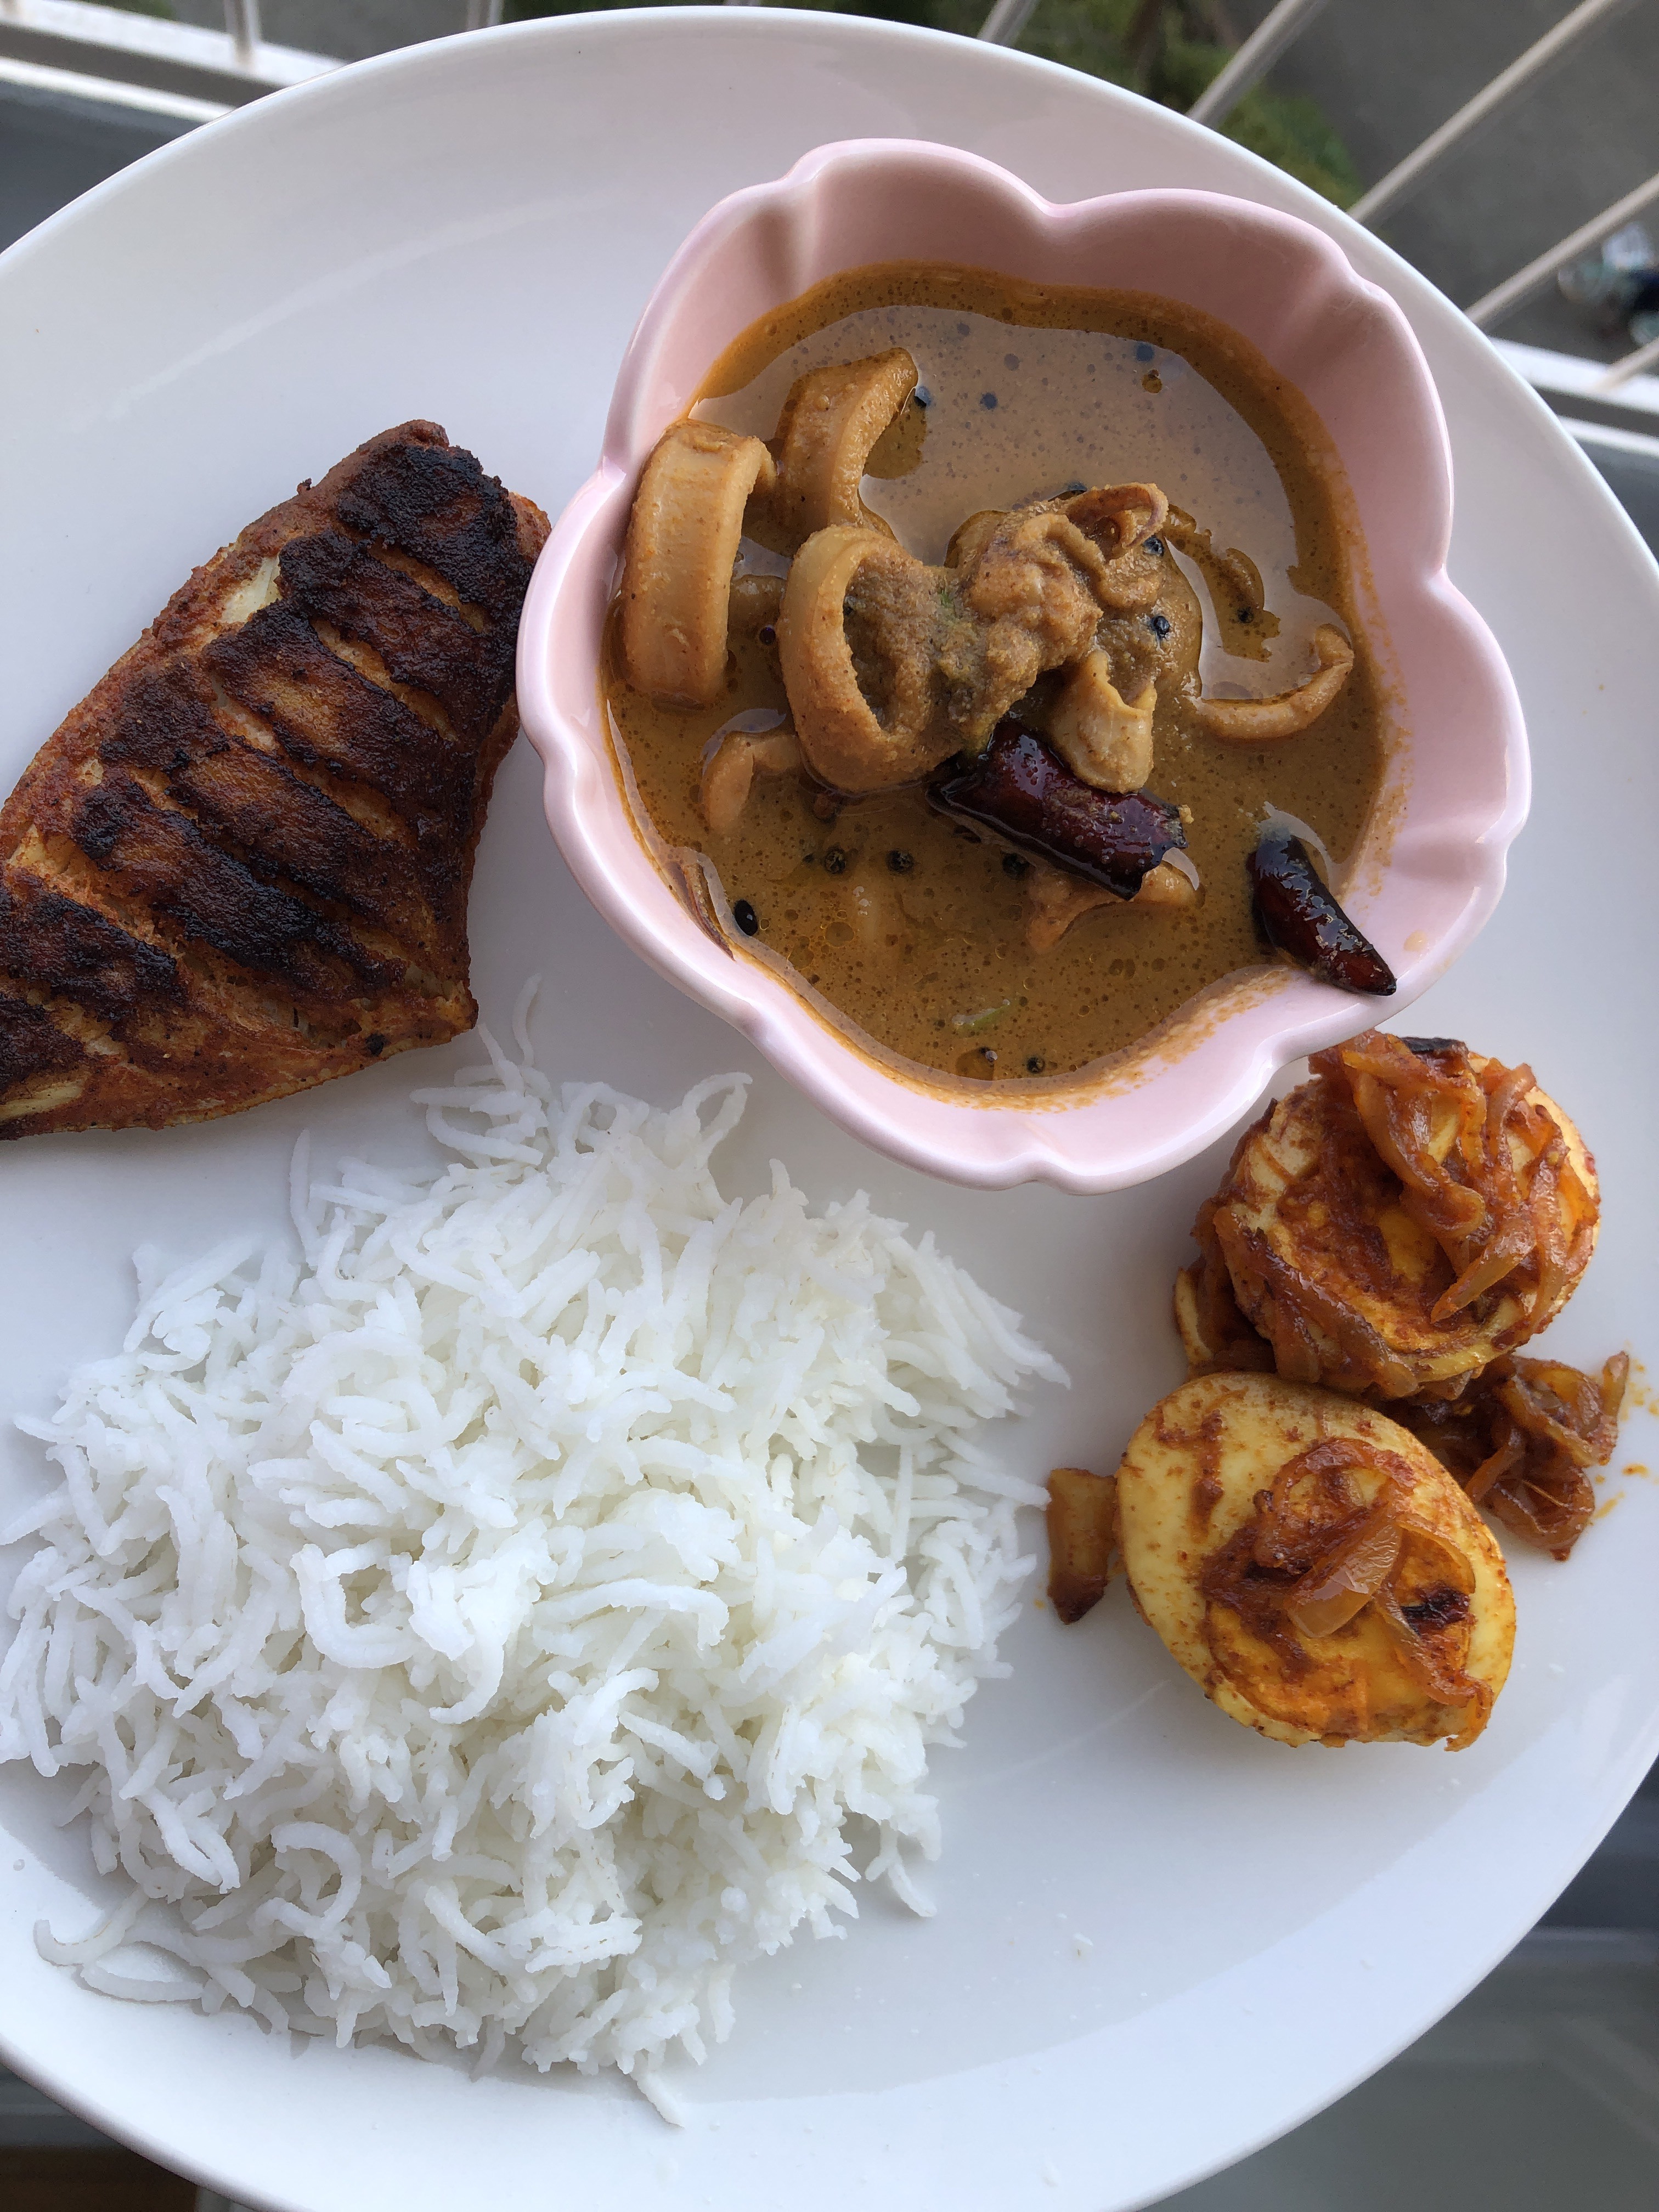
    Pairing with steamed rice, Squid Curry is something which works perfectly on a lethargic weekend afternoons.


    Author: Nathiya Adiseshan

    Preparation Time: 10 mins

    Cooking Time: 25 mins

    Serves: 3

    Ingredients

    For the Squid

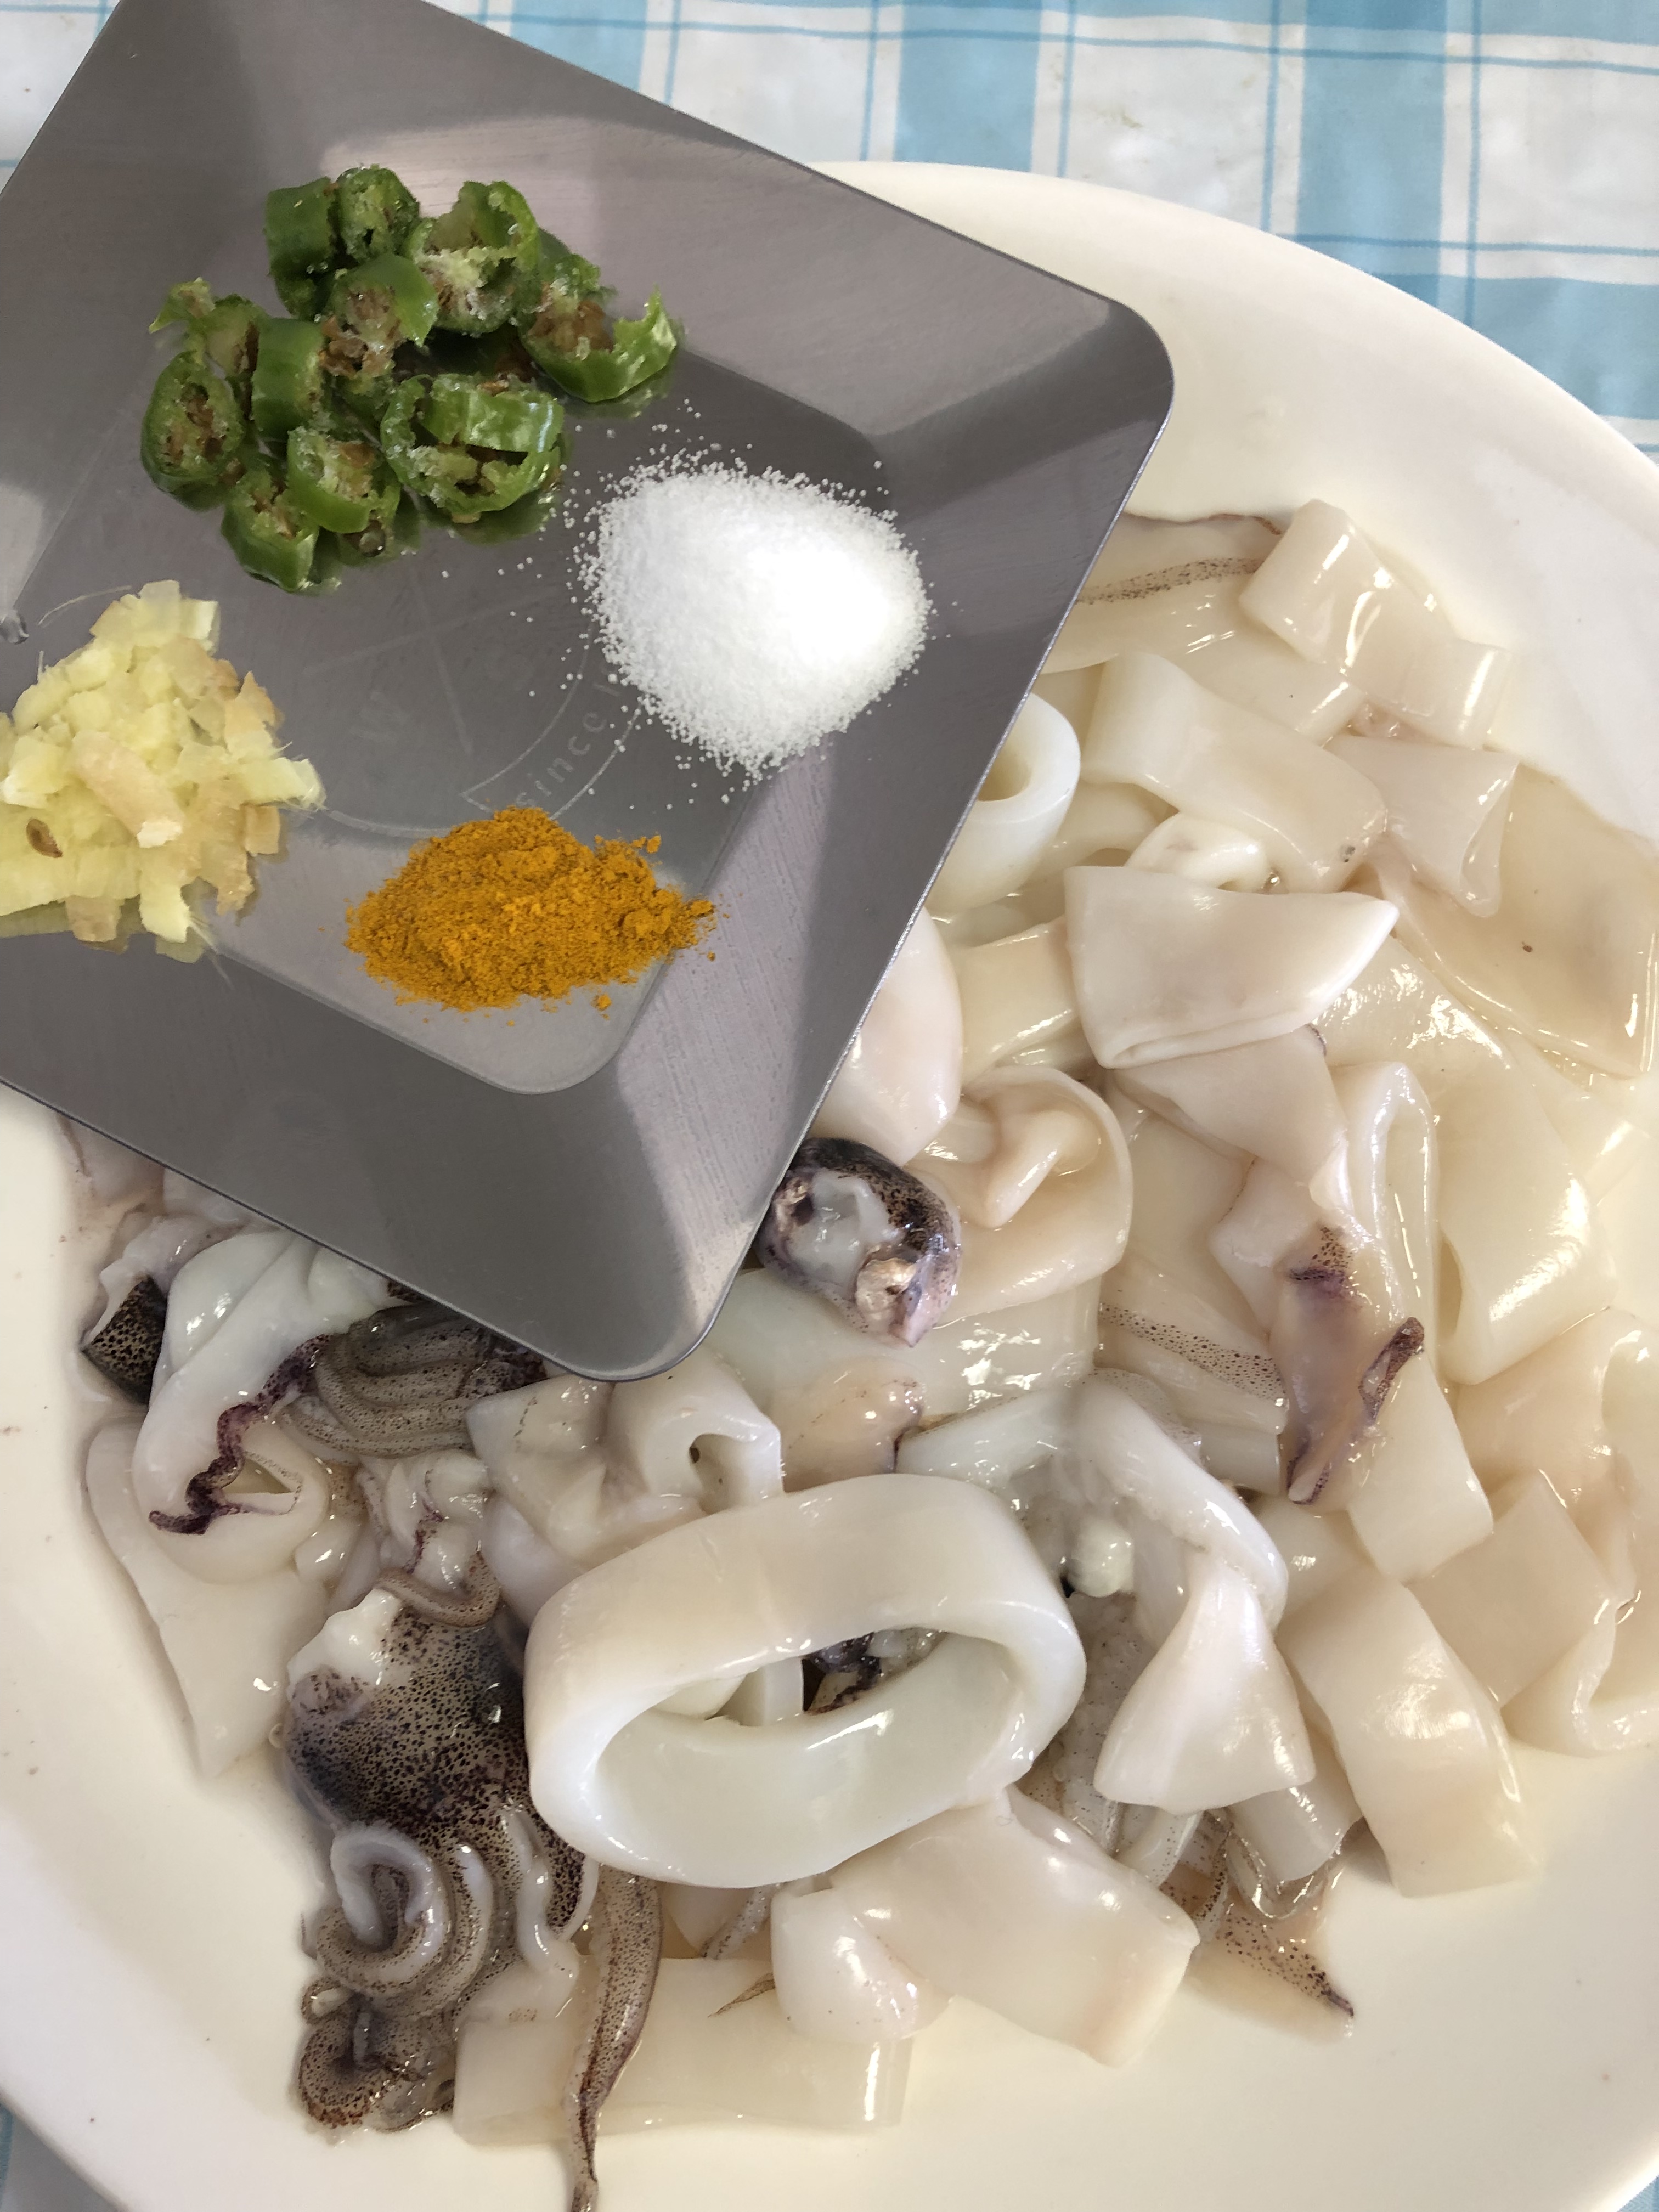
    • 250 gm, Squid
    • 2, Green Chillies, chopped
    • 1 tsp Turmeric Powder
    • 1 inch, Ginger, crushed
    • Salt

    For the Paste

    • 1 cup, Coconut, (grated)
    • 1 tsp Fenugreek seeds
    • 1 Cardamom
    • 1 inch Cinnamon
    • 2 Cloves5 Shallots/ chinna vengayam/ Pearl Onions
    • 1 tbsp Redchilli powder
    • 2 tbsp Coriander powder
    • 1/2 tbsp Pepper powder

    For Tempering

    • Coconut Oil
    • Mustard seeds
    • Fenugreek seeds
    • Redchillies
    • Curry leaves

    Instructions

    1. Pull out the little tentacles, cut the body section into ½ inch (1 cm) rings and wash them under cold running water.
    2. In a solid frying pan, add the grated coconut, shallots, fenugreek seeds, cardamom, cloves and cinnamon, shaking the pan now and then, until they darken slightly and become aromatic.
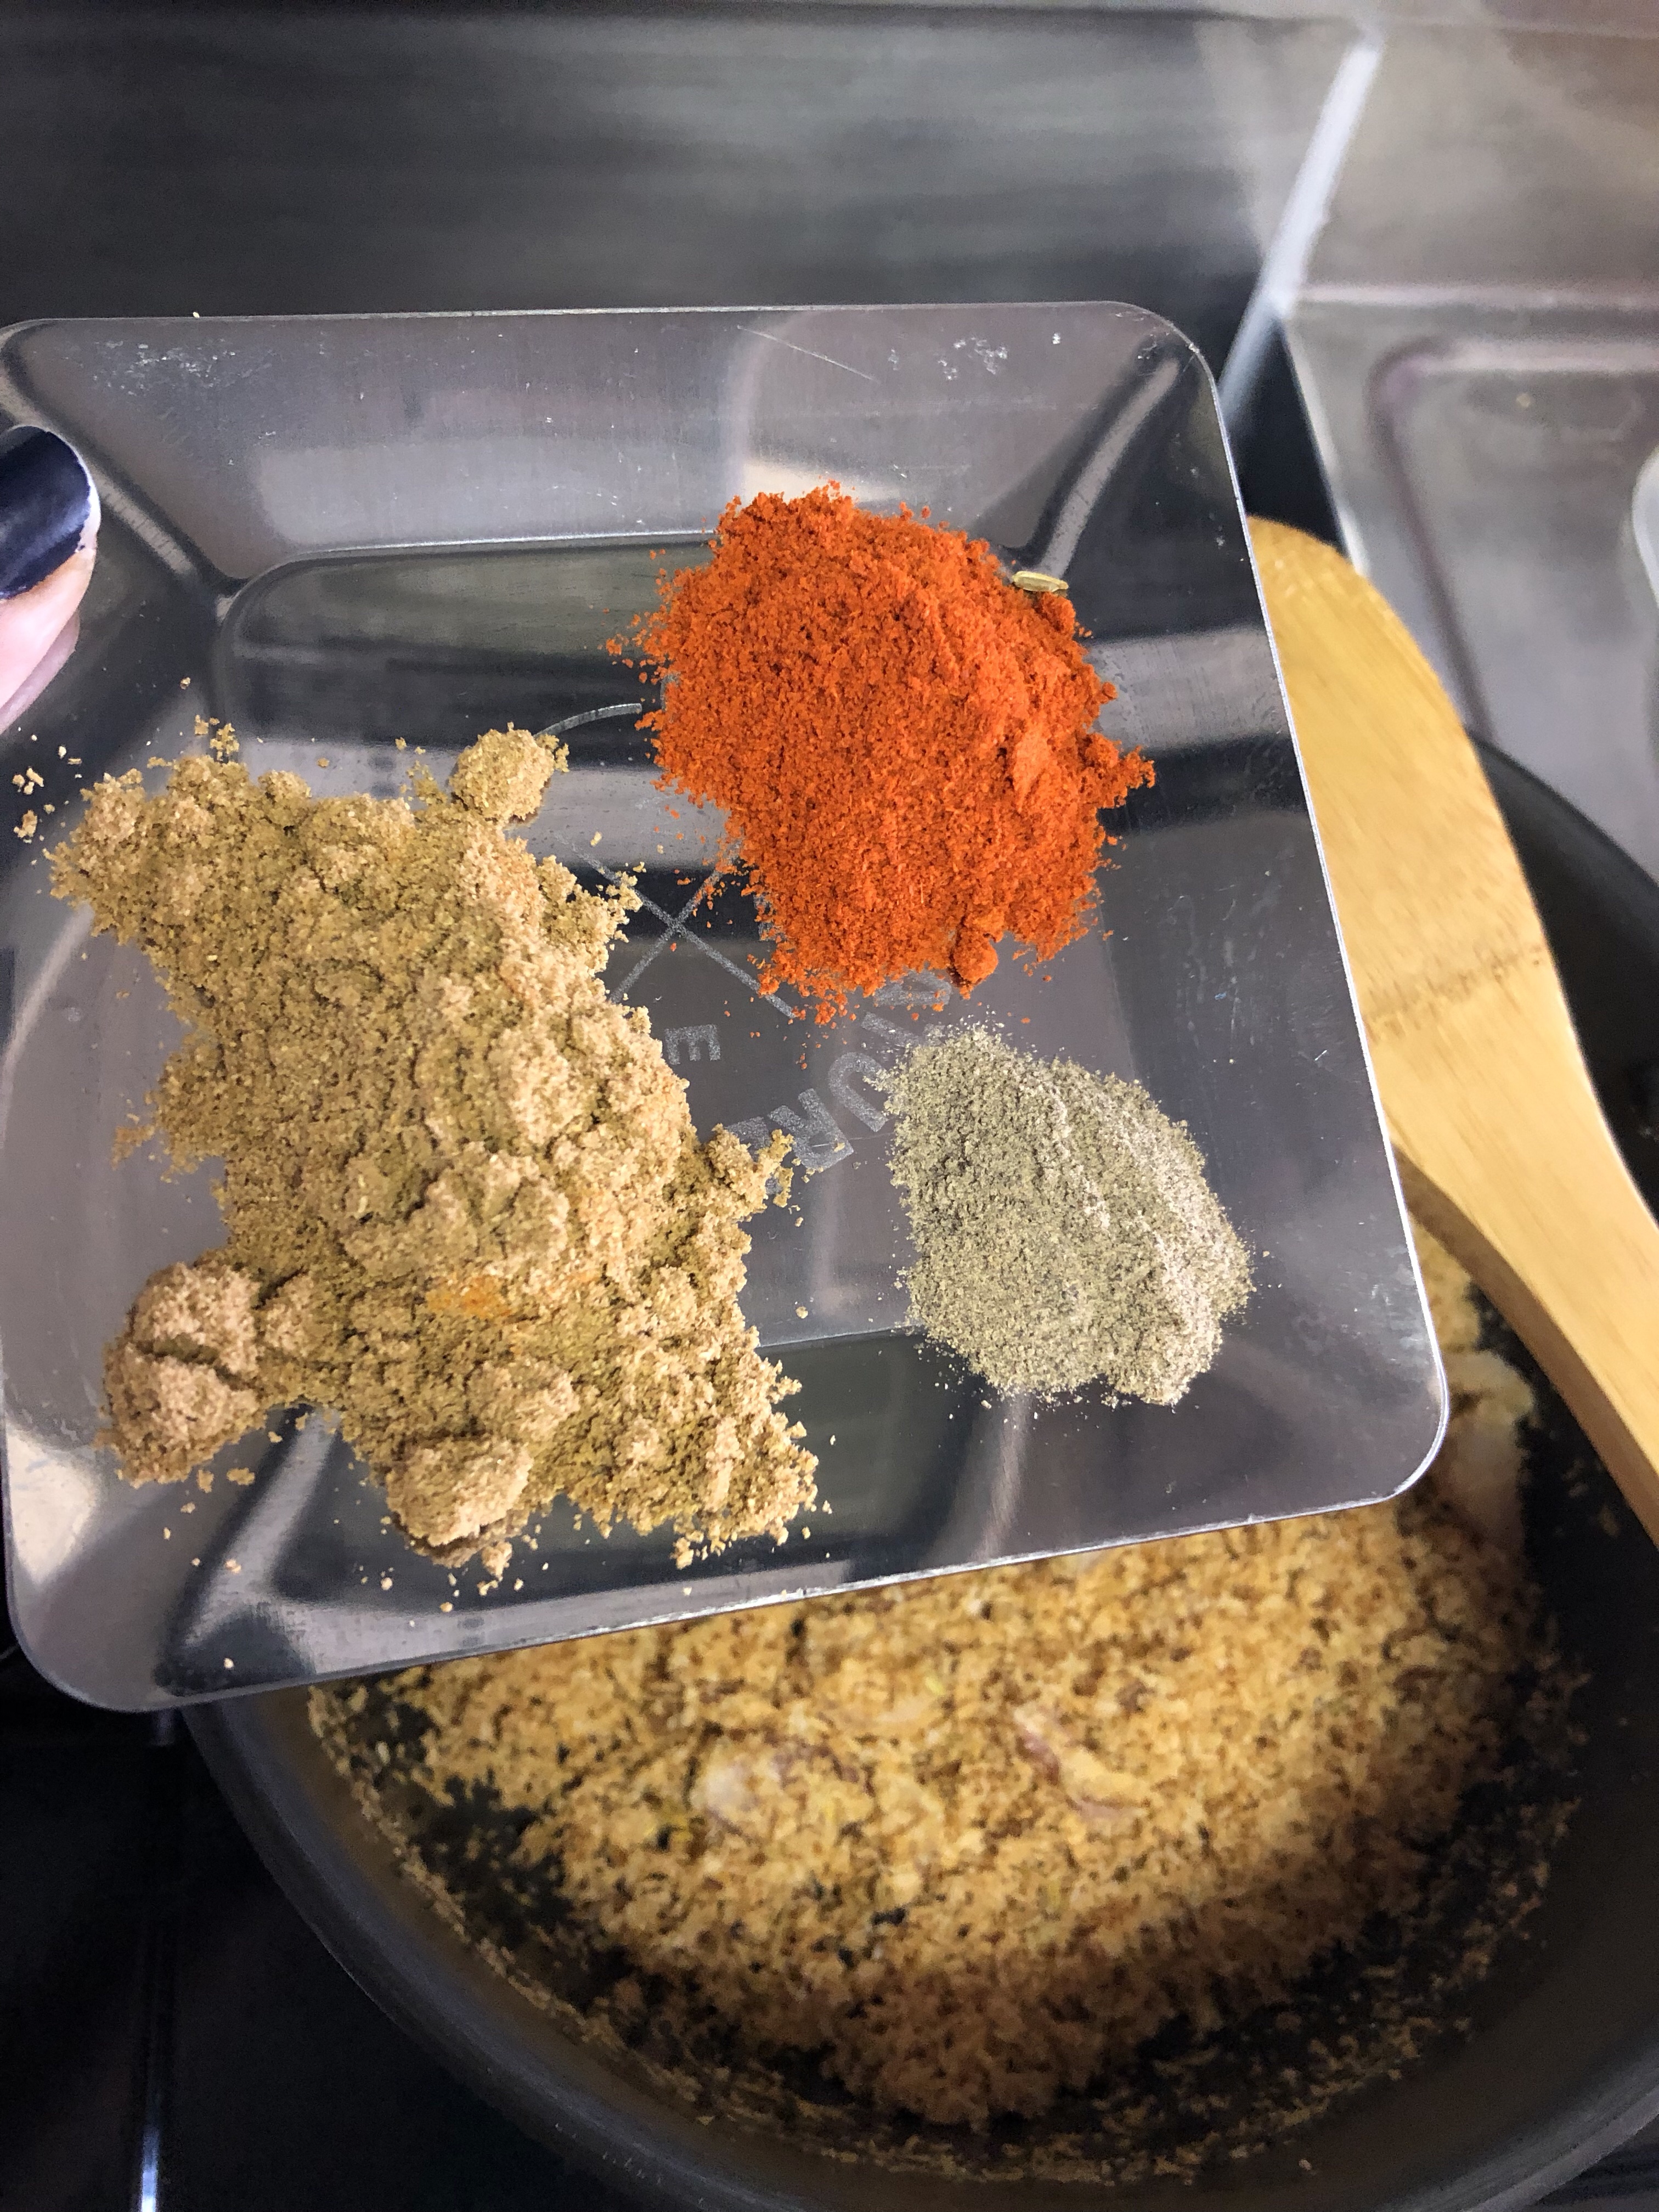
    3. Add in the chilli powder, coriander powder and pepper powder, toss and allow it to cool. And grind to a smooth paste.
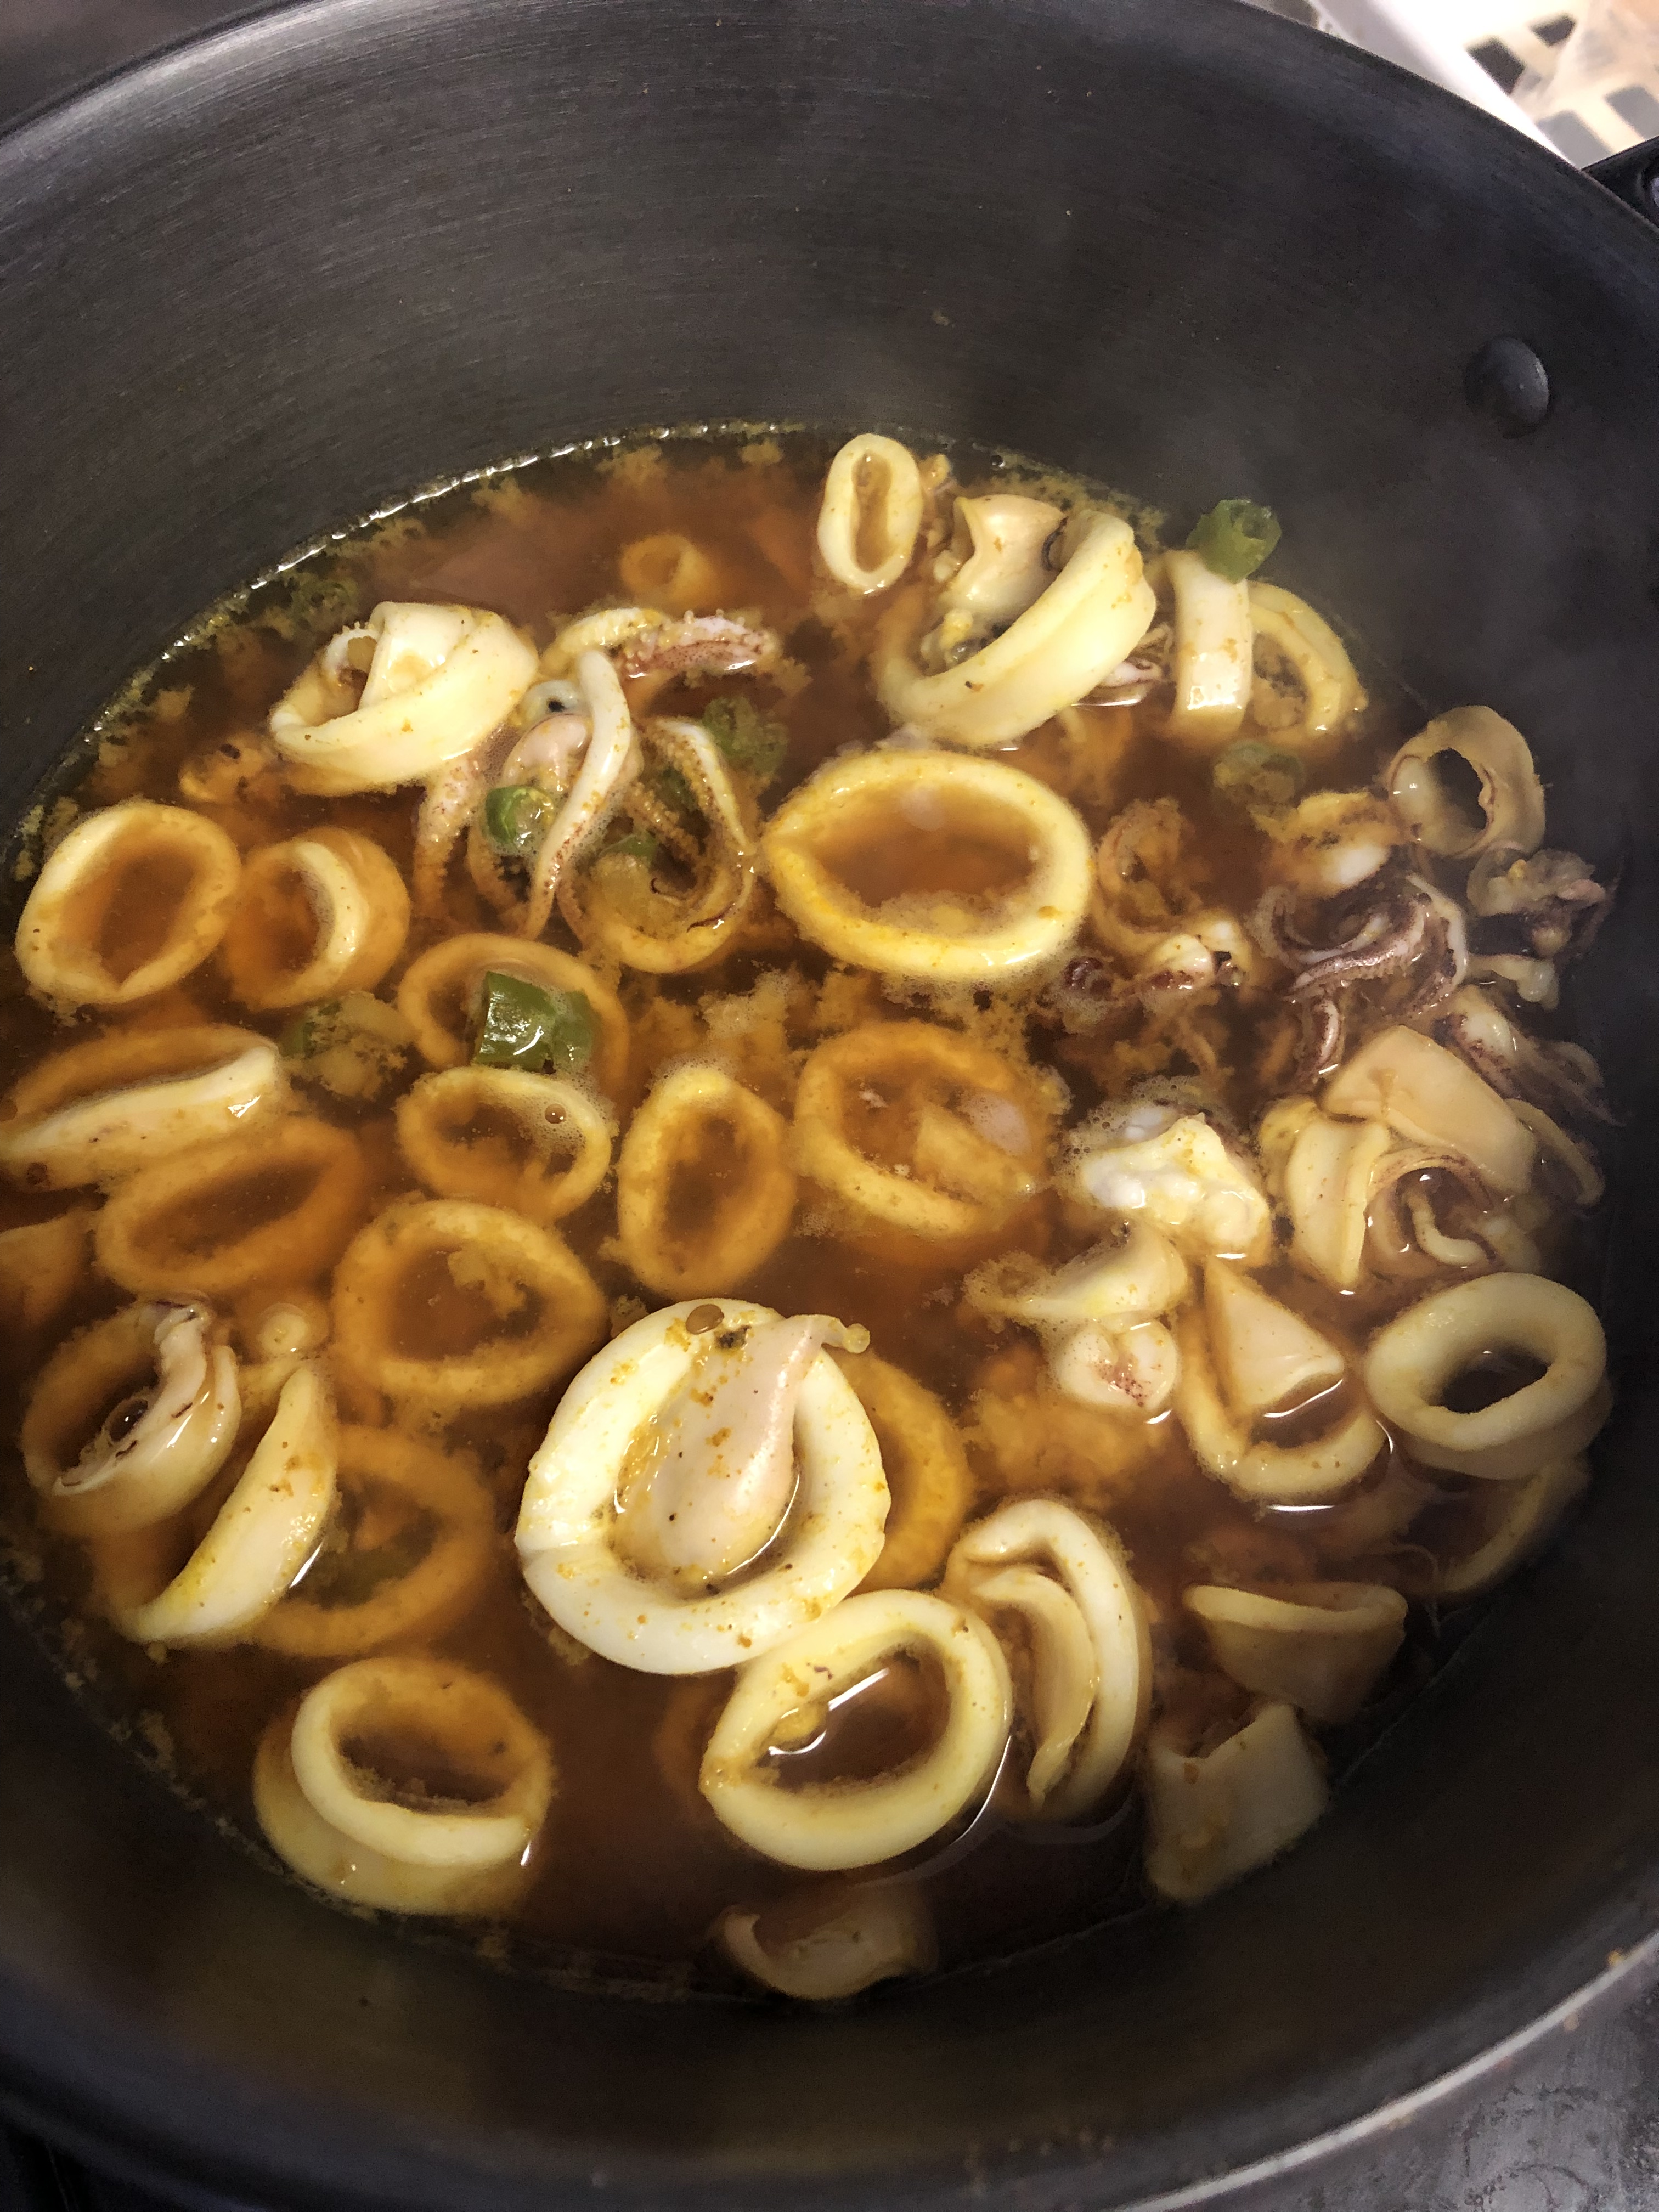
    4. In a pan, add the squid along with chillies, crushed ginger, turmeric powder, salt and little water, cooking very slowly as it comes up to heat. It will only take about 2-3 minutes to cook.
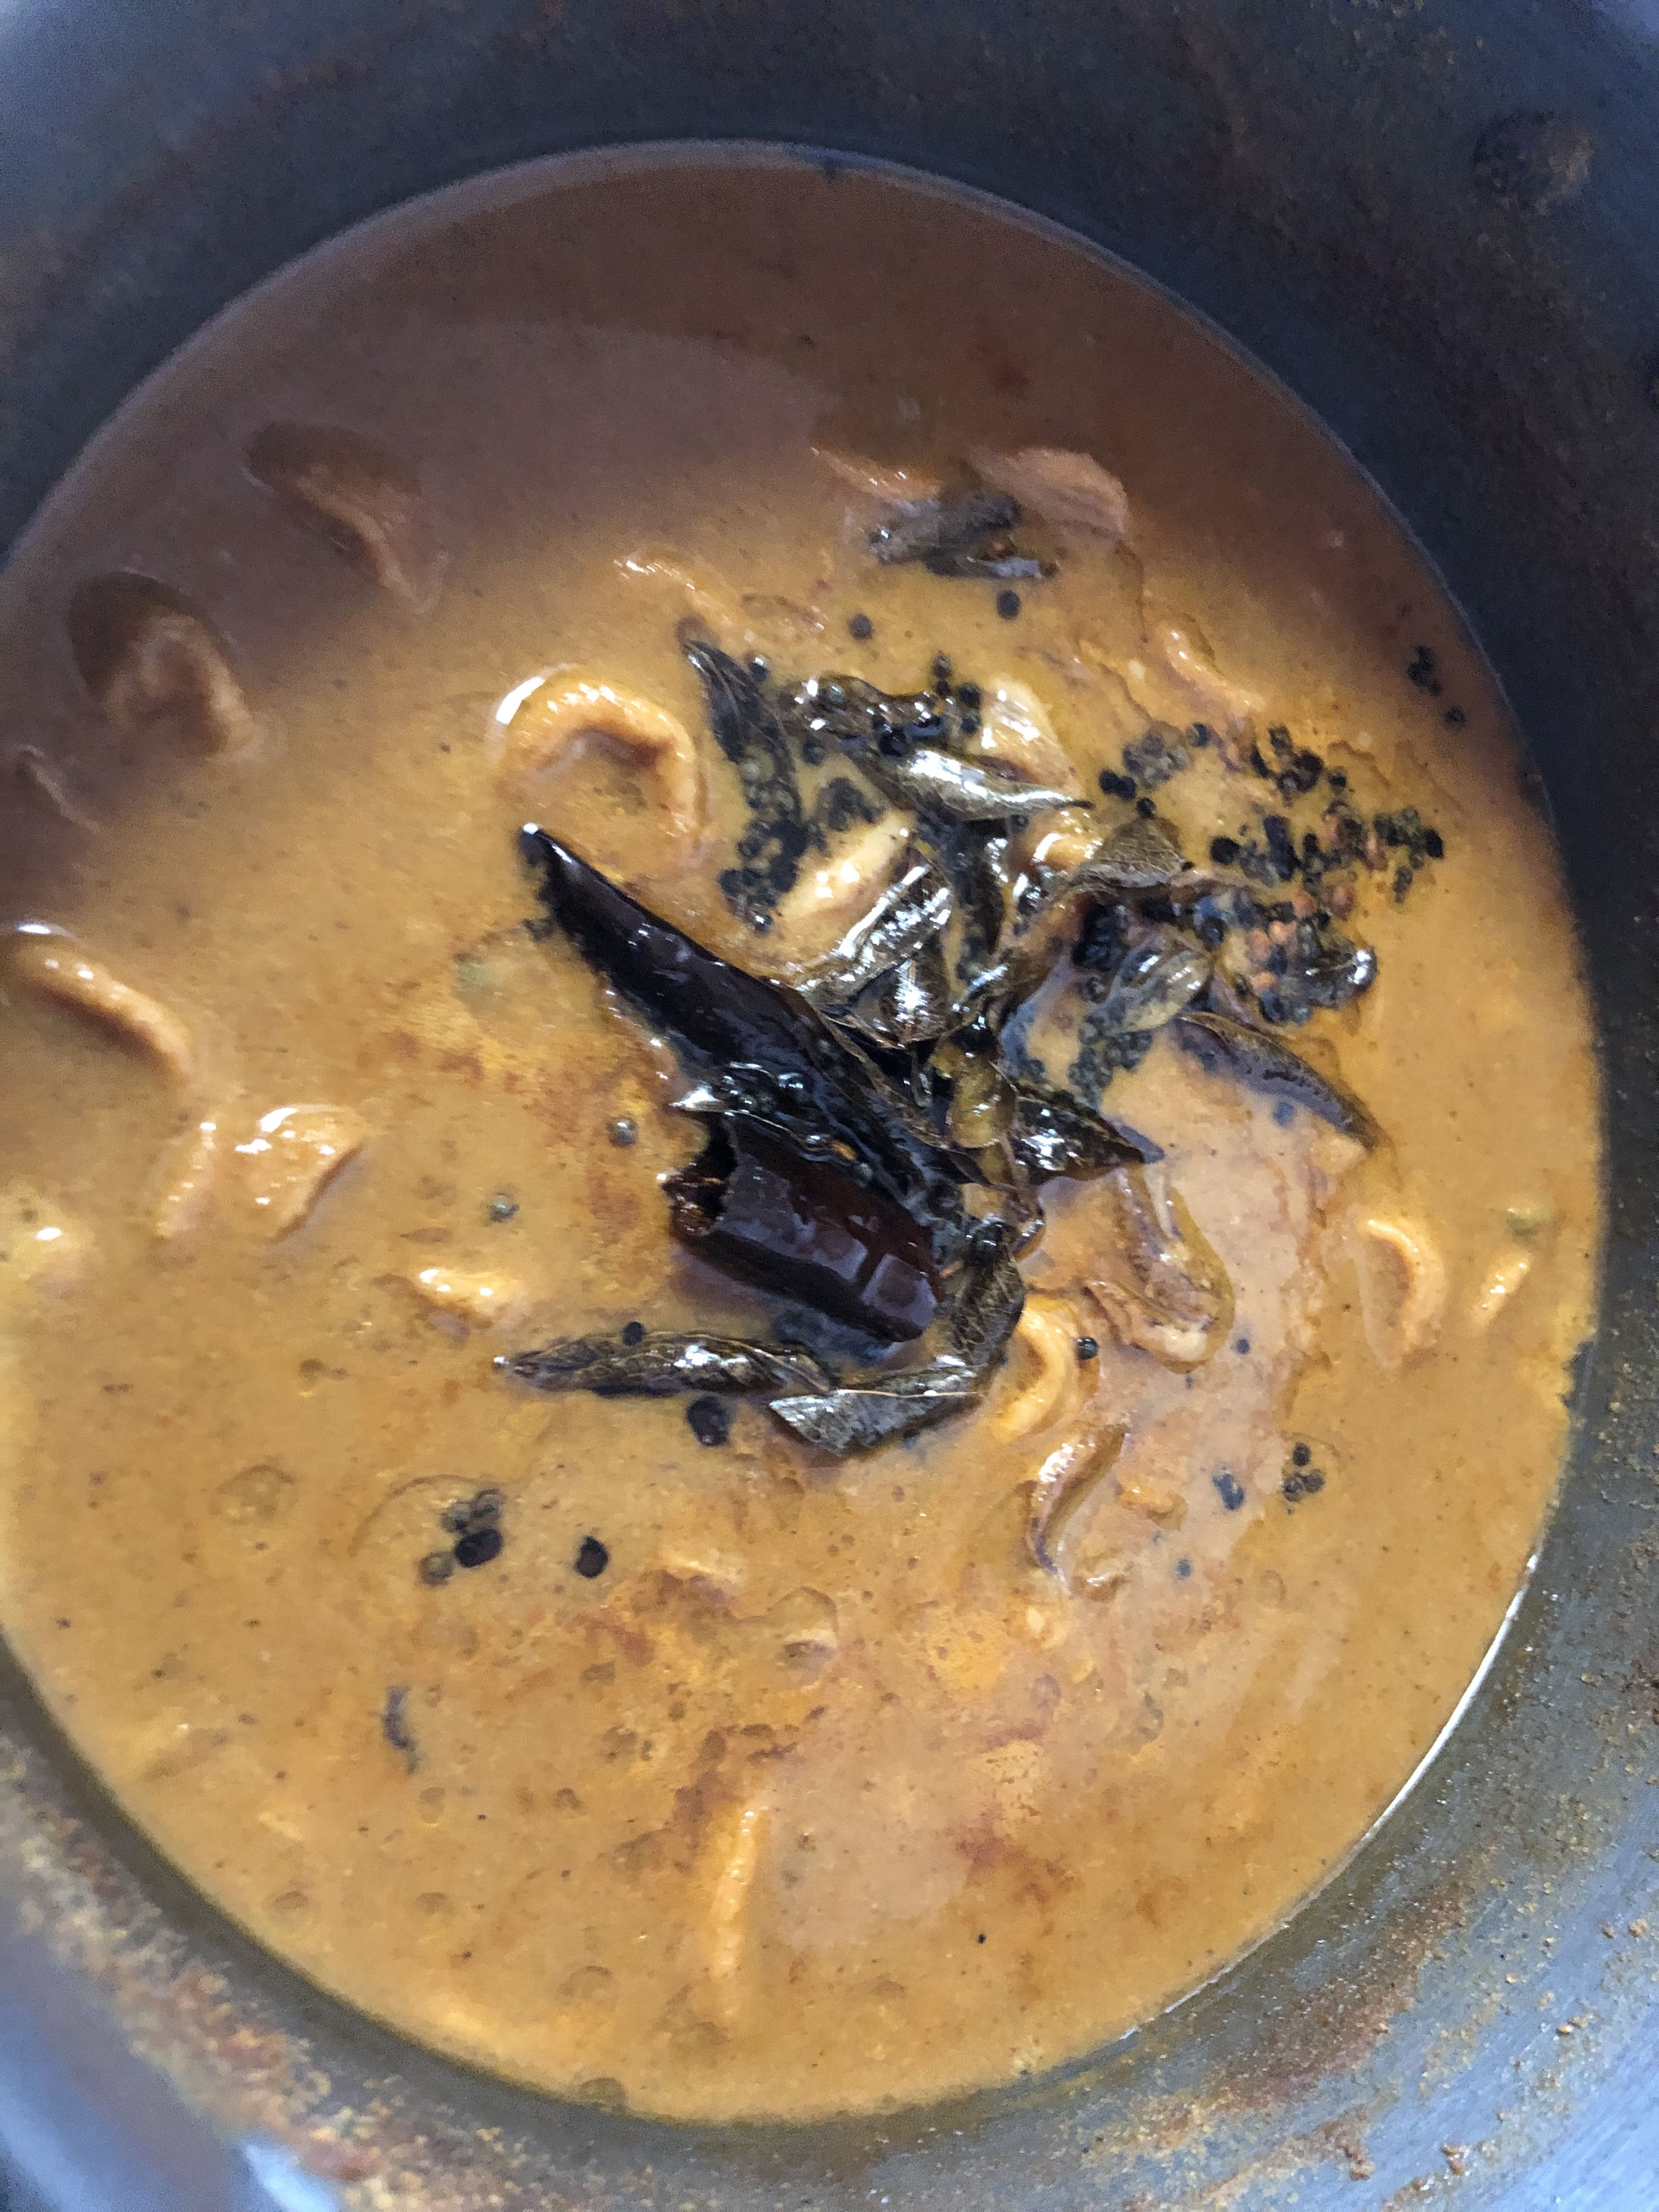
    5. When it is really hot and bubbling, add the ground masala and boil until the raw smell fades out.
    6. Next, heat the oil in a pan, add mustard seeds, fenugreek, curryleaves and redchillies. Give a quick stir.
    7. Then add the seasoning to the curry, serve it straight away.
    8. This is particularly good when served with rice and fish fry.


    Special Note:

    • Coconut oil can be replaced with any other vegetable oil.
    • Adding cinnamon in excess gives a strong taste. So add accordingly.
    • Instead of dry roasting the ingredients, it can be also be roasted in a tbsp of coconut oil for a richer curry.

    If you like this recipe, Do not forget to rate us at the end of the post.

    Did you make this recipe? If yes, do let me know how it turned out in the comments below. Do share a picture on instagram with hashtag #CookedFromHungrystomach and tag us @hungry__stomach

    Kerala style Kadala Theeyal Recipe / Chickpeas Curry / Chickpeas in a roasted coconut sauce


    Somedays based on the season or the festivities around the corner, you may get to cook so early or go on a trip and so you compromise on the food. But with the best choice being a dish that doesn’t gets spoiled easily tops the list is roasted coconut gravy.

    And that’s my amma’s/ grandma’s and everyother lady in neighbourhood would pull off as a life saver, Theeyal 😋 The soul cum comfort food from the hearts of every Malayalee !!! 

    Theeyal is an authentic Kerala dish and is prepared using vegetables like okra, shallots, bittergourd, brinjal and so on.

    Theeyal means burnt dish which means coconut is roasted till it becomes dark brown in color. The dish gets its color from the roasted coconut and the tamarind paste.

    Theeyal is made in many households of Kerala and also in regions of Kanyakumari. In certain places of Kanyakumari, Mixed Veg Theeyal is an essential part of Marriage/Maruveedu (மறுவீடு) Sadya (Keralite’s Vegetarian Feast). Theeyal has got a sour and spiced taste which goes well with hot rice.

    Its secret lies in the unlimited number of vegetables that can be used and the roasting of coconut to its preparation. Here is the recipe, try and enjoy the traditional delicacy.

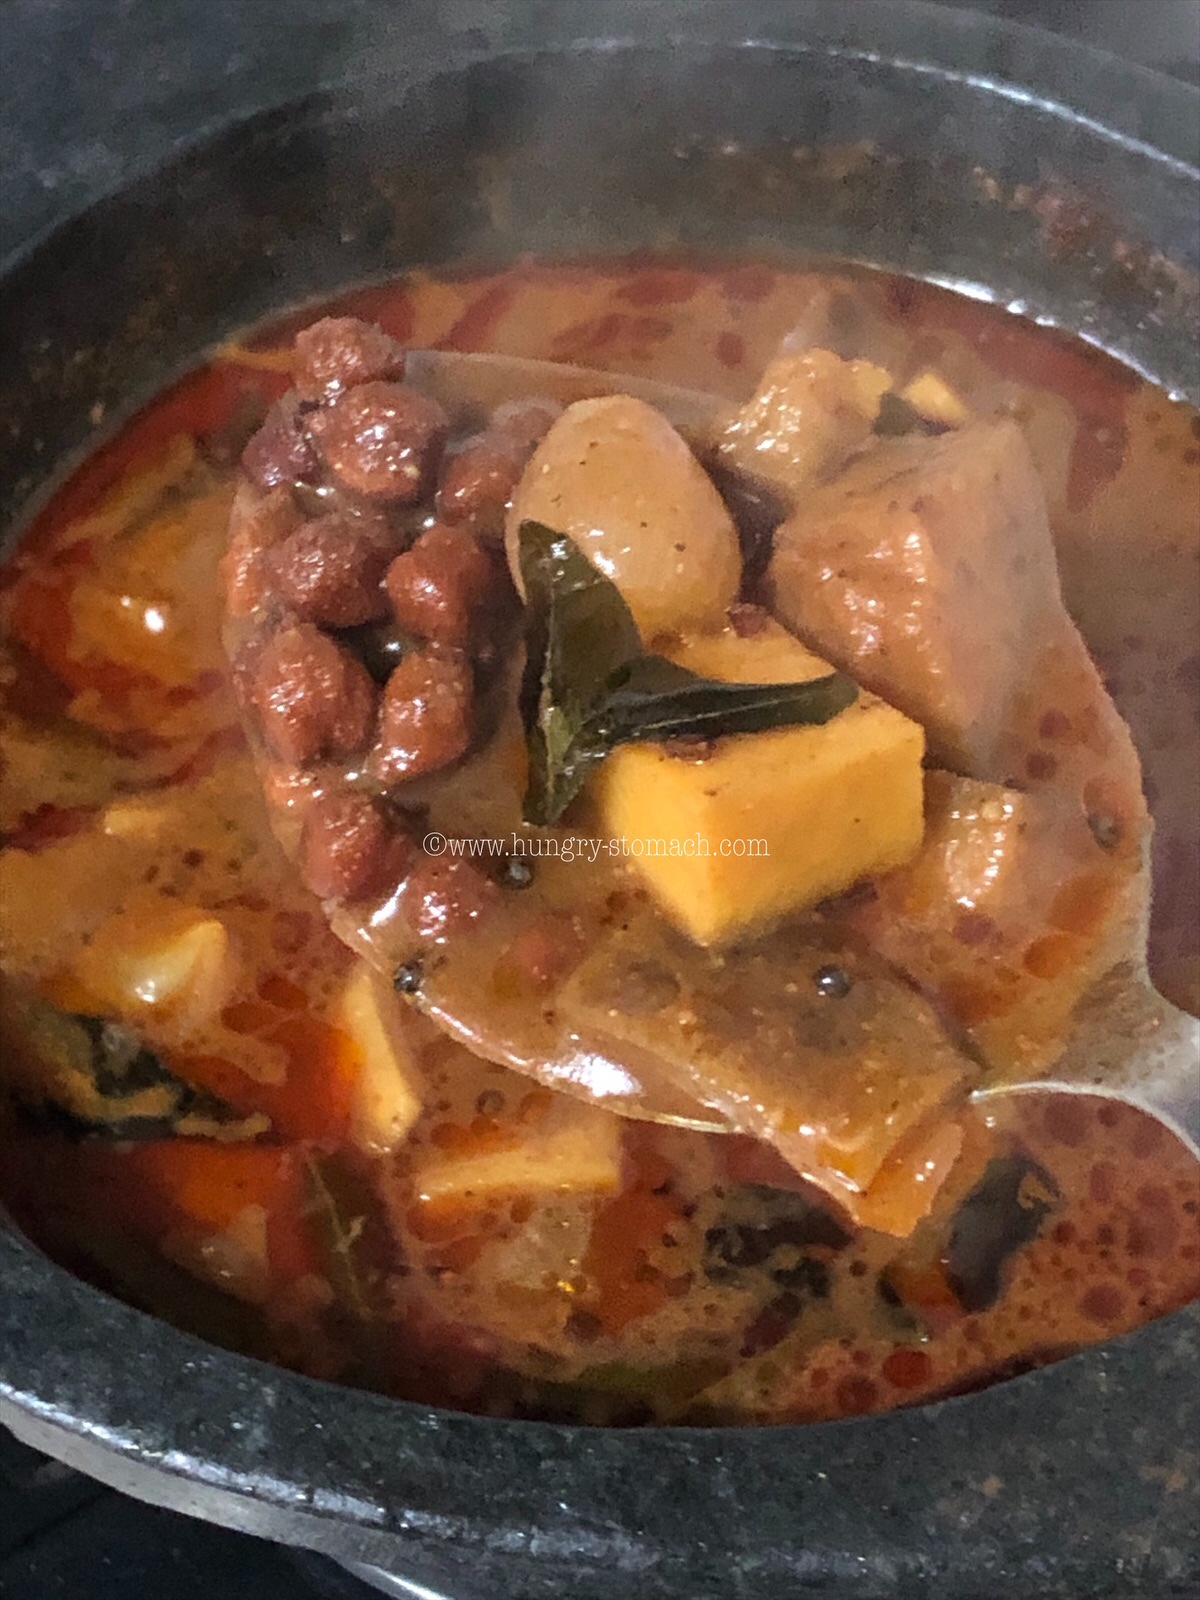
    Chickpeas, Shallots, Brinjal and Drumsticks Simmered in an Aromatic Roasted Coconut Gravy…


    Author: Nathiya Adiseshan

    Cooking Time: 20 mins

    Preparation Time: 15 mins

    Serves: 3 people

    INGREDIENTS

    • 1 cup Chickpeas/ Chana, boiled
    • 1 cup Coconut, grated
    • 1 tbsp Cumin seeds
    • 1 tbsp Black peppercorns
    • 3-4 Garlic pods (optional)
    • 4-5 Shallots/ Pearl Onions/ chinna vengayam
    • 1 1/2 tbsp Chilli powder 
    • 2 tbsp Coriander powder 
    • Tamarind, size of gooseberry
    • 1/2 cup Veggies diced (Brinjal, Drumstick, Yam)
    • Salt
    • 1 tsp Mustard seeds
    • 1/8 tsp Fenugreek seeds
    • Red chillies
    • Curry leaves
    • Coconut Oil

    Here we go…

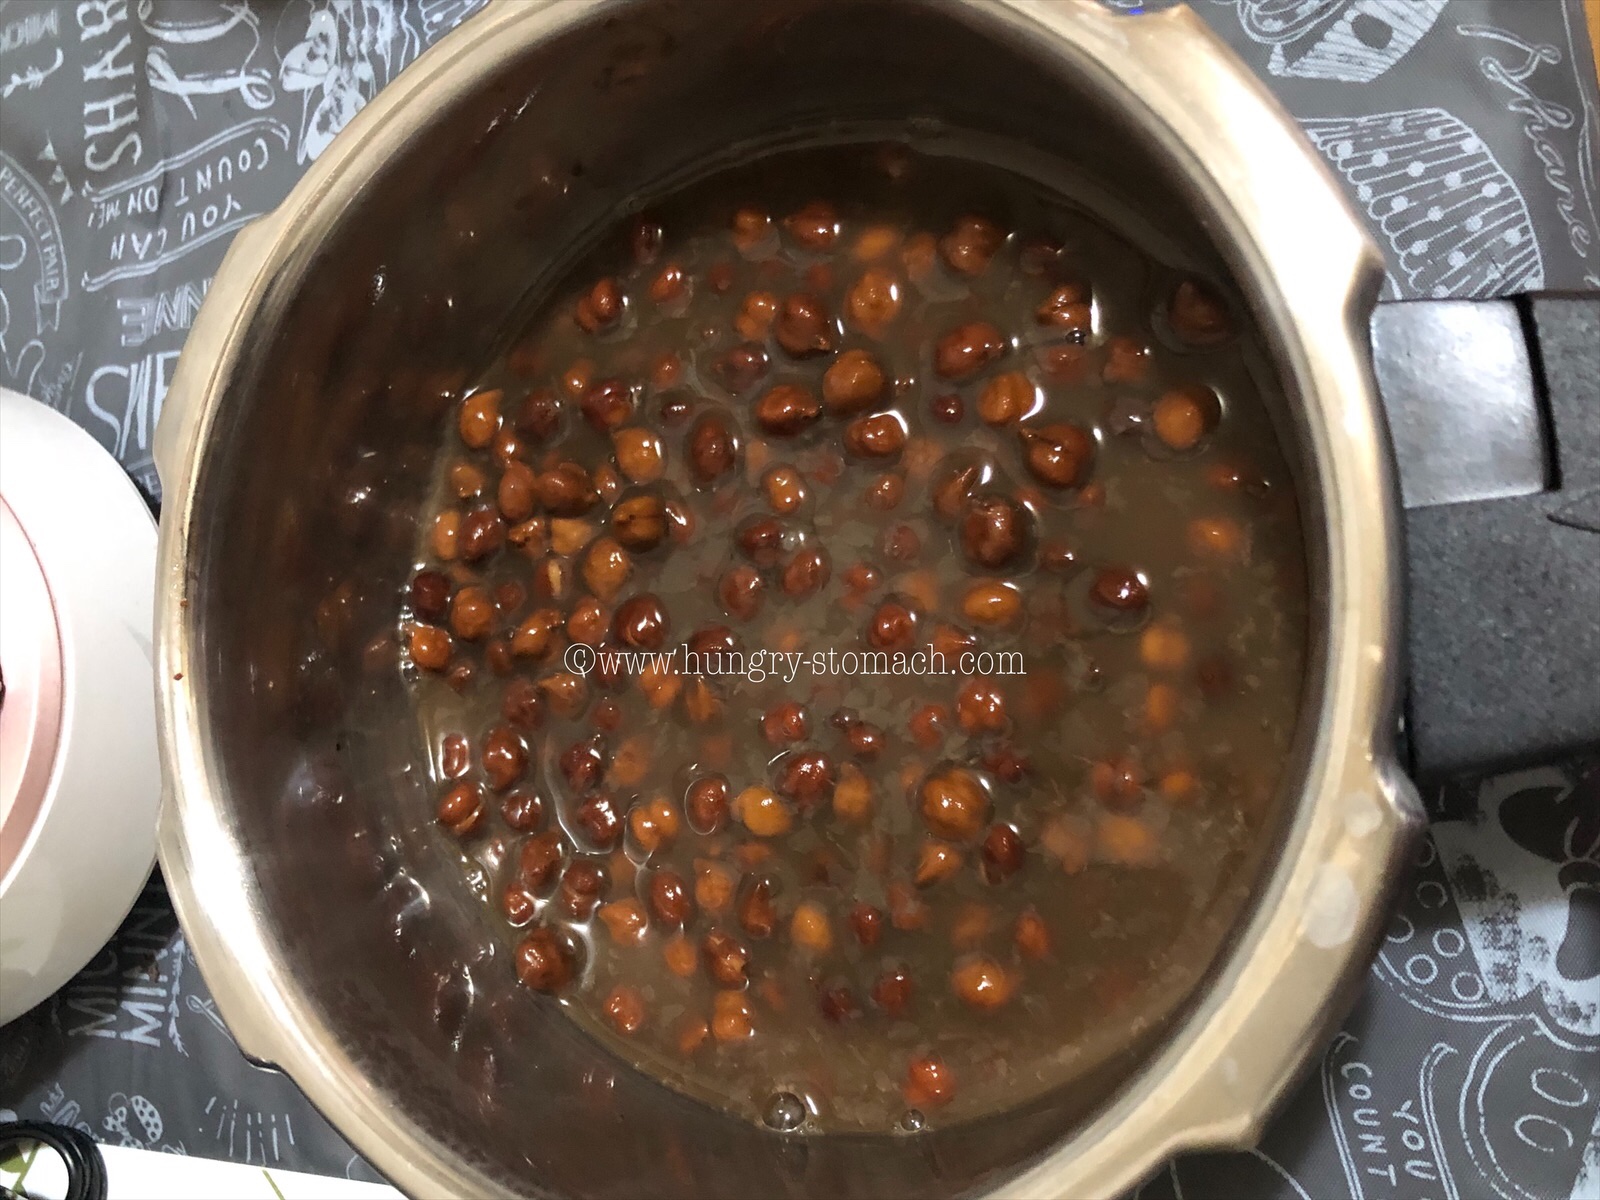
    1. Soak chickpeas overnight. Pressure cook and keep aside.
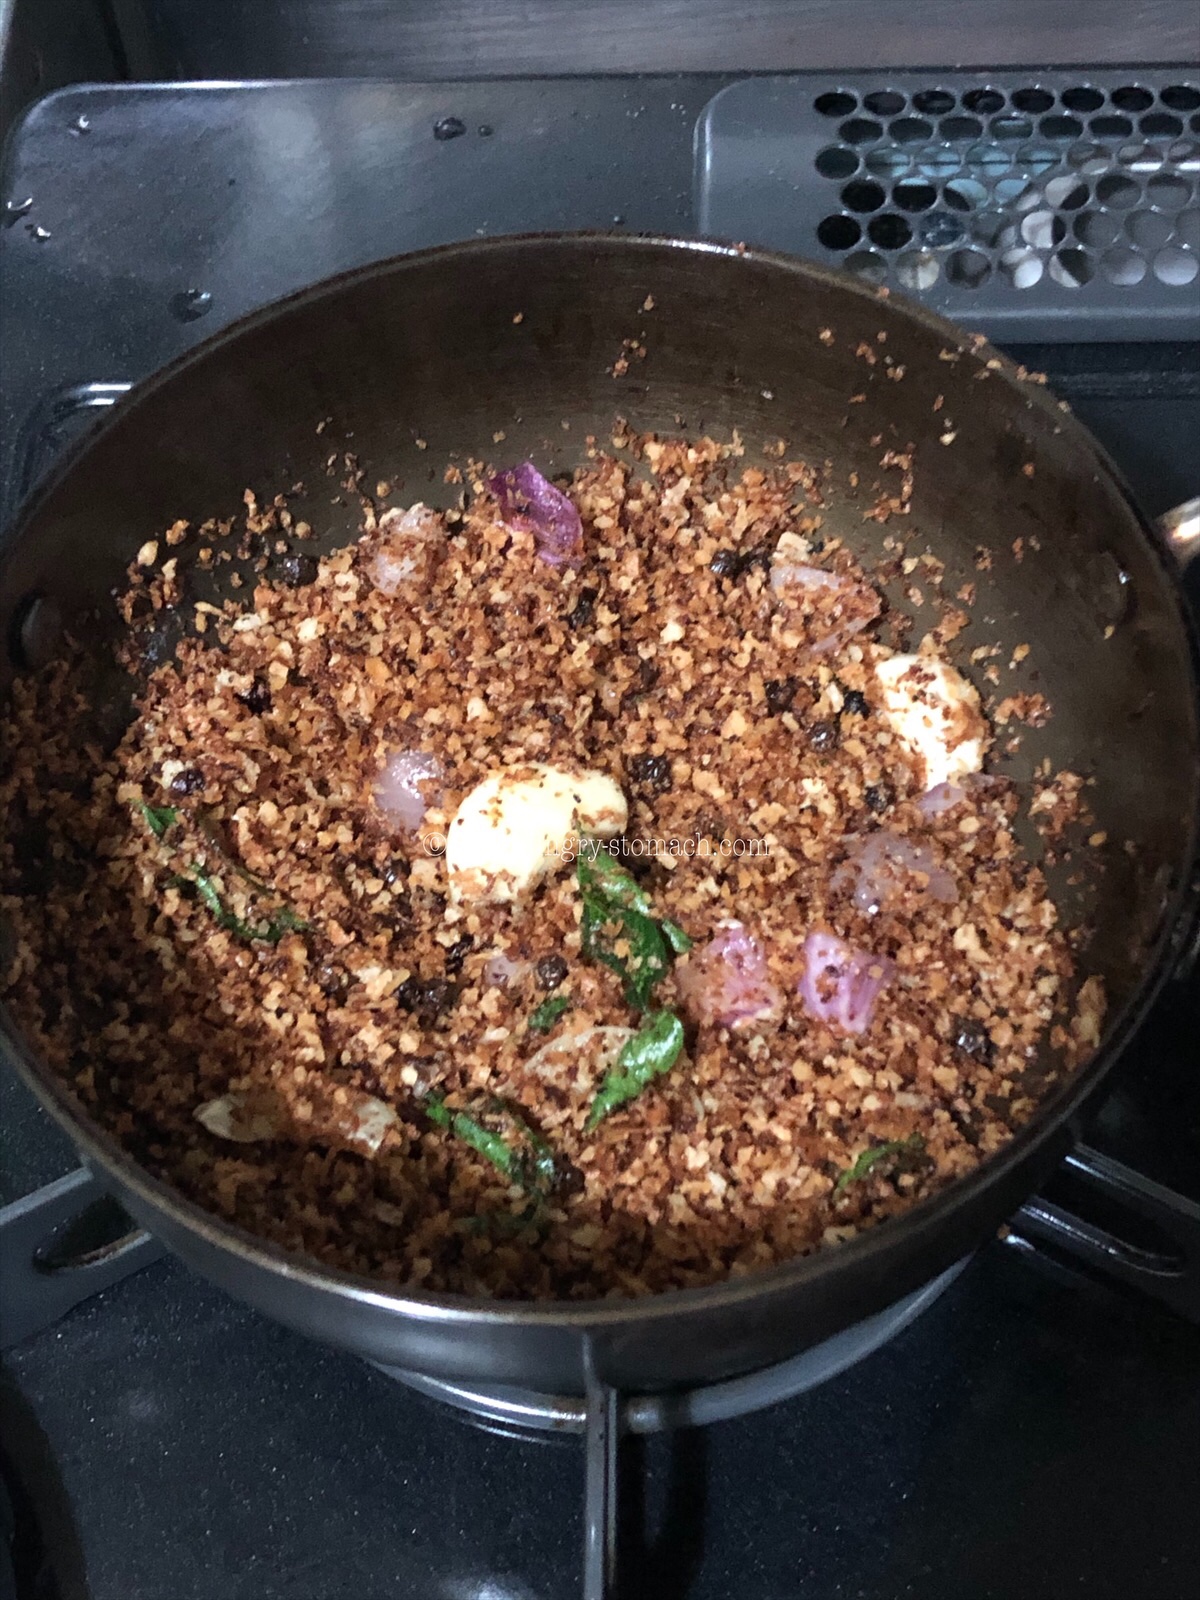
    2. Heat a tbsp of oil and add grated coconut, cumin seeds, shallots, peppercorns, and curry leaves (garlic pods optional).
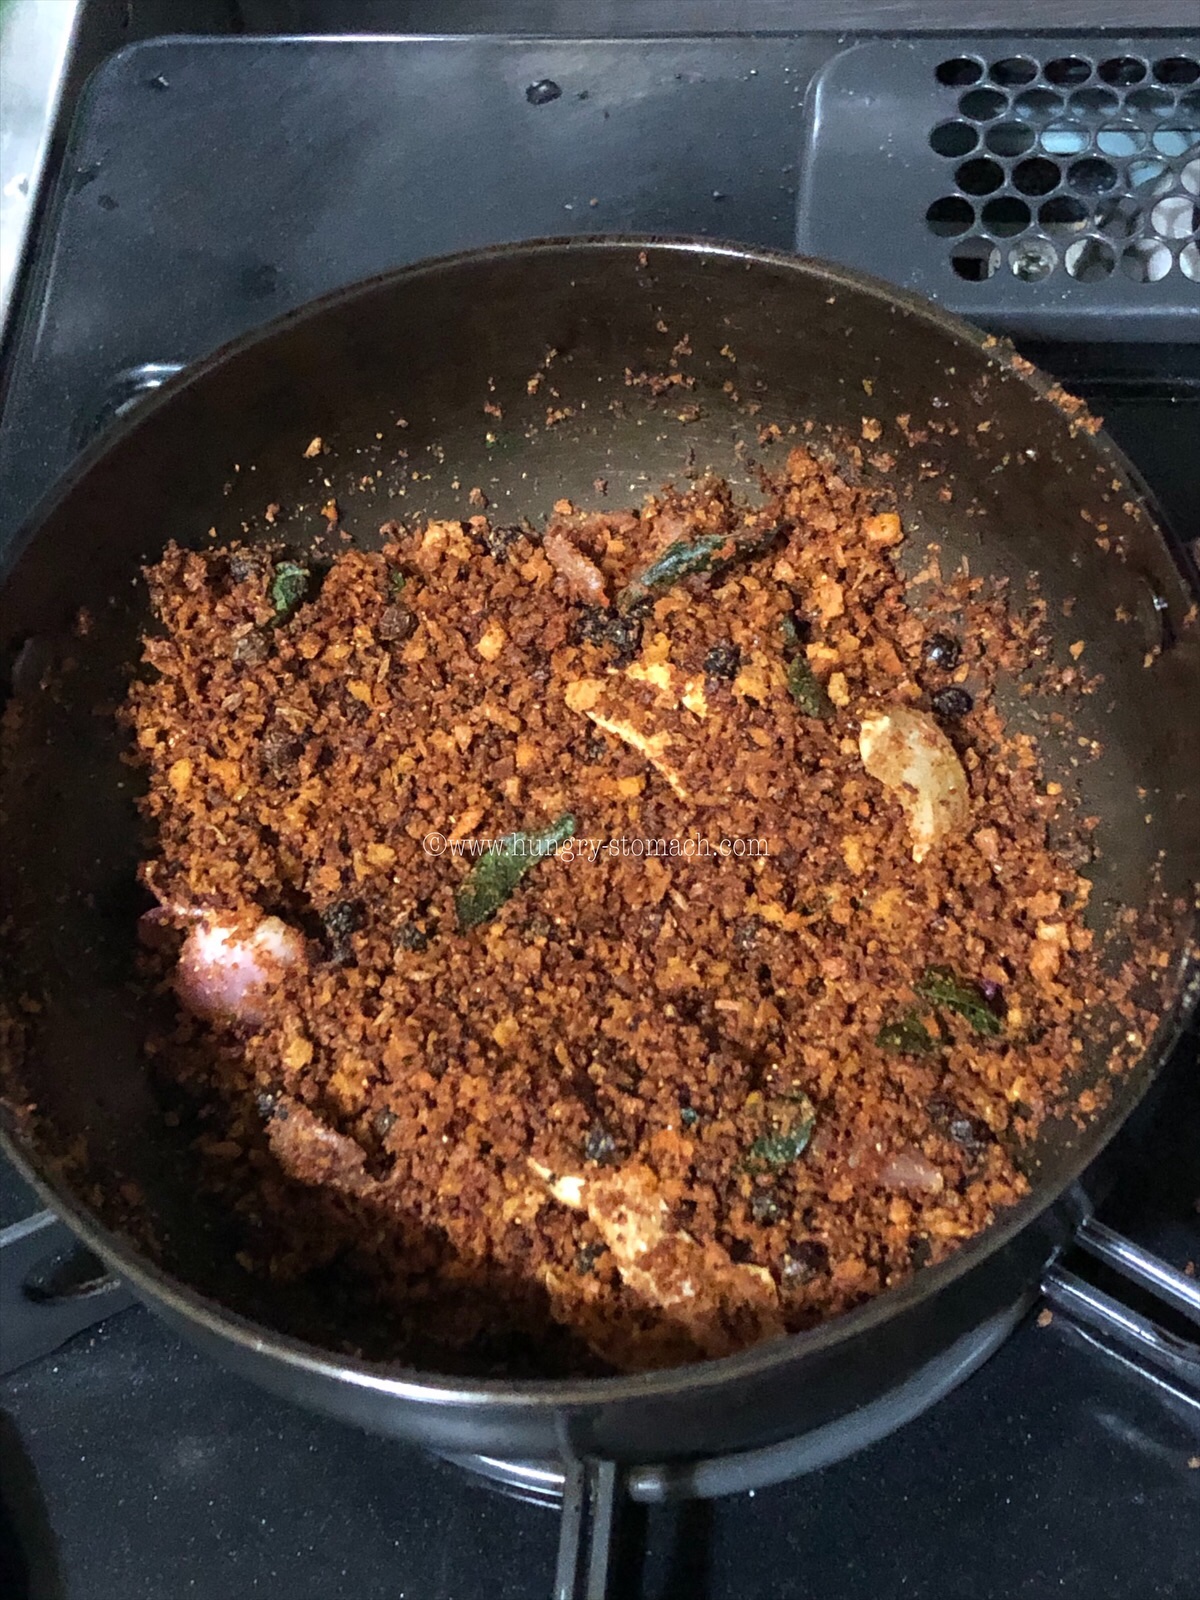
    3. Fry the coconut till it turns a darker shade of brown. Reduce the flame to low, add chilli and coriander powder. Cook for a min.
    4. Once it is cooled completely, grind the coconut mixture to a smooth paste (If required, add little water).
    1. Soak tamarind in 1/4 cup of water and keep aside.
    2. In a heavy bottomed pan (I’ve used Kalchatti, soapstone cookaware), add the diced brinjal, yam/drumstick and shallots with little water ( I have added brinjal, yam and shallots alone today). Cook until the veggies are done.
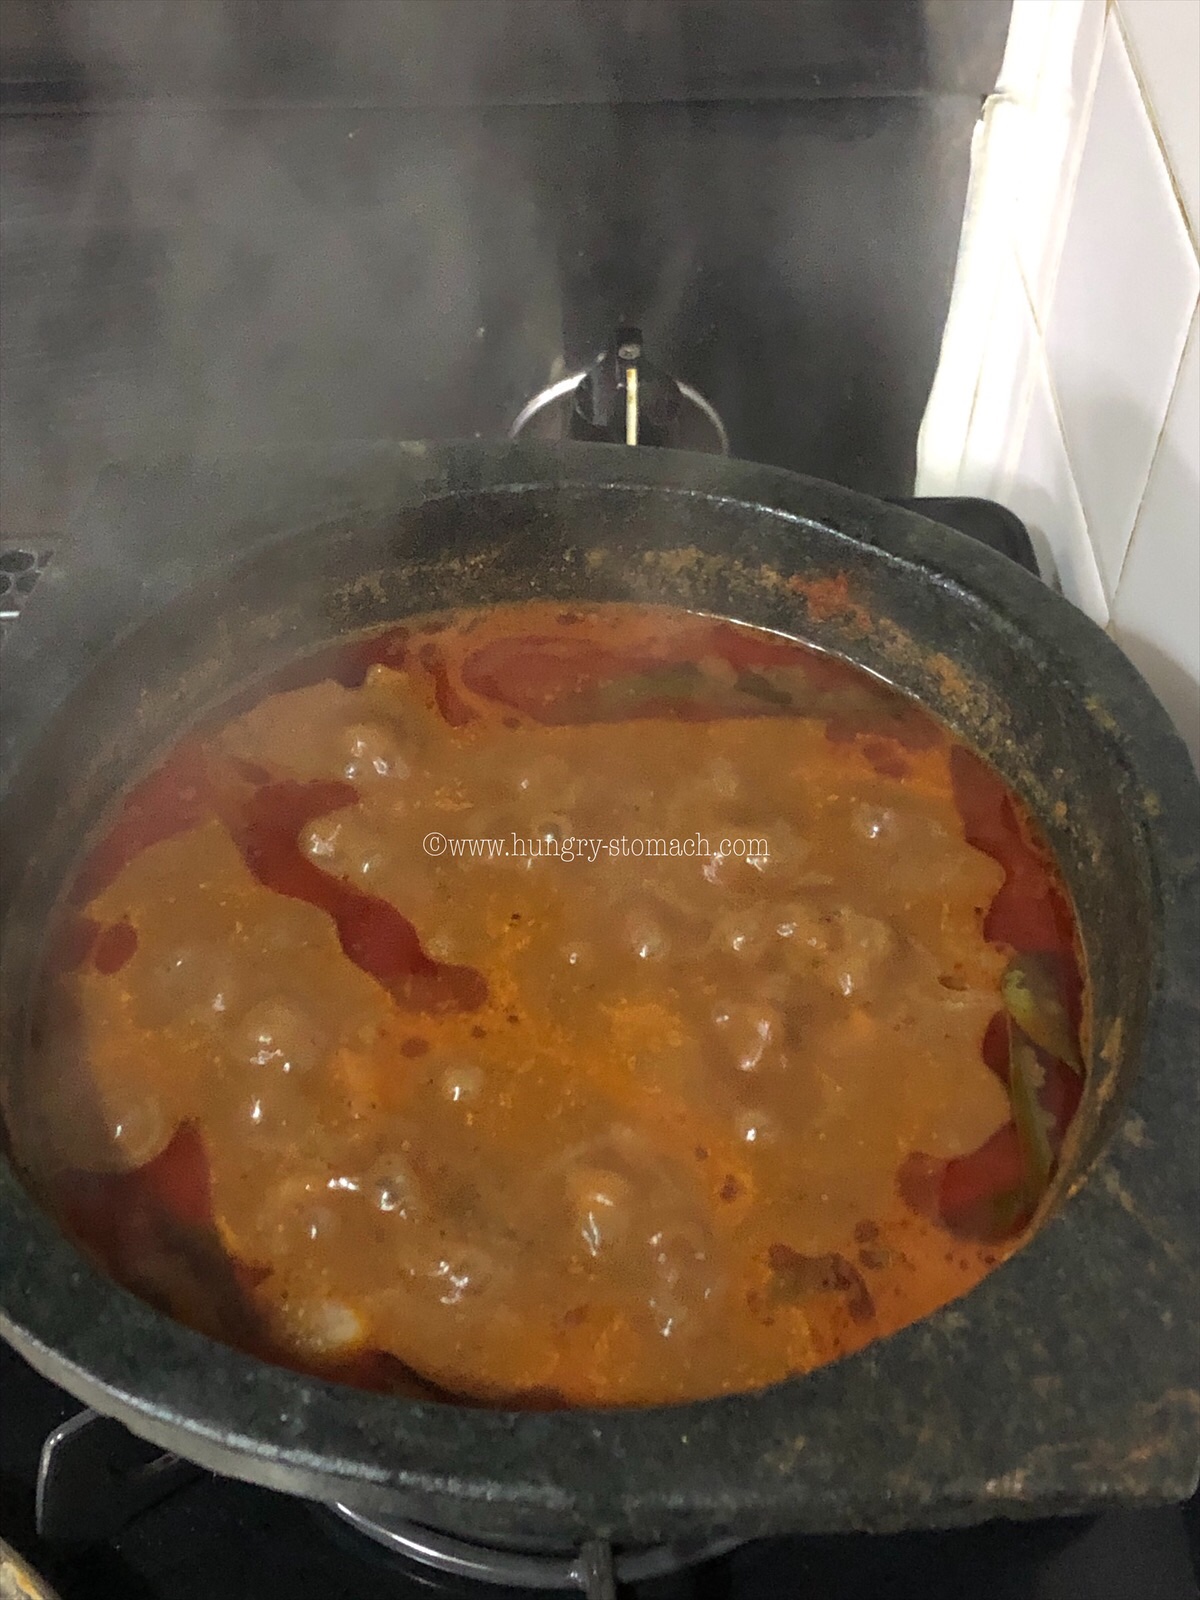
    3. Add roasted coconut paste, tamarind water and salt. Mix well. Add 1 1/2 cups of water to it. Bring it to boil.
    1. Now add the boiled chickpeas. Stir well.
    2. Reduce flame to lowest and cook for 4-5 mins. When the oil starts oozing out, switch off the flame.
    3. Heat oil in a pan and crackle mustard seeds, fenugreek seeds, red chillies and curry leaves. Add this to theeyal.
    4. Serve with hot rice.

    Notes:

    • Coconut oil imparts a distinct aroma and flavour. You can use any oil of your choice too.
    • Its important to fry the coconut really golden/brown. Do not char it while roasting.
    • The oil from the coconut will separate while grinding and the mixture will become into a paste. If required, add little water.
    • Black chickpeas tastes better than the white ones.

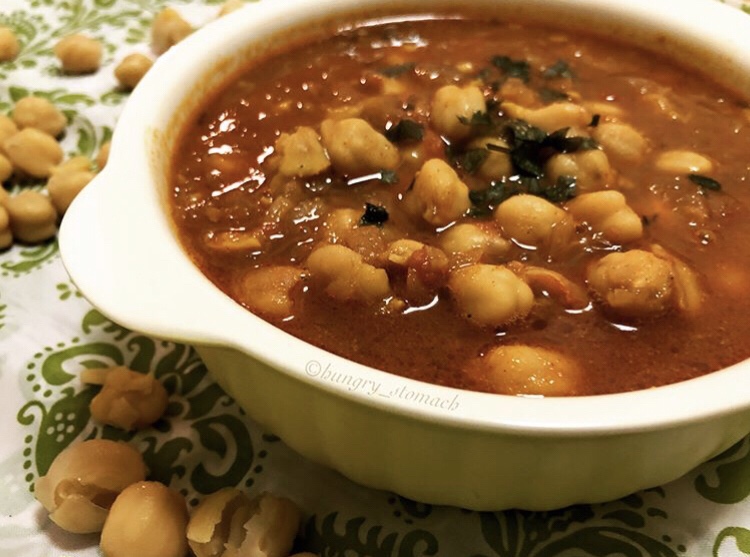
    Chana Masala/ Chole Masala/ Chickpea Curry

    A flavorful, thick, stew-like curry that’s not overly spicy, and the perfect plant-based vegan meal.

    Chana masala is traditionally based with chickpeas, onion, ginger, fresh cilantro, a blend of spices, and tomatoes. The magical step that takes this dish to the finger lickin’ level is the bulk of flavourful spices and DIY garam masala.

    It can be prepared a number of different ways, but I chose the simple route: One pot OPOS method. 😋😜

    It’s vegan, gluten-free, good for you and freezable so you can save your time. How wonderful. Enjoy this version of mine with rice or naan/chapathi, but I promise that it tastes damn good.


    Ingredients

    250g Chickpeas, (boiled or canned)

    2 medium Onions, finely chopped

    2 medium Tomatoes, roughly chopped

    1 inch piece Ginger, finely chopped

    2-3 Green chillies, roughly chopped

    ½ tsp Coriander powder

    ½ tsp Chillipowder (Kashmiri if possible)

    1 tsp Turmeric powder

    1 tbsp Garam masala, homemade

    1/2 Lemon, juiced

    ½ small pack Cilantro

    Salt, to taste

    Oil

    Instructions

    1. Heat a pot over medium heat. Once hot, add oil, ginger (just finely minced).
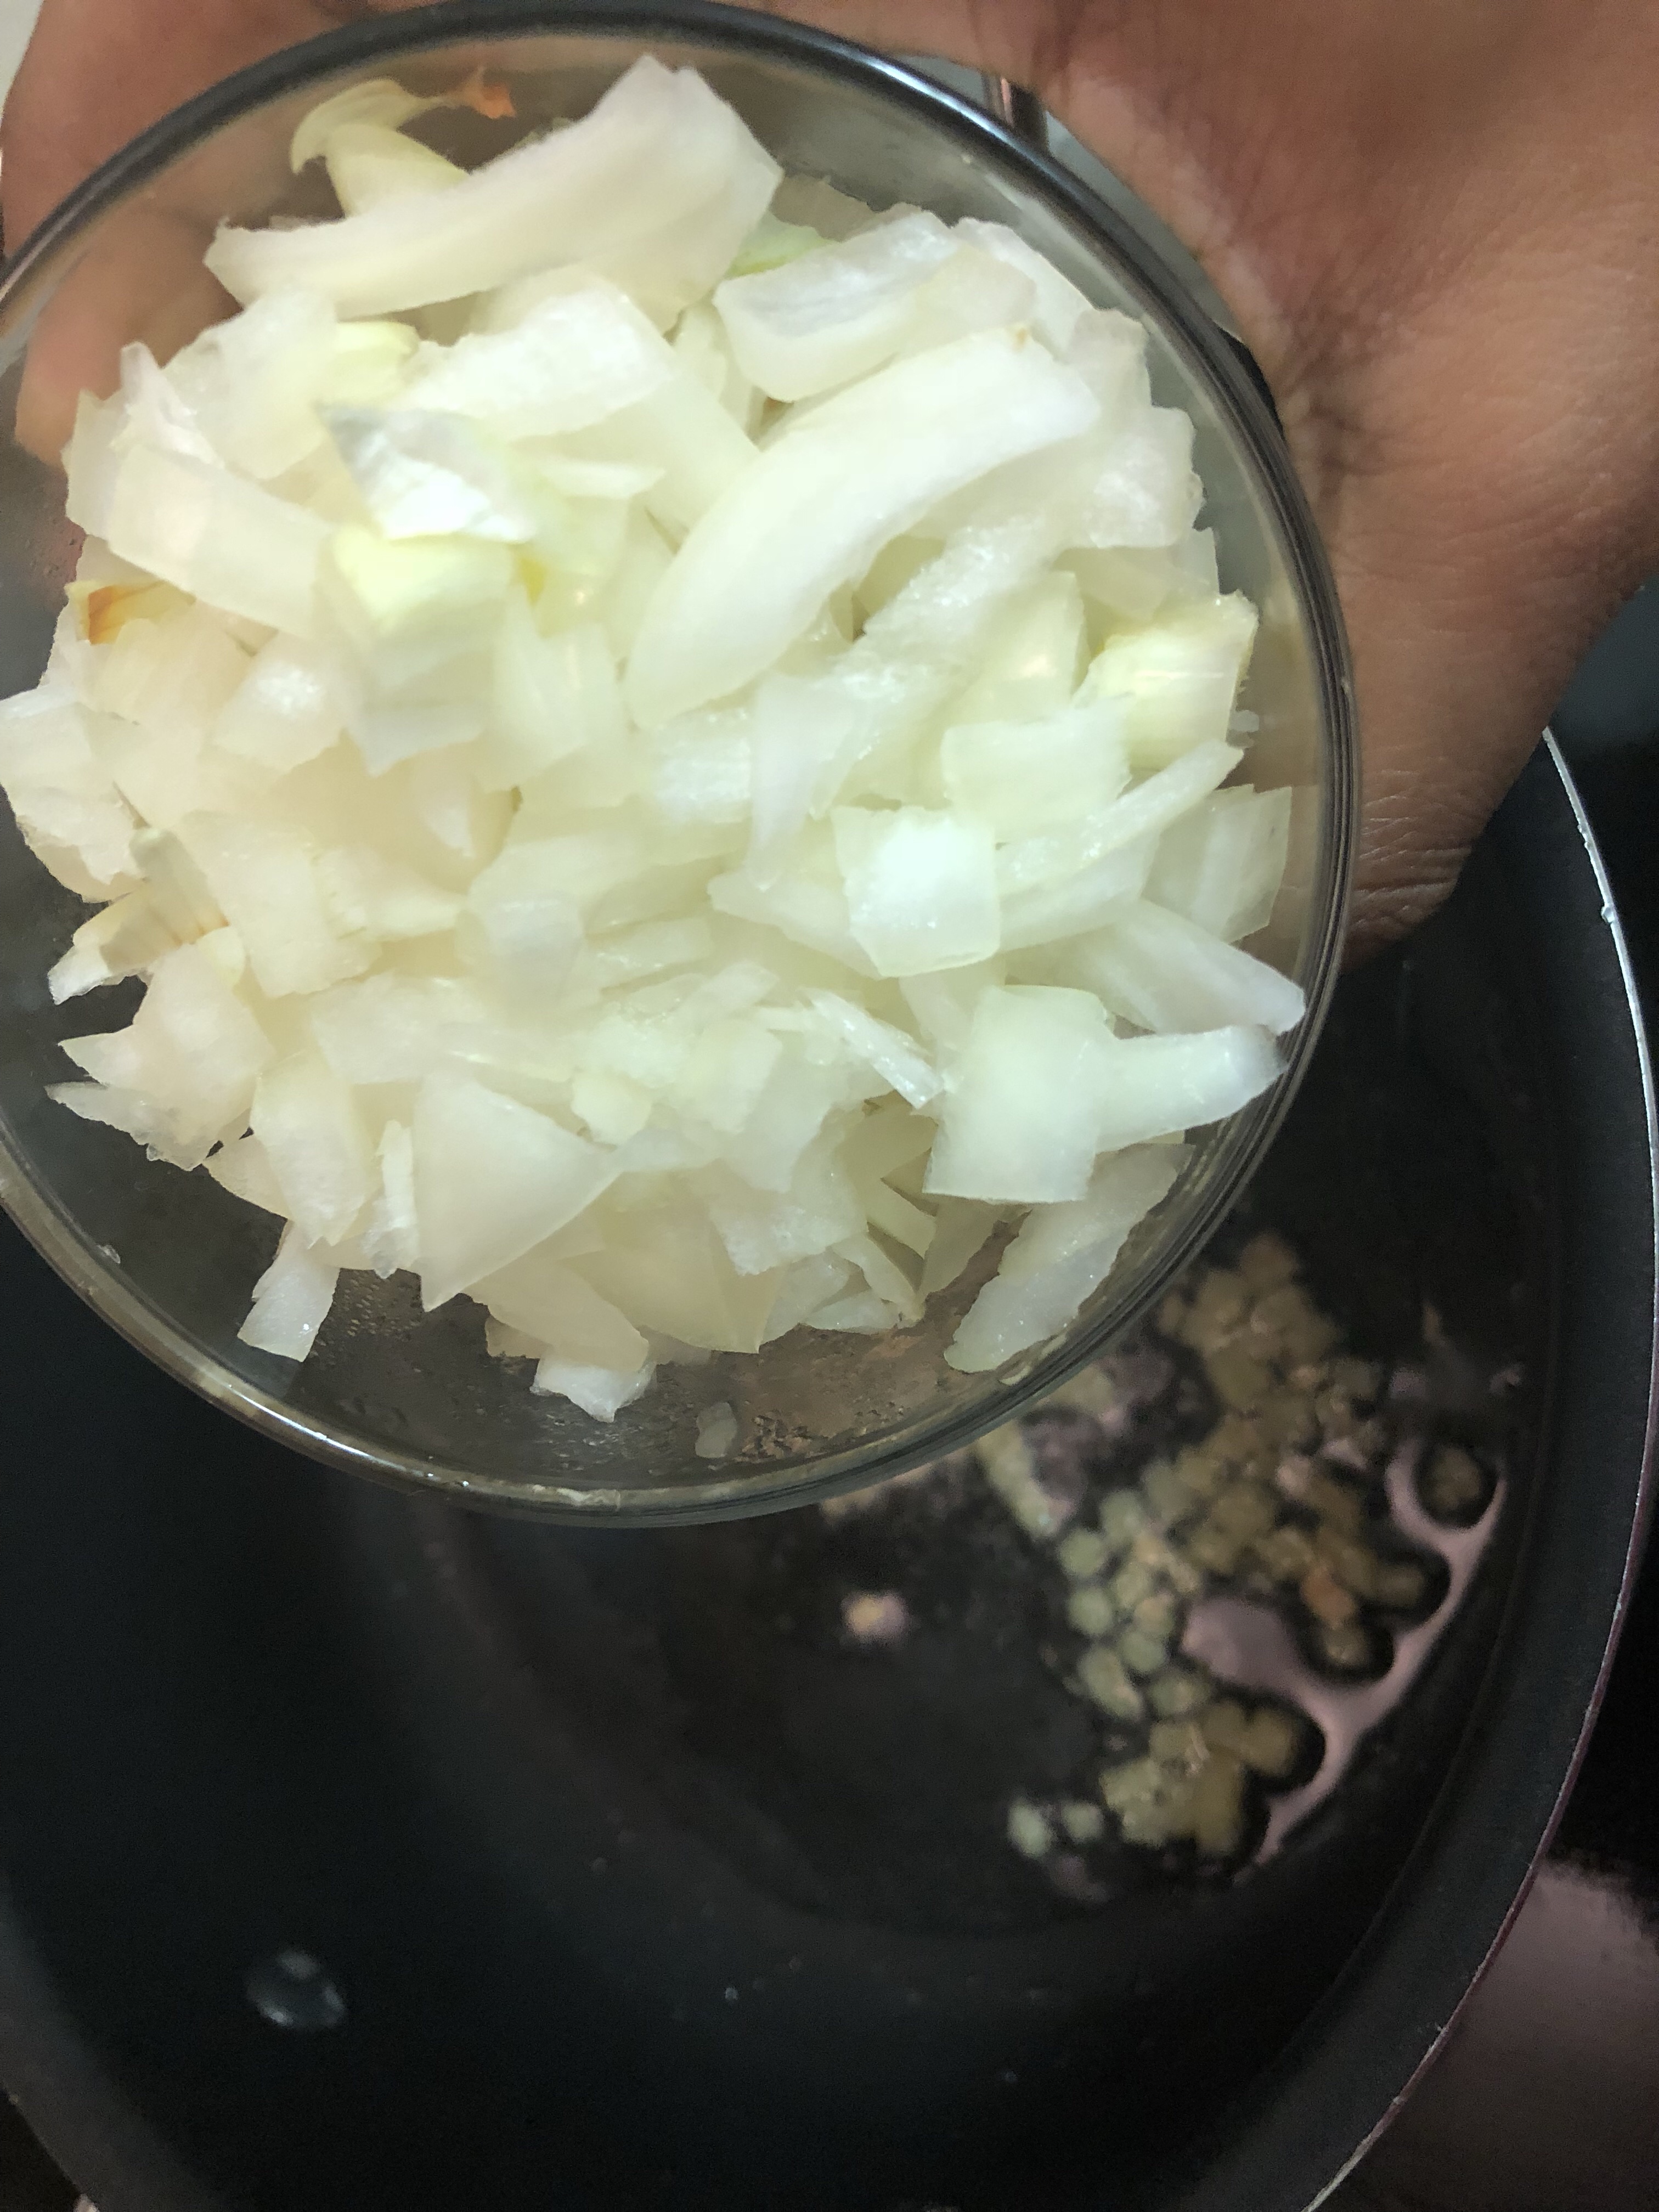
    2. Then, add onions to the pan. Cook, stirring frequently, until onions start to turn brown.
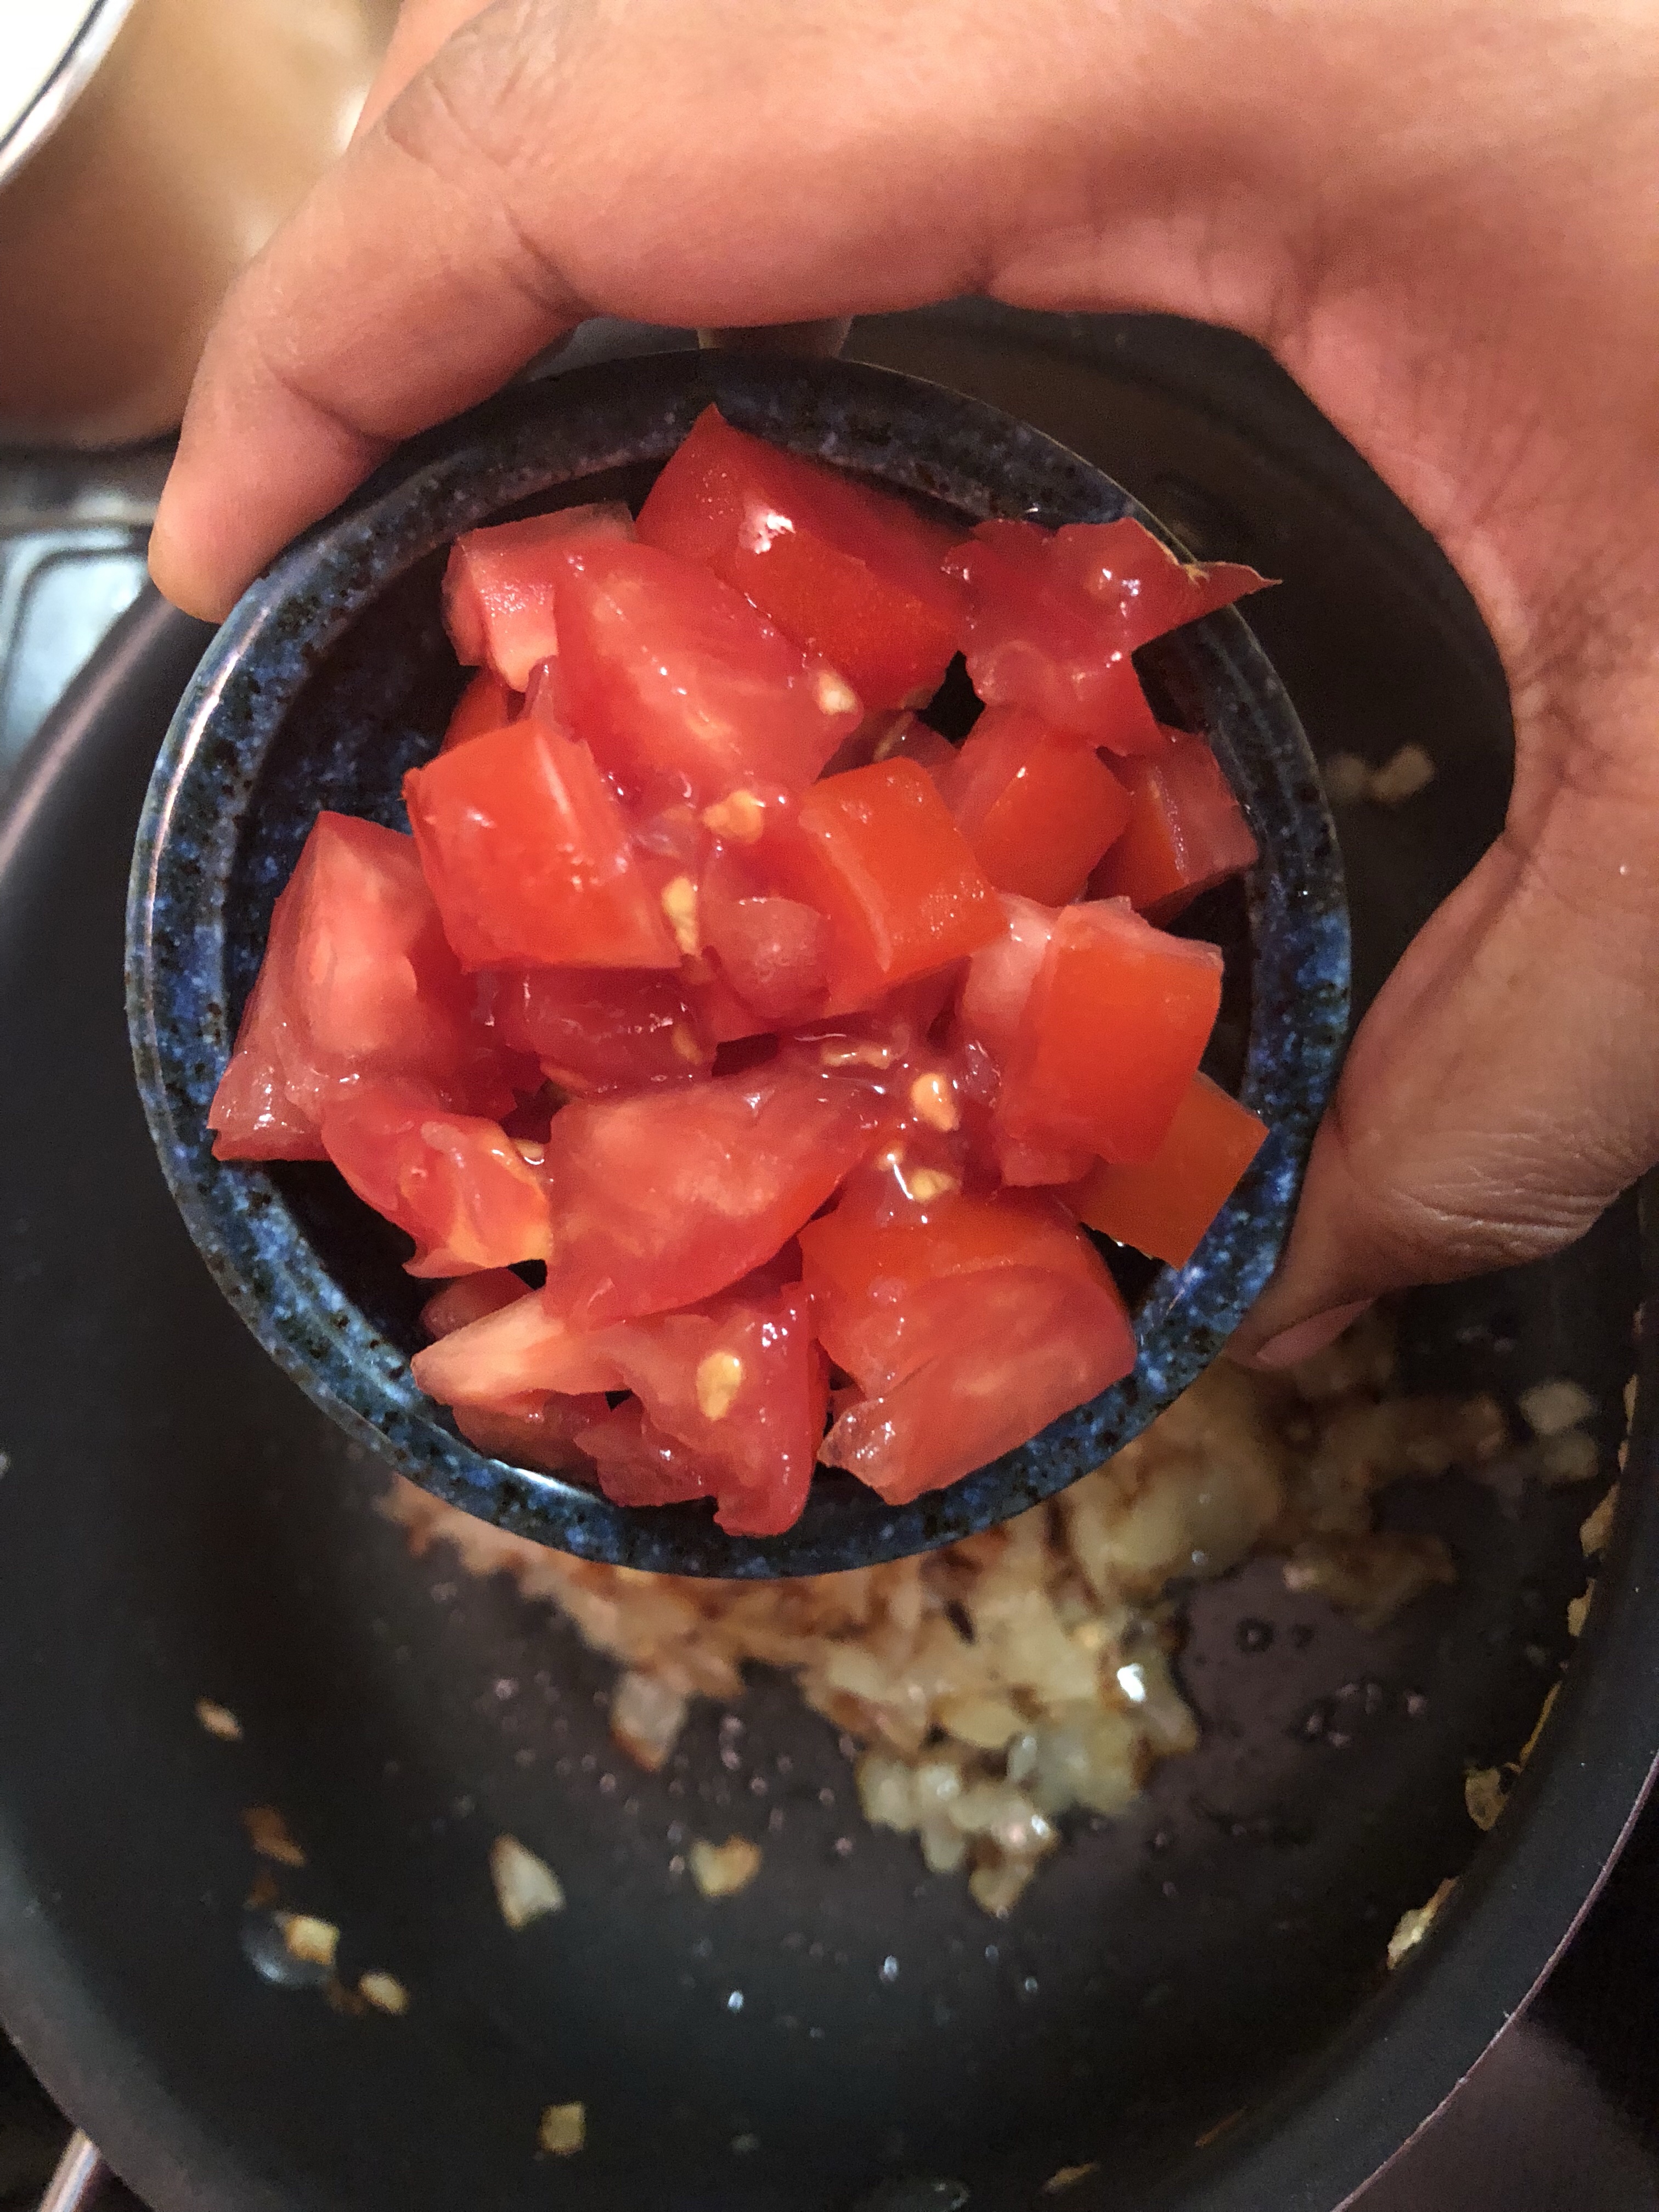
    3. Next add tomatoes. Repeat this process until they turn mushy.
    4. Immediately add green chillies and stir to combine.
    5. Add turmeric, chilli powder, coriander and garam masala. Stir until fragrant, about 30 seconds.
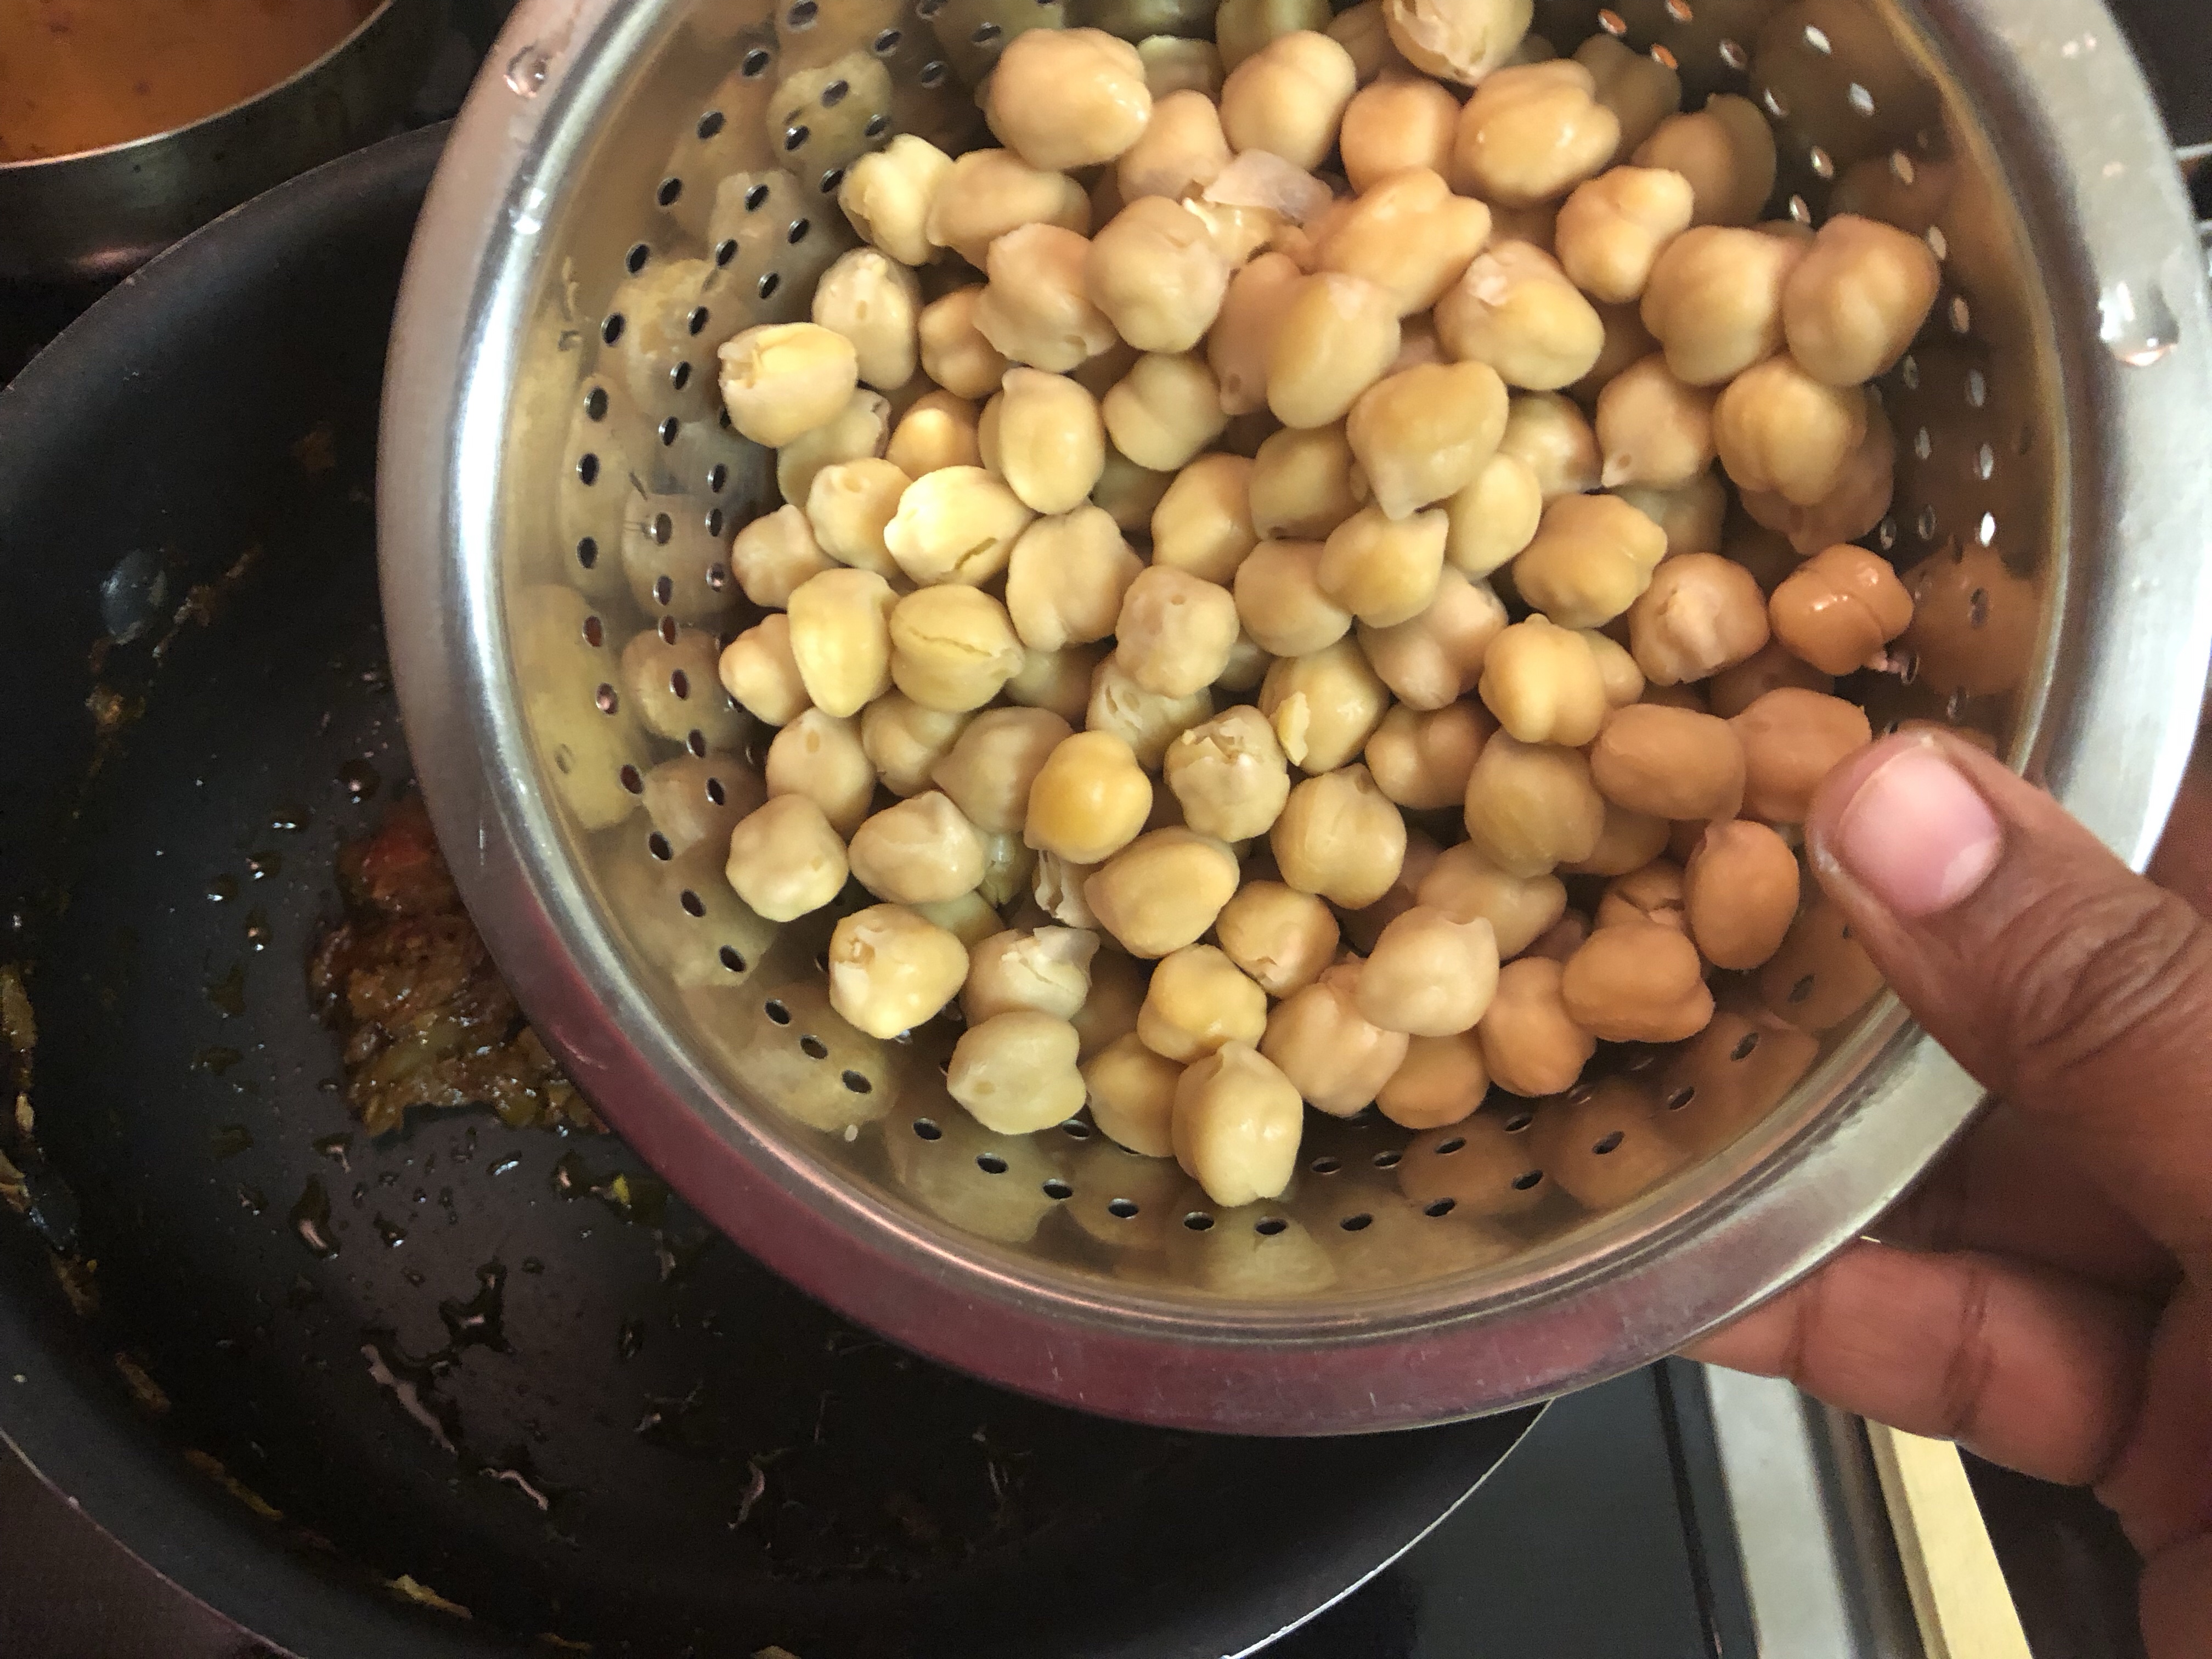
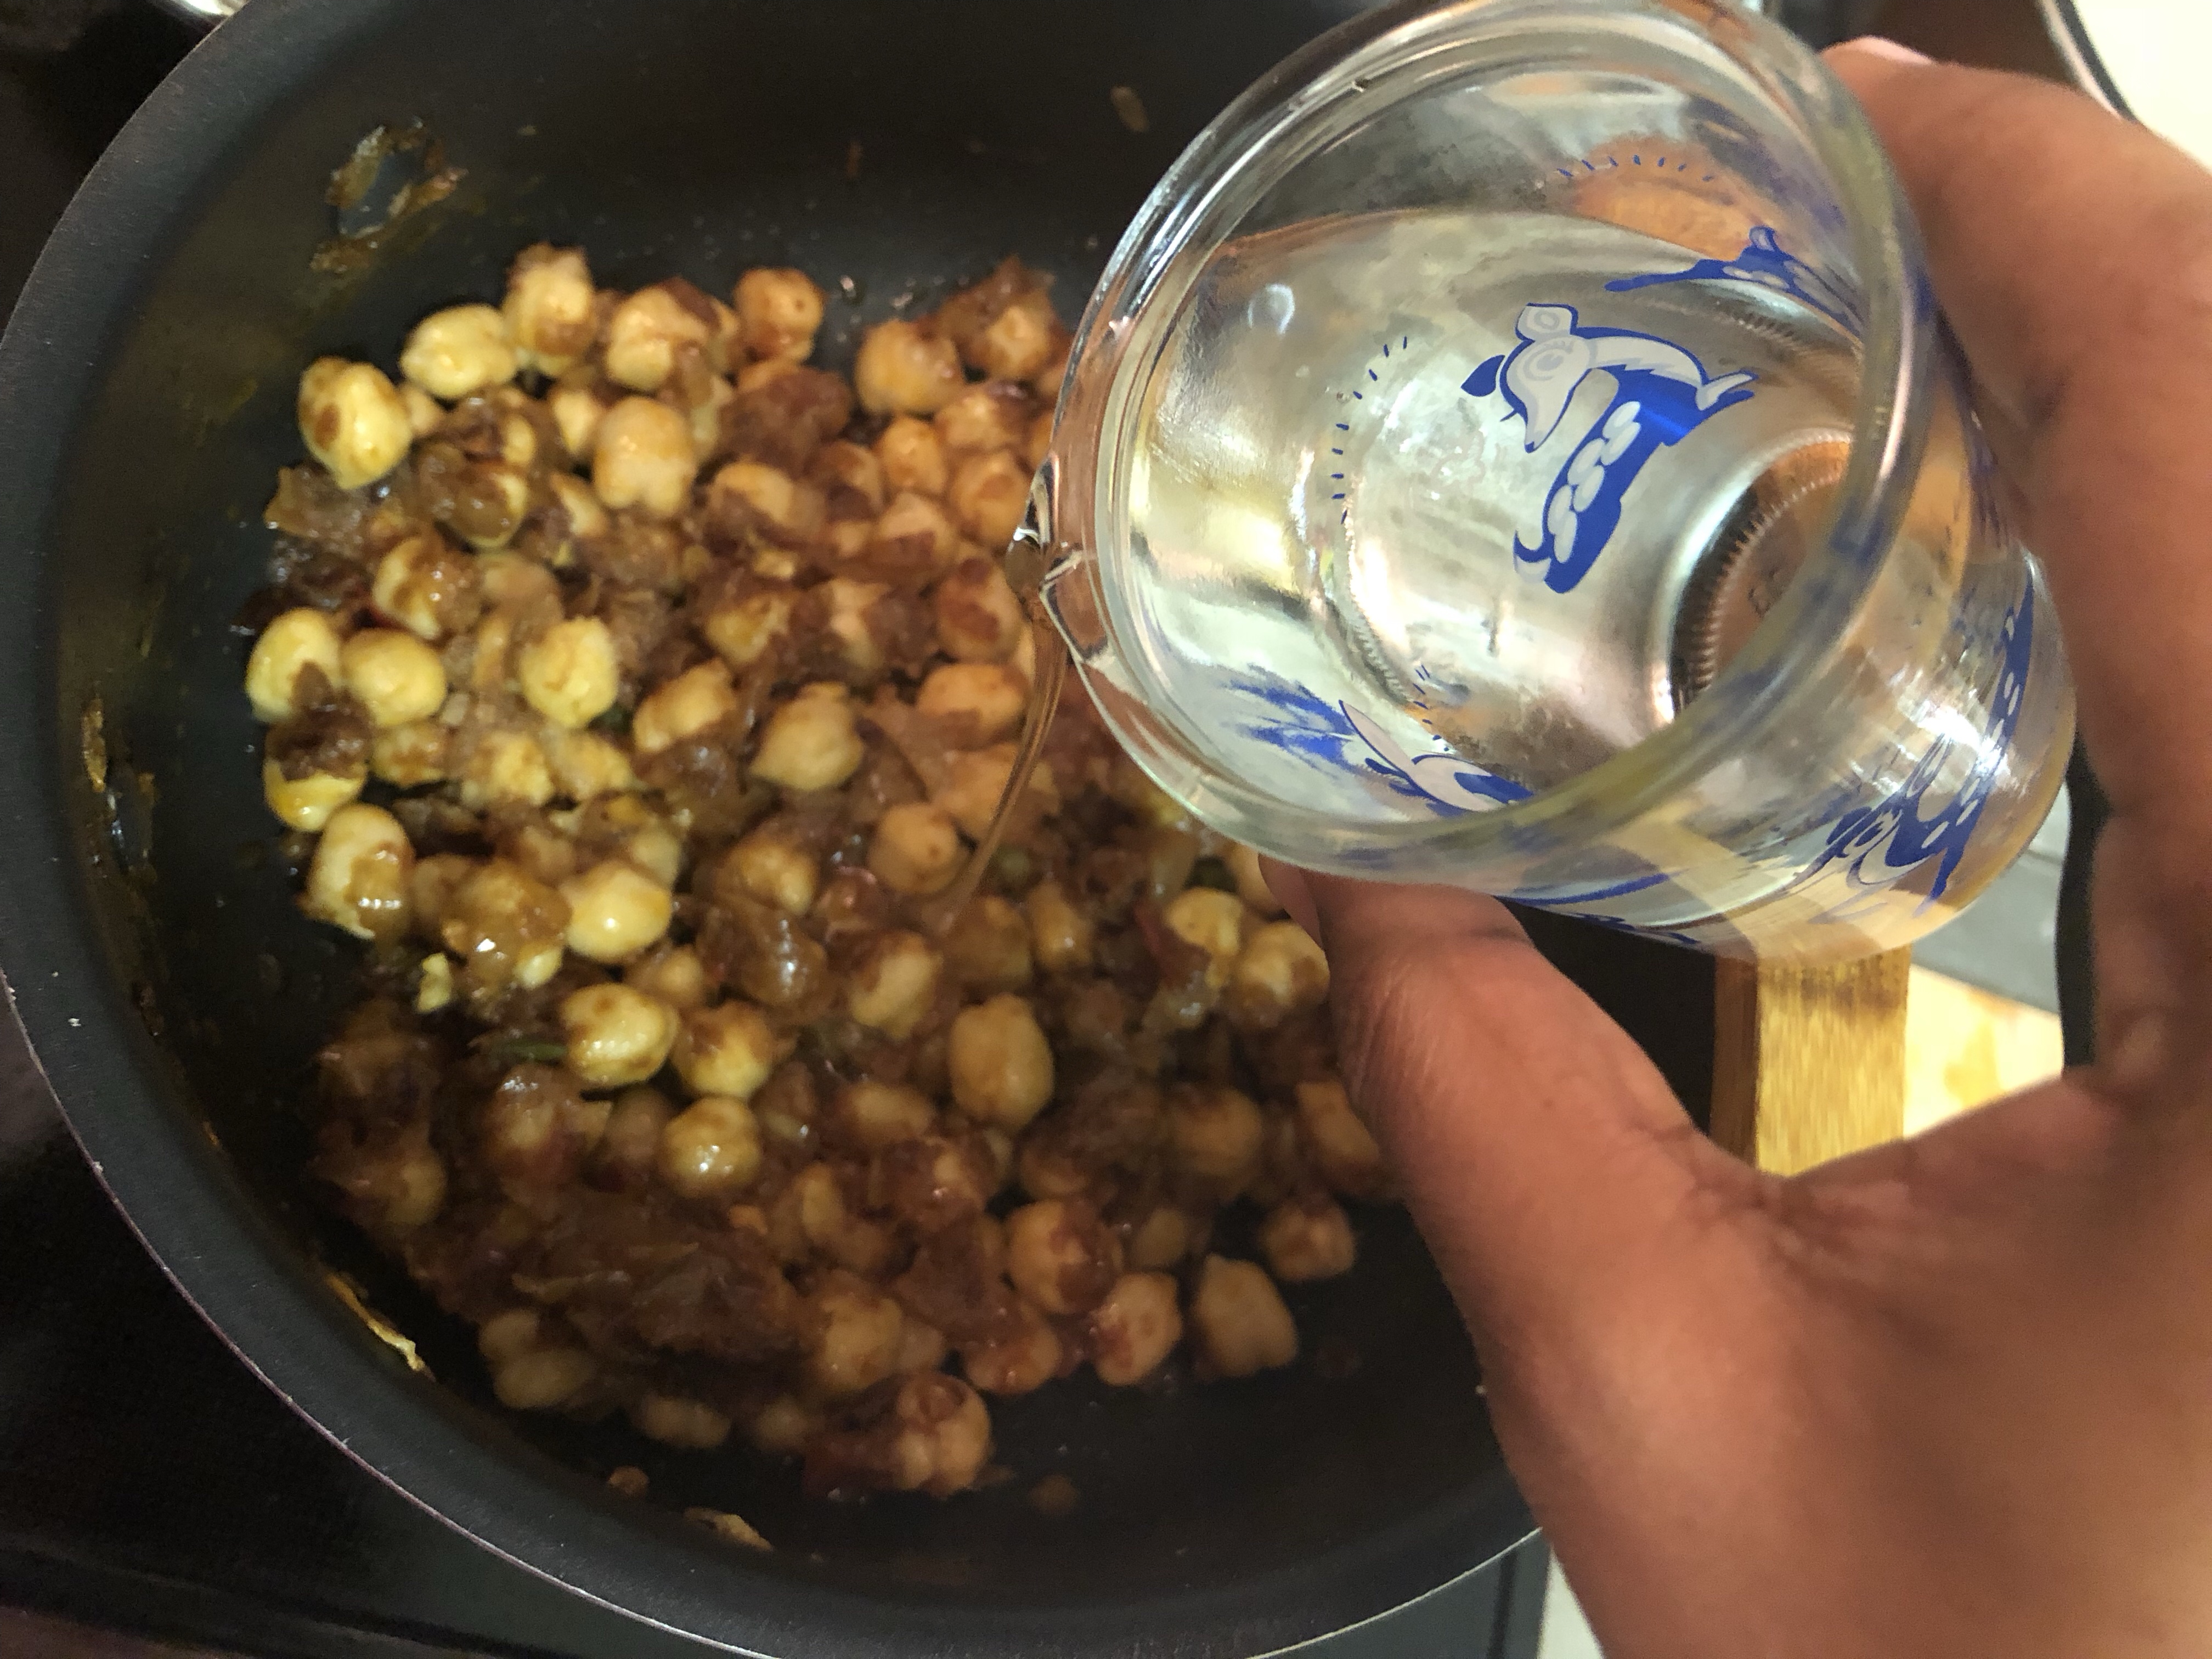
    6. Add drained, boiled chickpeas. Stir until it coats well with the masala, about 30 seconds. Add 1/2 cup water. (Tip in the chickpeas, along with their cooking water for more flavor).
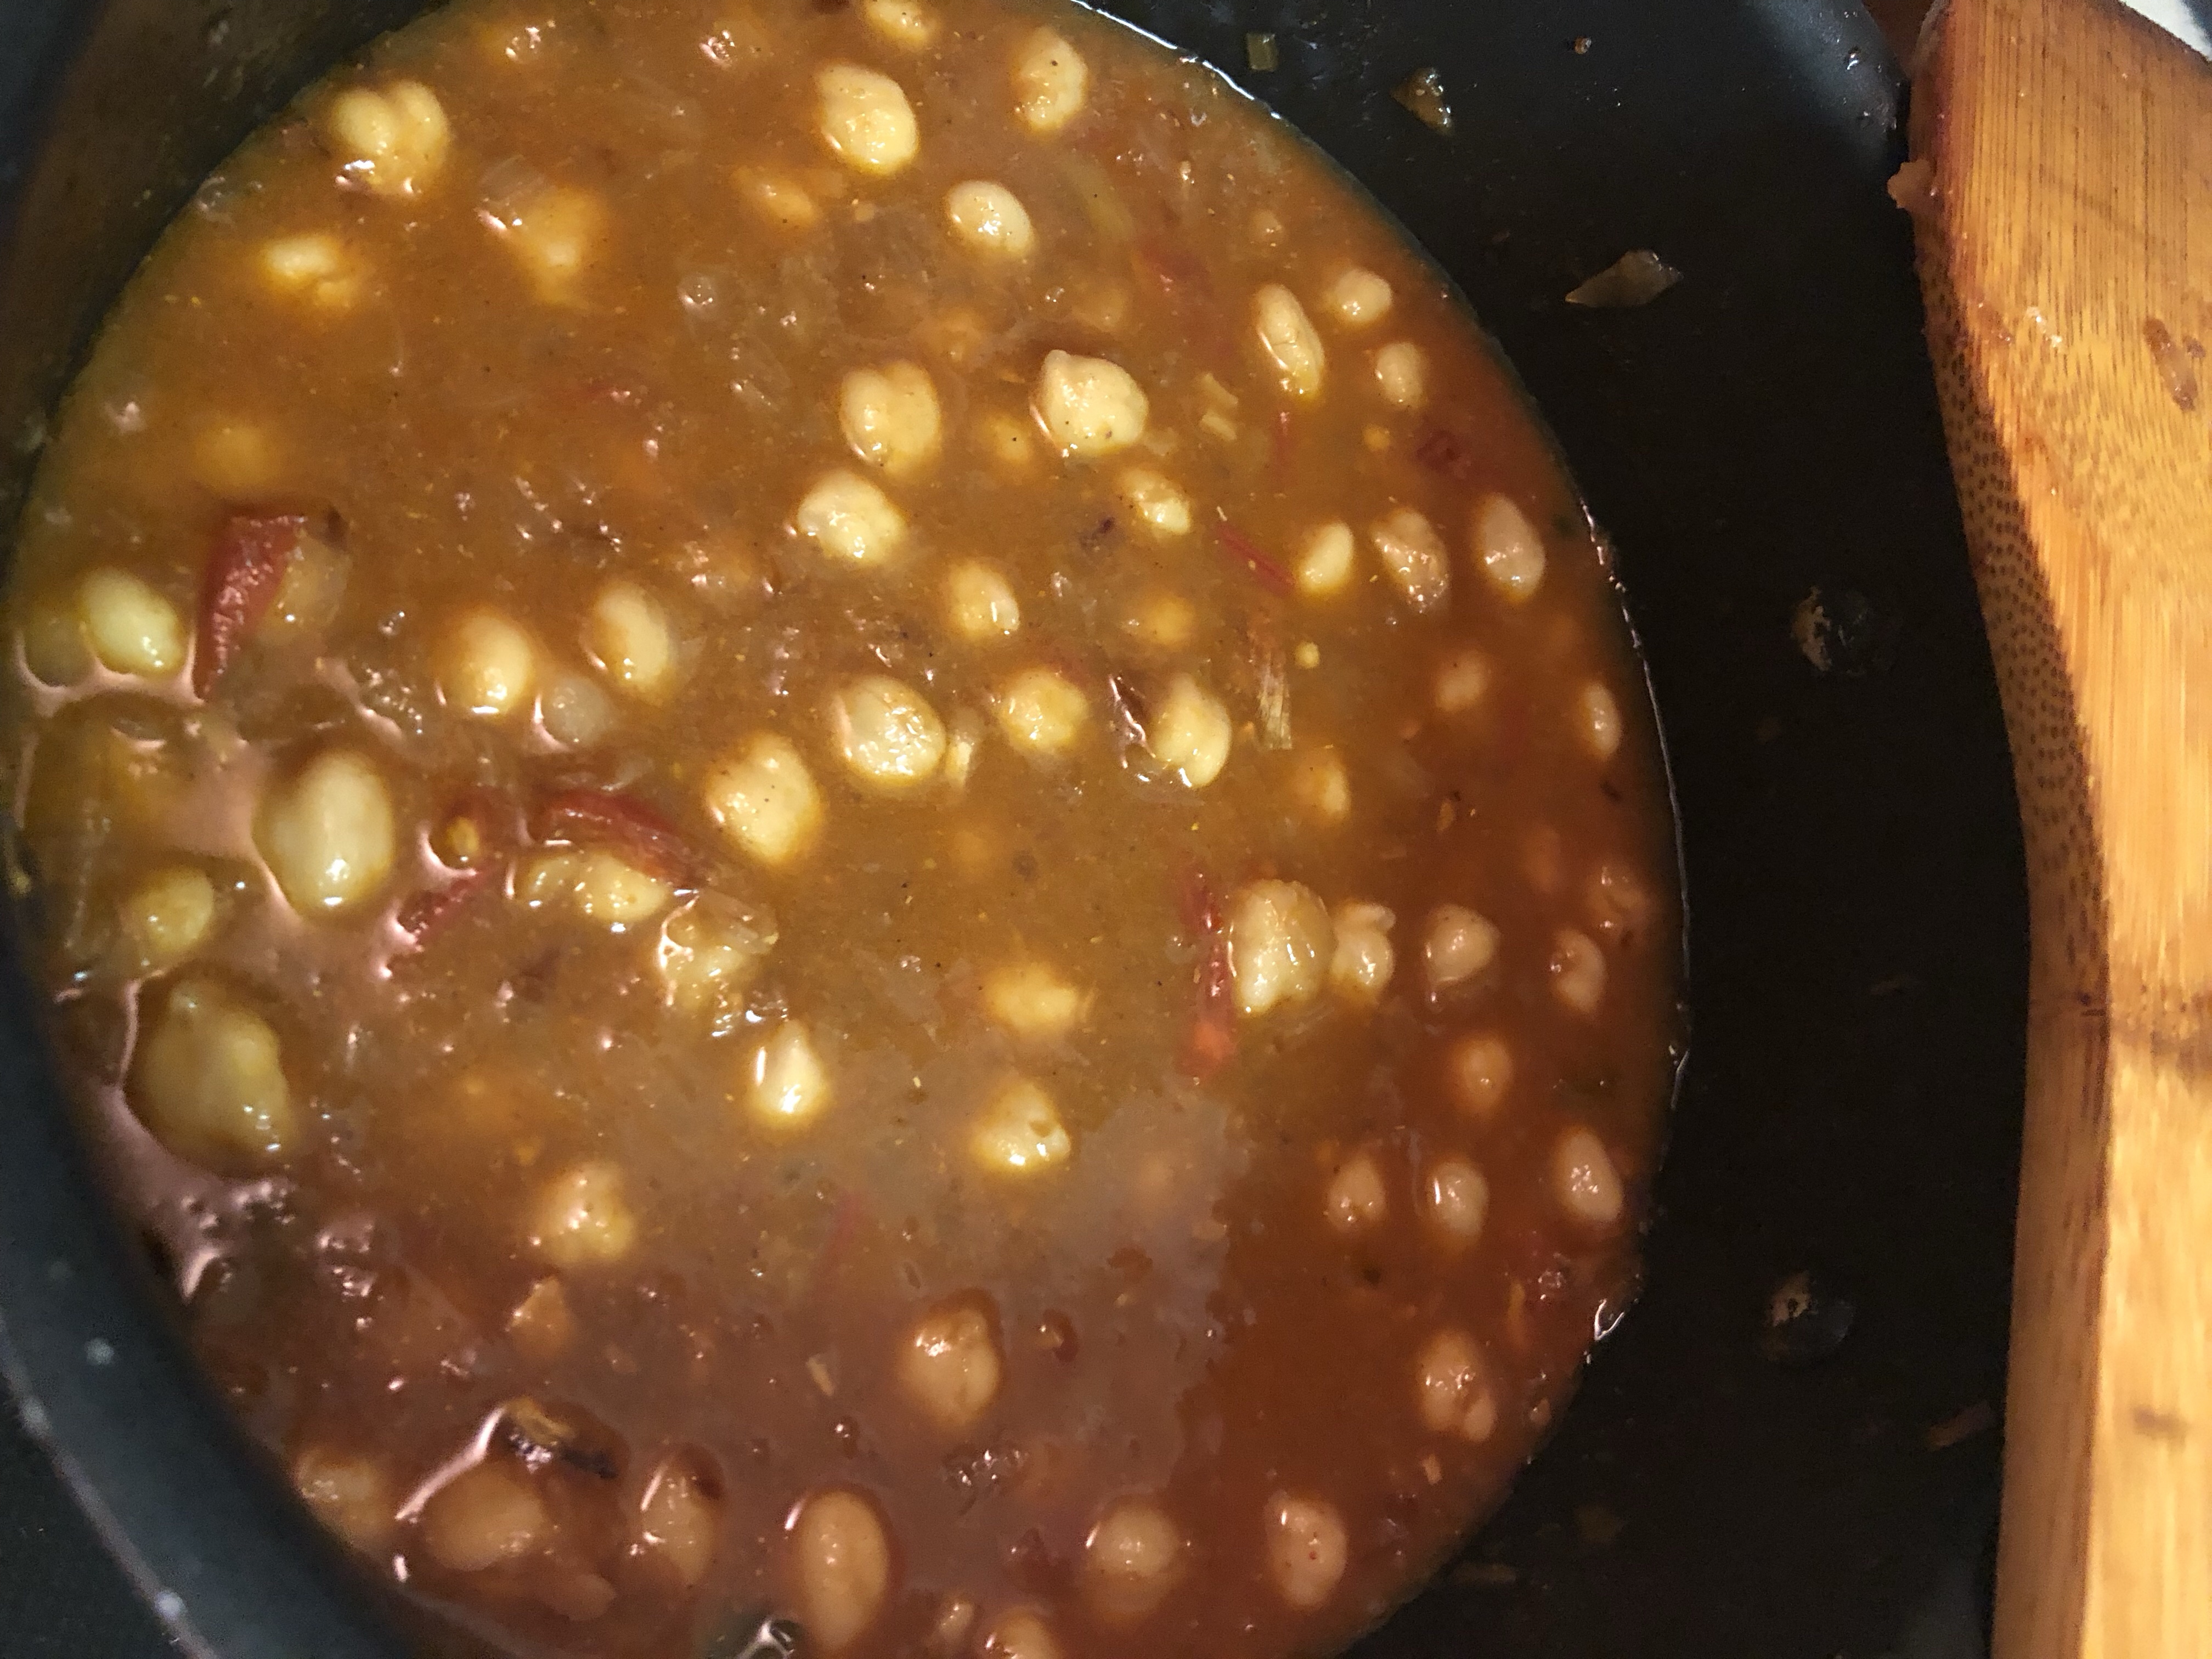
    7. Maintain a simmer, uncovered for 10 minutes, or until thick. Stir occasionally.
    8. When the chana masala is thickened and bubbly, taste and adjust seasonings as needed.
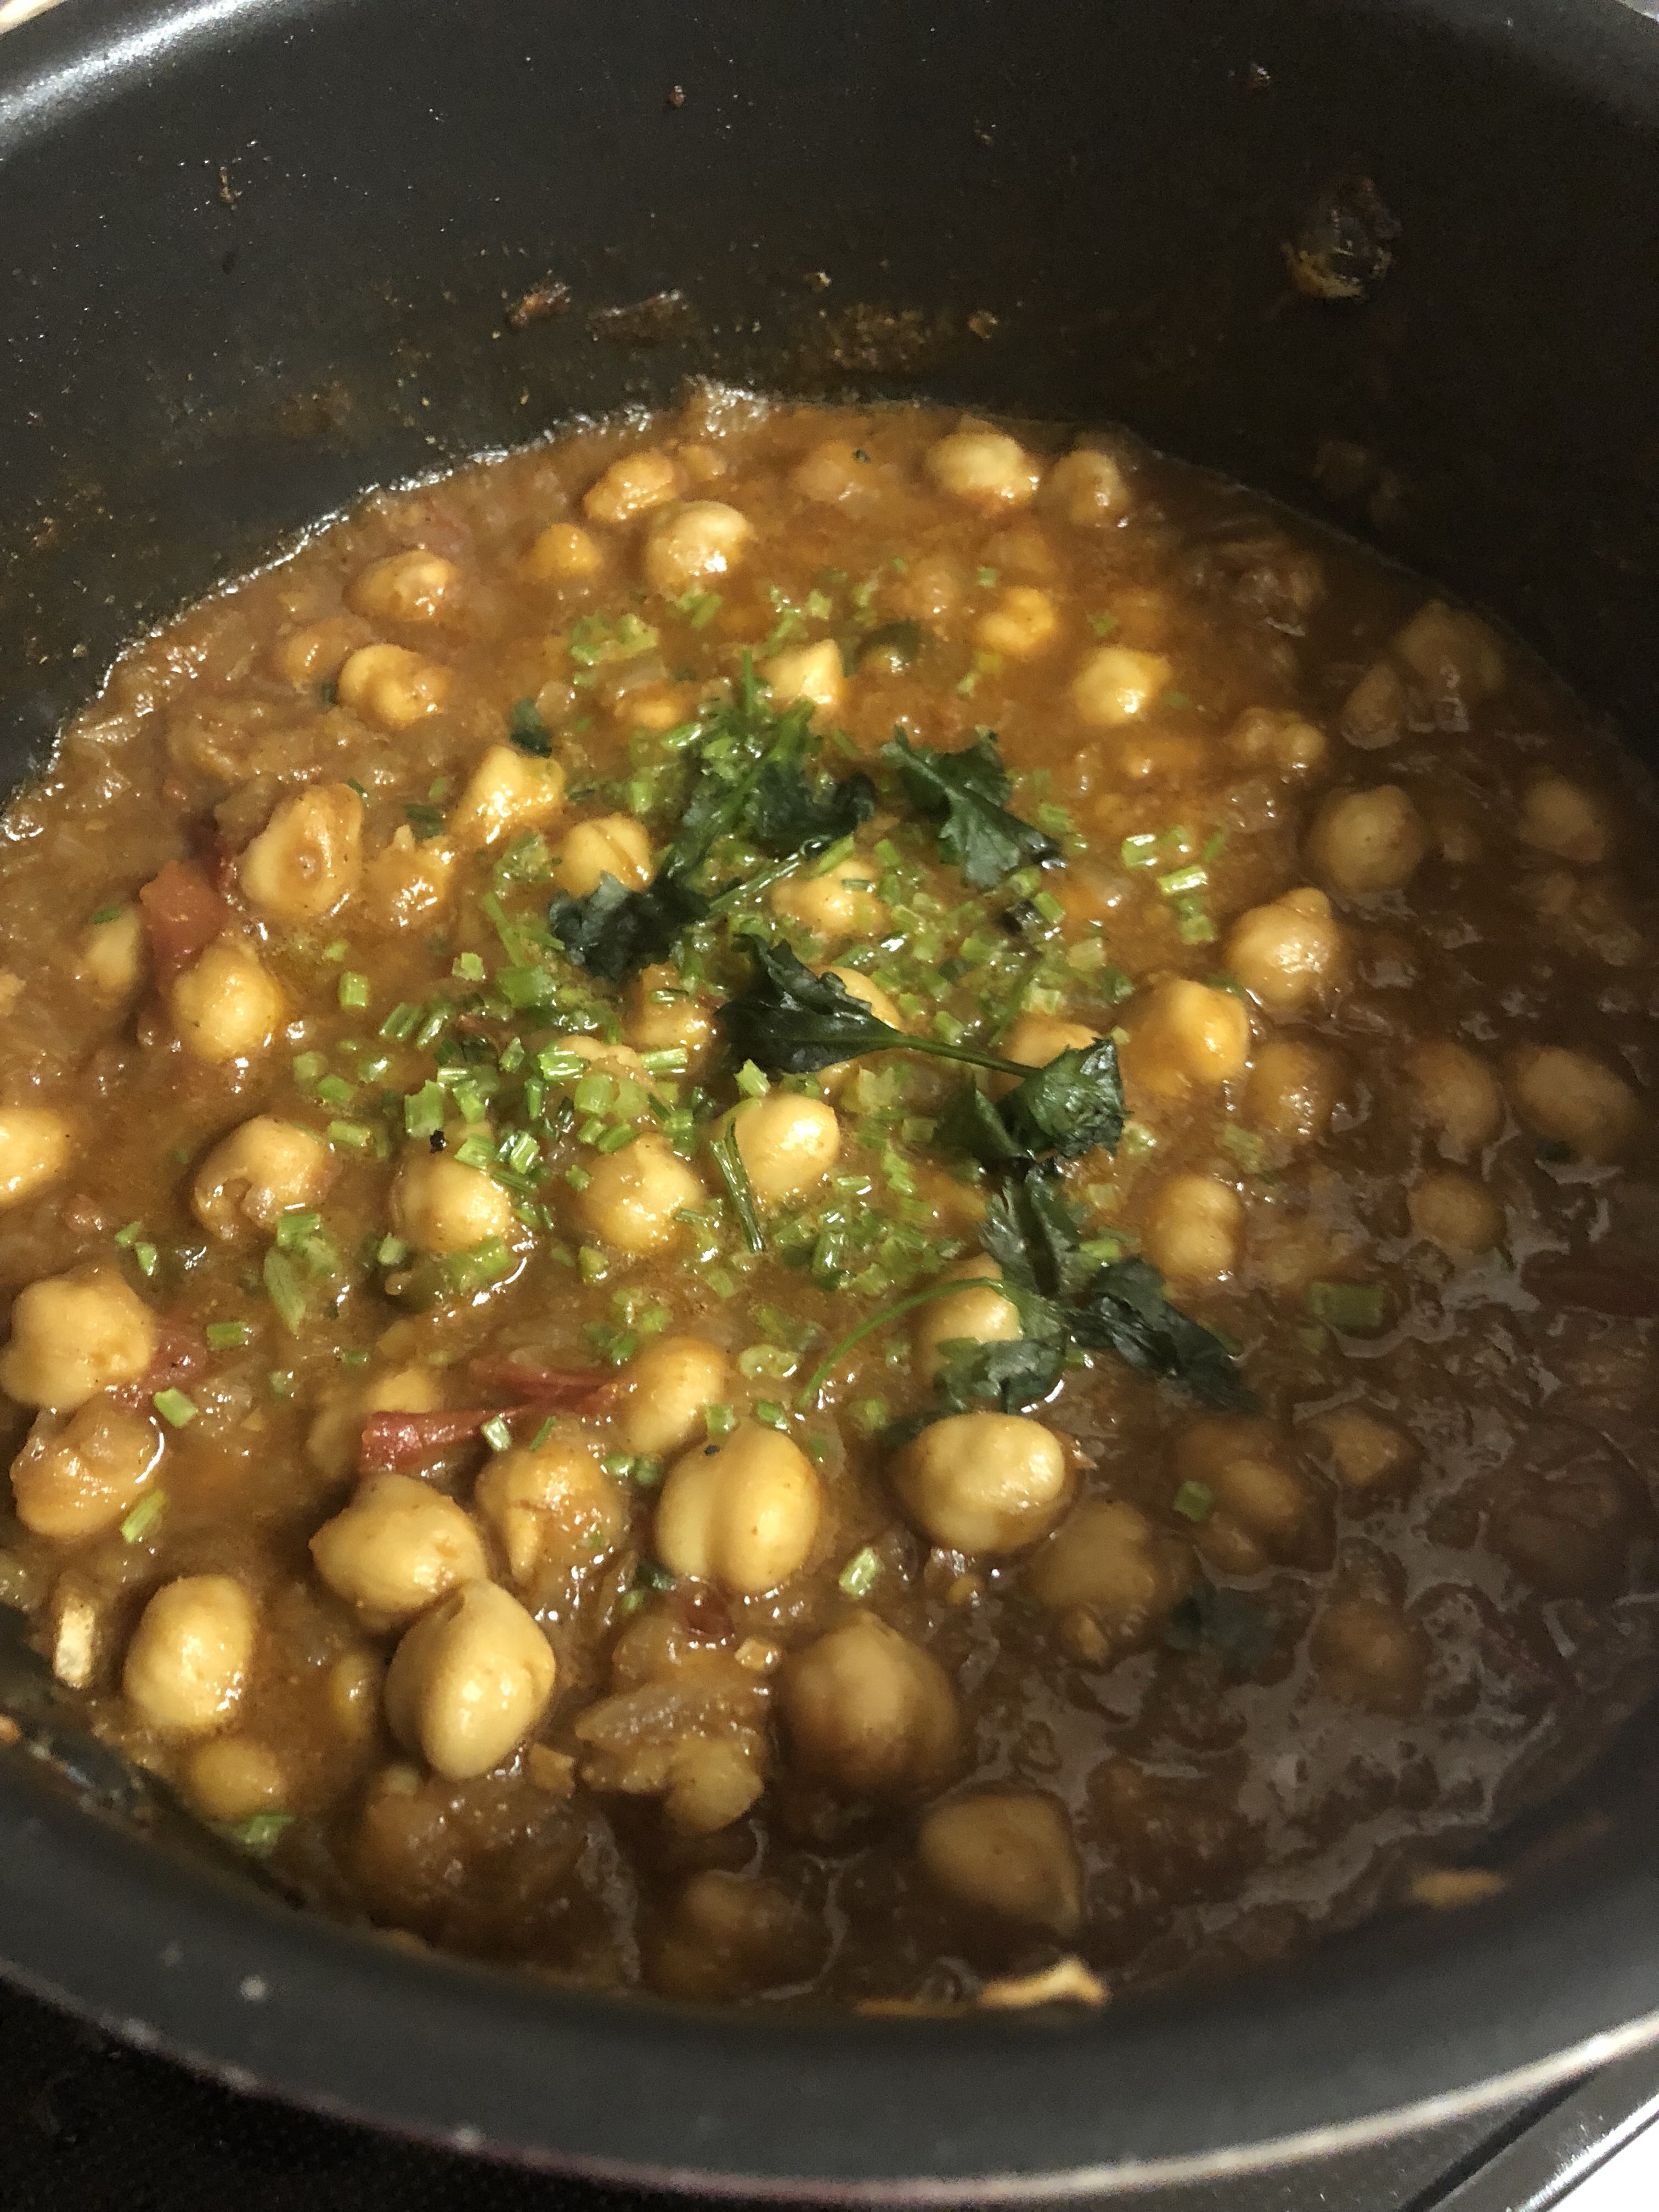
    9. Remove from heat and add lemon juice. Serve with rice and/or chapathi, naan, sprinkling additional cilantro on top.


    Special Note:

    • Fresh cilantro and lemon juice make an excellent garnish.
    • Simmering chickpeas broth lends them plenty of flavor.
    • DIY Garam Masala creates better flavor than mixing pre-ground spices.